Choosing Faces With Character
At some point, as a portrait artist, you begin to want to do something different. Most faces aren’t as distinctive as you would think and the thought of working on a face with a lot of character becomes appealing.
Couple that with the recent election and my need to study American history, and I came up with the idea of working on a piece portraying Abraham Lincoln — our 16th President.
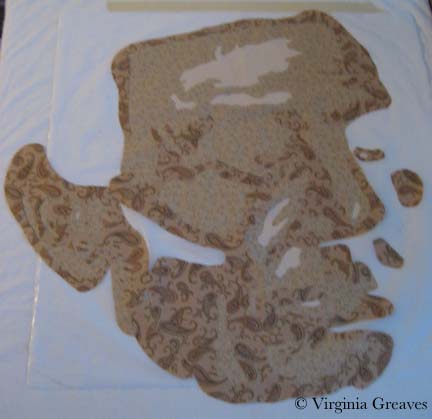
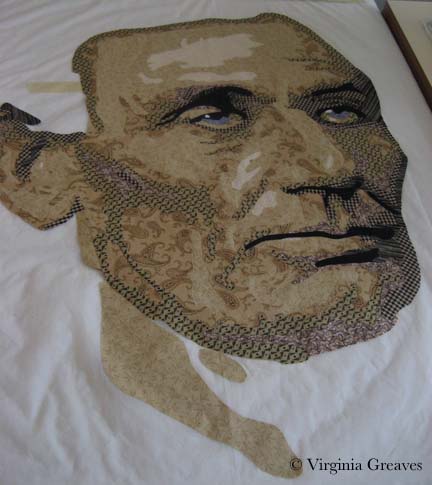
This is the very beginning — the first two values that show a rough outline of his face and ear.
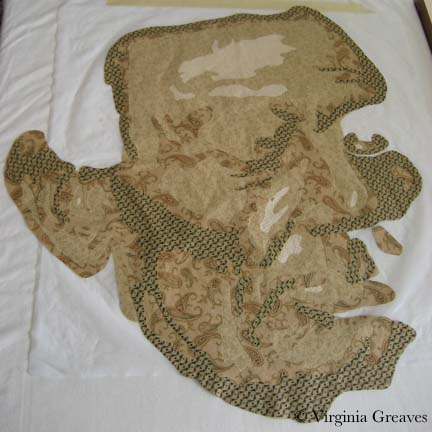
Adding the third value makes his face almost immediately begin to come to life. (I was obviously starting this late in the day when the natural light in my studio was failing.)
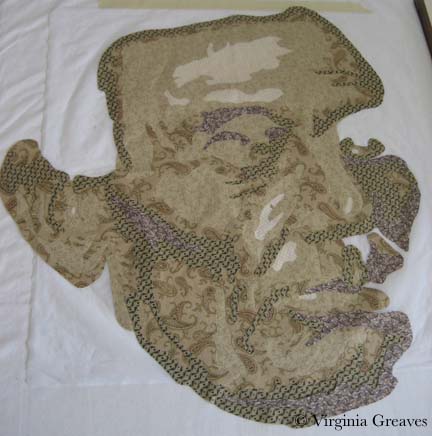
The fourth value begins to show us the deep wrinkles that Lincoln had in his later years.
The fifth value is very subtle but shows some distinction from the fourth one.
It is at about this time that I realized, given the size of my pressing sheet that I’m using (sometimes I’ll fuse directly to muslin but this time decided to use the Teflon sheet), I am going to have to wait to finish the darker values in his ear and neck. (My sheet is 18″x18″ — I have my eye on one that is 27″x30″.) Otherwise, I would be fusing fabrics onto my ironing board — and that would just make a mess.
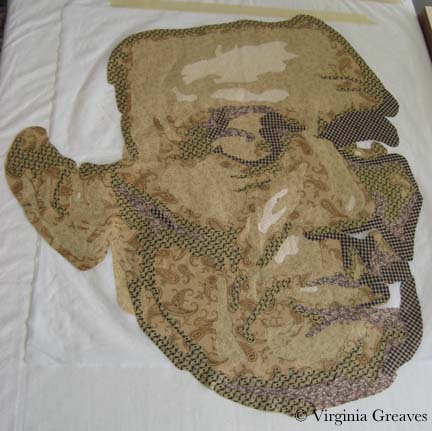
This is the sixth value. I am really pushing the envelope having this many values but I think it will work in the end.
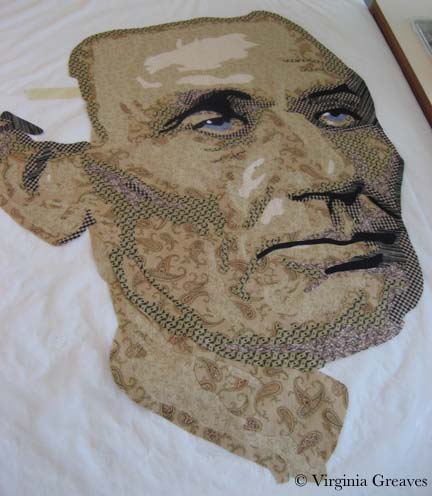
This is the seventh value with the gray blue of the irises added.
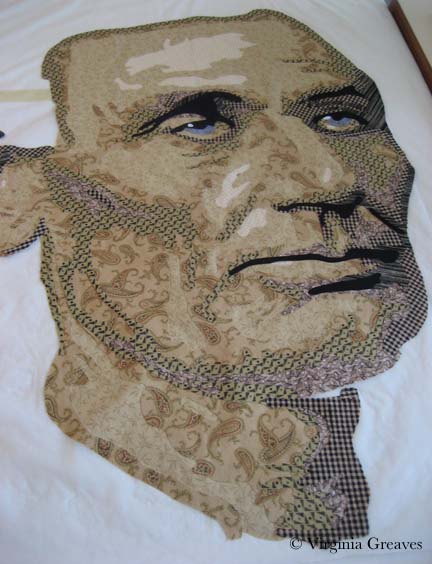
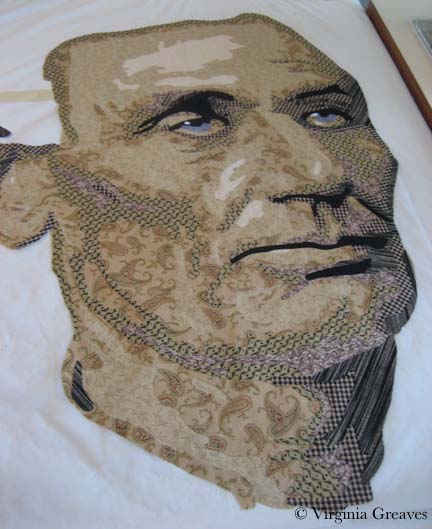
And the eighth value is black. It adds that finishing touch of contrast. It highlights his eyes, his nose, his mouth, and his chin. I have also added the spark of white in his eyes.
This shows him with a completed ear. (You might not be able to see it here, but I’ve moved the pressing sheet over so that it is directly under the ear.)
There is actually a piece of black from his hair that will flow into the darkest part of his ear. I decided to add it all as one piece — so you’ll see that final detail after his hair is attached.
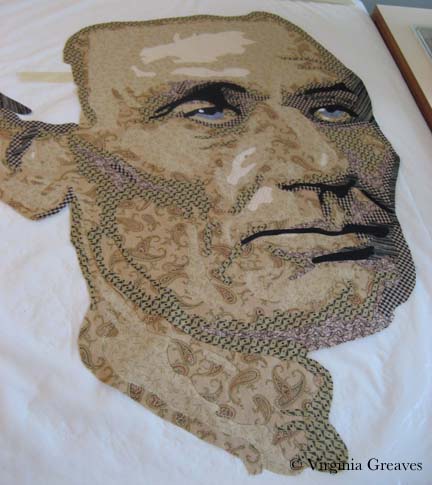
And then I started on his neck. (Again, I moved the pressing sheet down into the neck area.) I thought about only showing it completed, but I think it is equally interesting to see its creation in layers. This is the first value (which is actually the 2nd value in his face.)
The second value gives a little more definition.
The third value shows us his Adam’s apple.
The fourth value accentuates that.
The fifth value begins to give us shadow.
The sixth value completes the shadow.
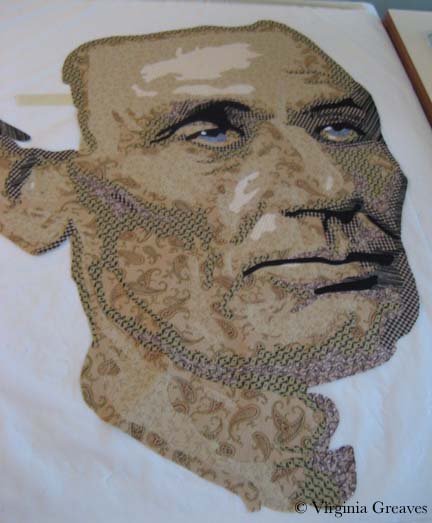
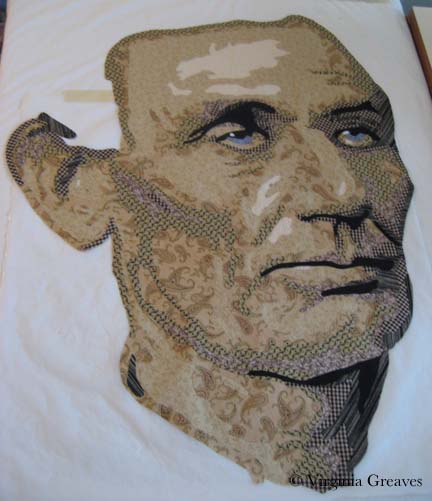
And the black again gives the contrast, showing the outline of his jaw and the separation of his neck from the face.
The previous pictures were all taken while the piece was lying flat on my ironing board so there is some perspective distortion. This is the completed face on my design wall.
I may change his eyes to make them darker — but all in all, I think he is looking fairly good.
My daughter asked me the other day if I was going to put his stovepipe top hat on him. Although his hat is iconic, I can’t say that that had occurred to me — so I may put off working on his hair while I consider the design of the overall piece. As usual, I have not decided what to do in the background yet either.

