textile paintings
Shibori Discharging Denim
I have been busy playing catch-up with my girls. Although I spent the beginning of the summer working on abstract pieces in partnership with Leisa Rich, I have been dedicating more time with my girls lately. They will both be in high school this year and I wanted to spend some quality time with them before they went back to school. The first day of school is this coming Monday and I should return to my normal schedule at that time. I usually drop off in the summer. The fact that I was able to work on my art as much as I did this summer is a testament to the age of my girls.
Sometimes I have an hour or so but it is hard for me to dedicate myself to a project when I don’t know if that time will be cut short or not. I’ve been needing to quilt the #2 car wash piece for a couple of weeks — and although I’ve started, I’m not 25% done. I really need some time to think about what I want it to be and I don’t have the time to concentrate on that just yet.
I did come up with a project that I’ve had sitting in my closet for a while though. About a year and a half ago, I bought 2 yards of denim to make a Kimono jacket in a class taught by a friend of mine. Unfortunately, she was not available for the original class and I was not available for the re-scheduled class — so the denim has just sat there.
It’s very blue. It seems to me to be very 80’s. I thought about making a kimono with it just as it is — Martha was hoping to get several of us to work sashiko stitches onto our kimonos — but I couldn’t muster up the enthusiasm for handwork.
I devised a plan to discharge the denim with bleach by experimenting with shibori pole wrapping. I have wanted to try this for years and just never taken the time.
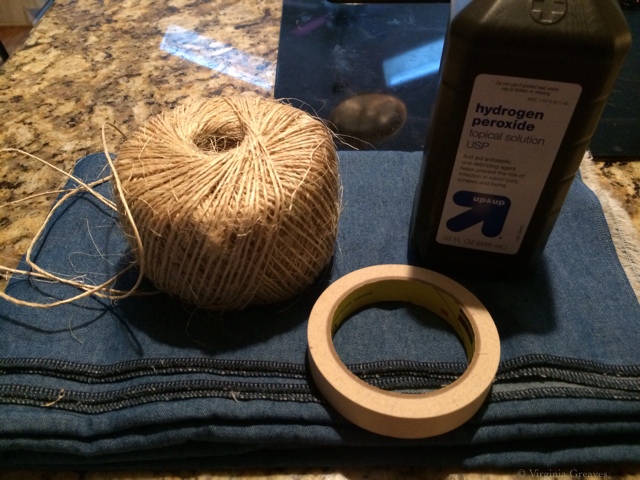
I bought bleach — and since I didn’t have access to Anti-Chlor (to use as a bleach stop) — I bought a bottle of hydrogen peroxide. (Note that SEVERAL sites recommended white vinegar — but vinegar and bleach create a noxious gas — it’s highly dangerous. Paula Burch recommended the hydrogen peroxide and it was easily and cheaply obtained.)
I didn’t have a piece of PVC pipe — but I found a precut 4″ wide by 2 foot long piece at Home Depot for less than $8. Perfect.
I grabbed my masking tape and a ball of twine I found in the basement and started.
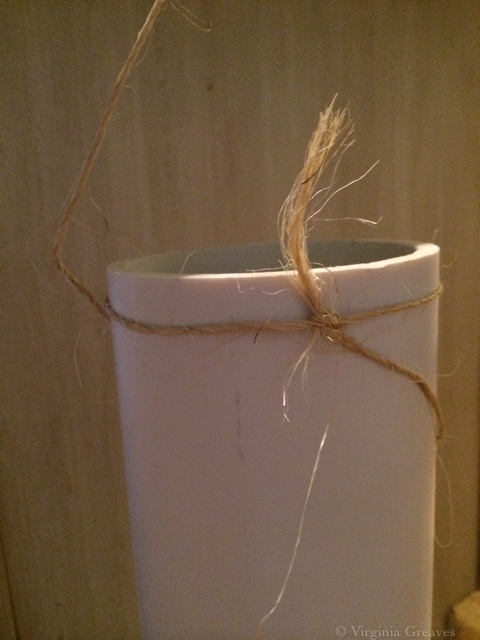
Most of the websites I found said to tie the string on the pole first — or tape the denim at the top and then tie the string over the denim. I chose to tie on the string first with the leading piece falling between the opening in the denim. Then I would tape the denim to the top.
I marked the top of the pipe in eight fairly equal sections.
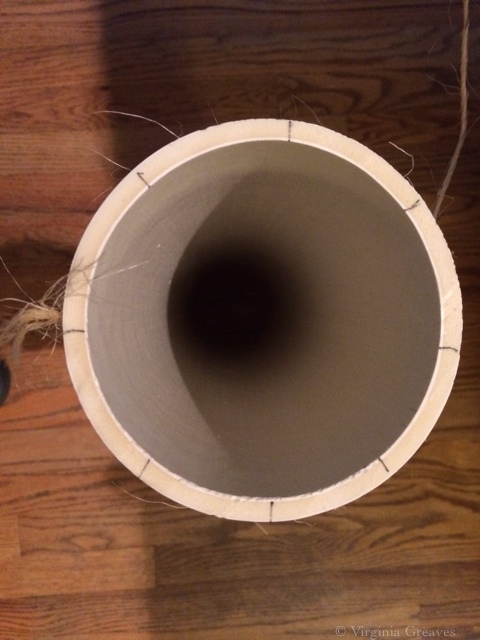
I knew that I was going to put the cut end at the top and scrunch the two yards along the selvedges onto the length of the pipe so I started by taking the cut end and folding it in half — and then in half again. I marked all the folds with little pieces of tape and then taped those to the pipe at the top using the tick marks I had made on the top of the pipe.

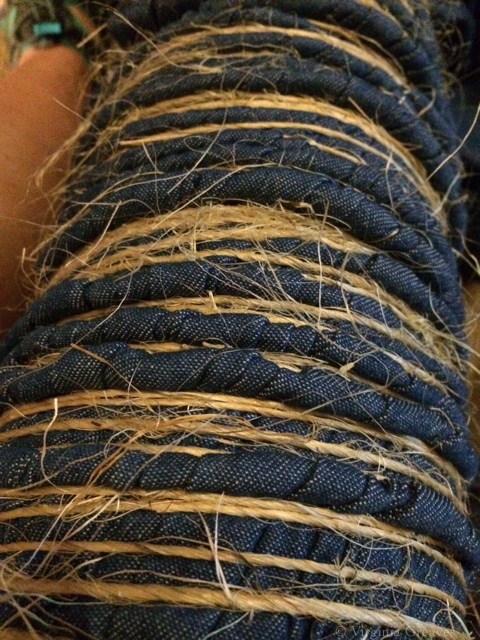
This gave me fairly even pleating. You can see that I’ve drawn the two selvedges edges together and let the knot on the pipe come out at that point.
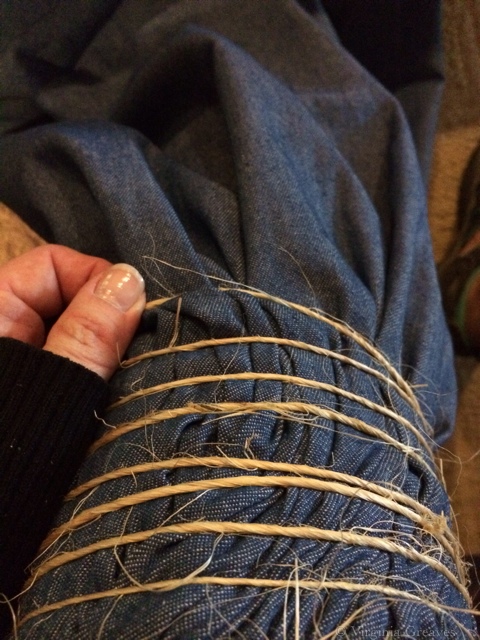
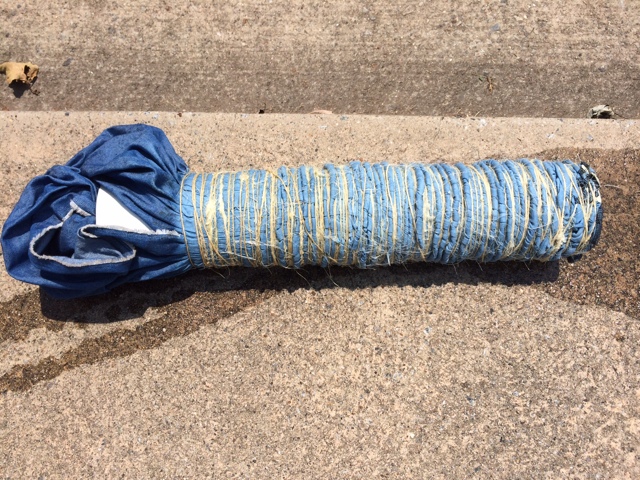
And then I started wrapping. I didn’t do a very good job at the top but I got better as I went. I was holding the pipe upright and it was resting on the ground — so every turn around the pipe I had to stop and twirl the remaining fabric around the pipe so it wouldn’t twist up like crazy. I found that pulling the fabric straight down helped the parts being tied down to pleat better and not create a massive twist around the pipe under the twine.
It’s a good thing I timed this because it took a LOT longer than I thought it would. I have a newfound respect for shibori artists — this is time consuming.
I finally realized that holding the pipe on my lap with the end off to the side made the whole process much faster. I no longer had to stop at every rotation to swirl the bottom fabric around — it moved with me instead.
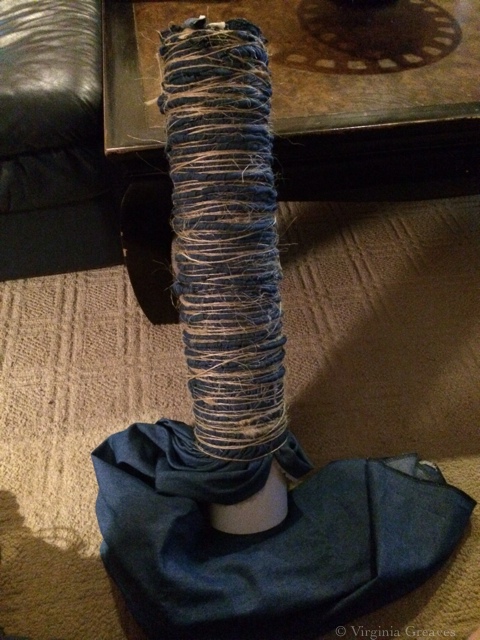
I scrunched and scrunched every 6 turns or so but I began to realize that I was only going to get about half of my fabric on the pipe. That was a sad realization. An hour and a half and I was only going to be able to dye one yard at a time.
I also had a problem with the top circles of twine popping off the top. I was so glad that I had taped at the top — that helped — and if I do this again — I will tape even more. I managed to wrangle the twine back onto the pipe and then stopped being too aggressive about scrunching all of the fabric down the length of the pipe.
I then realized that not even this much was going to be submerged in the bleach because I was limited by the height of my bucket. I did think that I could pour bleach on the top though and have a more subtle gradation.
When I reached the bottom, I circled the twine back up to the top and rewrapped it — and then tied it off with the beginning of the twine.
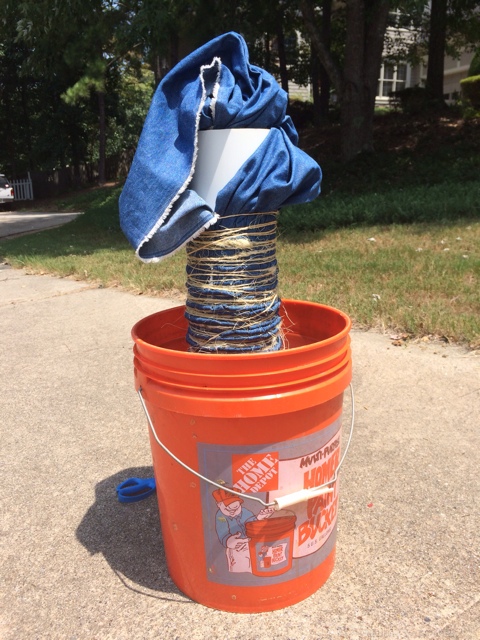
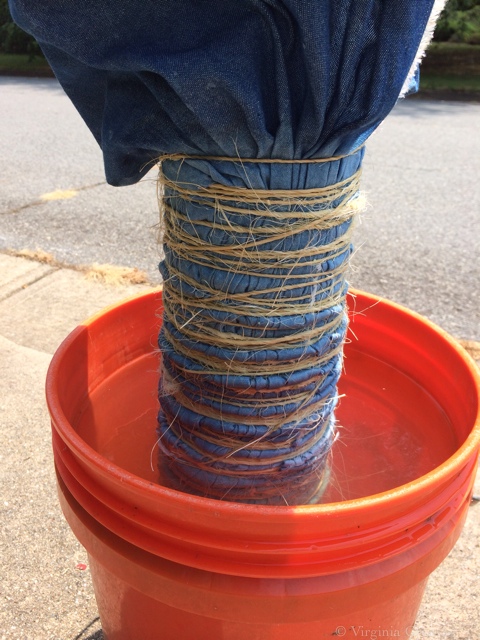
I borrowed my husband’s pickle bucket since it was taller but you can see that quite a bit of the wrapped fabric still stuck above the water.
I filled the bucket with water with the pole in it (making sure that the fabric on the pole was saturated with water). Then I took out the pole, measured out 2 quarts of water, and walked it outside.
Outside? Well, I don’t have a wet studio anymore. The only sink that was large enough was my kitchen sink, and I’m highly allergic to bleach. I bought a bleach cleaner for my bathroom once, and after spraying five times, I had to sleep downstairs that night.
I put the bucket by the street so that I could slowly pour it into the gutter when I was done. I knew it would go into the drain down the street.
Then I added 2 quarts of concentrated bleach and added the pole into the water. I piled the leftovers on top — stuck partially in the open top of the pipe — and squirted some bleach solution on the folds that fell above the water line.
And then I waited 10 minutes. Nothing. Another 10 minutes. Nothing. After 45 minutes, finally the portion in the water started to fade. There was nothing on the top though so I grabbed a cup and started ladling a lot of bleach solution onto the top section. I did that for a couple of minutes and then let it sit another 10 minutes.
After an hour, this is what I had. Looked great. I pulled it out and hosed it down with water.
Then I cut the twine and unwrapped it. Some of the tape still held it up on the pole. It almost looks like an elegant gown at this point.
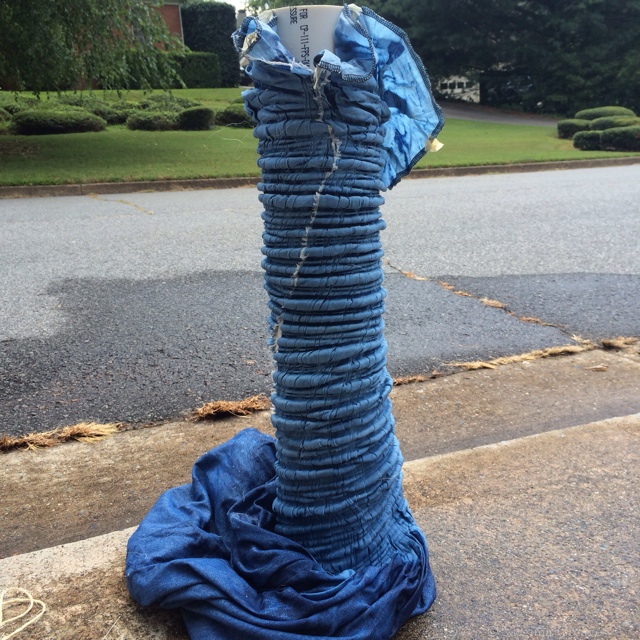
I unwrapped it off the pole, laid it flat, and soaked it with water from the garden hose.
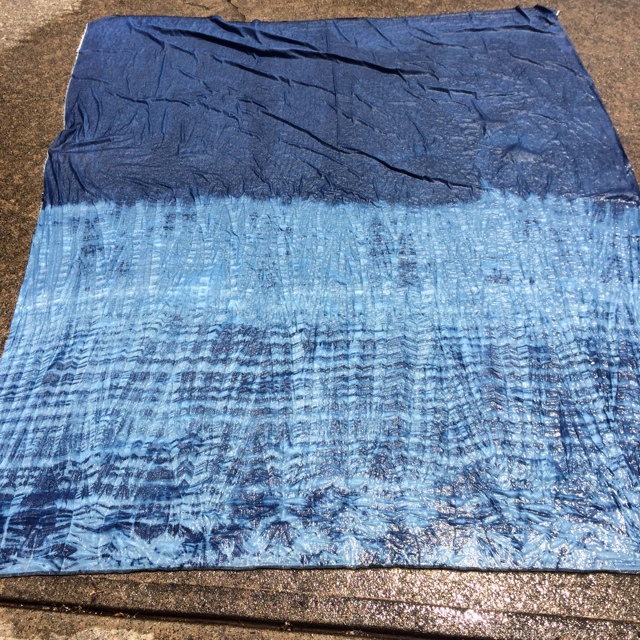
Isn’t it beautiful all wet like this? I have to say that it does surprise me though. The part that was submerged discharged less than the section that I ladled the bleach solution onto. I think I overdid the ladling and lost the contrast of the dark color.
This is a different perspective.
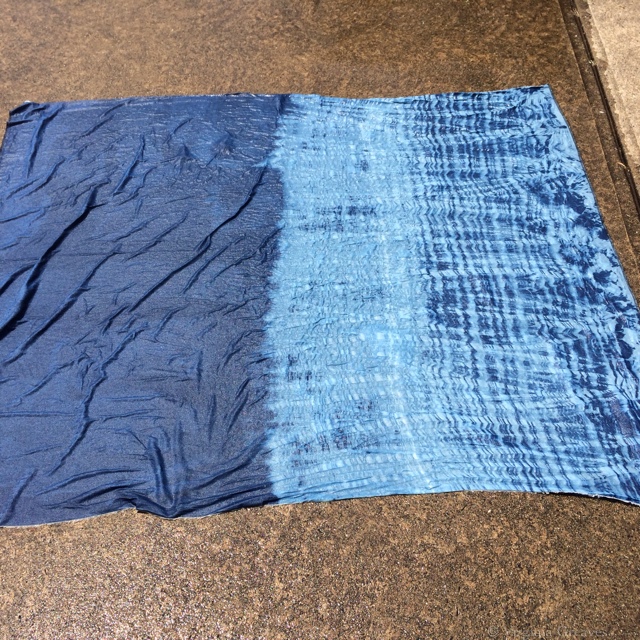
I can’t help but see all of that unbleached dark denim and wish it was discharged as well — but I’m not certain that I want to repeat this process again. So if I use this denim for a kimono jacket, I can either make the front light and leave the dark on the back — or I could turn it the other way and make one side dark and the other side light.
Then I took it inside where I had filled the washing machine with water (about a third full) and the whole bottle of hydrogen peroxide. It’s important to use a bleach stop or the bleach will continue to eat away at the fibers of the cloth. Many people think that merely rinsing or washing with soap will take out all of the bleach, but the truth is that the process has to be stopped chemically.
After about an hour, I ran it through a cycle with the hydrogen peroxide — and then a second cycle with a few squirts of blue Dawn.
I hung it in my studio after it was dry to take a pic — and it looks very stark — but really, this is more a testament to bad lighting and high contrast. All of the very white sections in the photograph are not that white in the actual denim.

At this point I have to decide whether to repeat the process for the bottom or go ahead and make the kimono with the fabric just as it is. Shibori wrapping takes about an hour and a half — and the discharge process takes another hour and a half.