textile paintings
Special Finish for Irregular Shapes
I met with Leisa last week about finishing Abstract #4, and she wanted it to have completely irregular edges. It sounds completely simple, but if you know anything about binding a quilt, it’s really not. I considered a facing, and I’ve begun to really like the look of a faced quilt from the front since there is no distraction of any binding, but facing it would still mean having to join strips at some point, and if none of the points were square, joining them on the bias would be a nightmare.
I briefly considered a bias binding.
After discussion of this dilemma, Leisa suggested that I finish it with a false back. I would have to add some more quilting afterwards, but the end result would be a faced irregular edge without worrying about binding or facing strips. It would be similar to what I’ve been doing on the free-form pieces, so I decided to give it a try on a larger scale. The only difference is that this piece is all ready quilted. I would have to add some more quilting at the end.
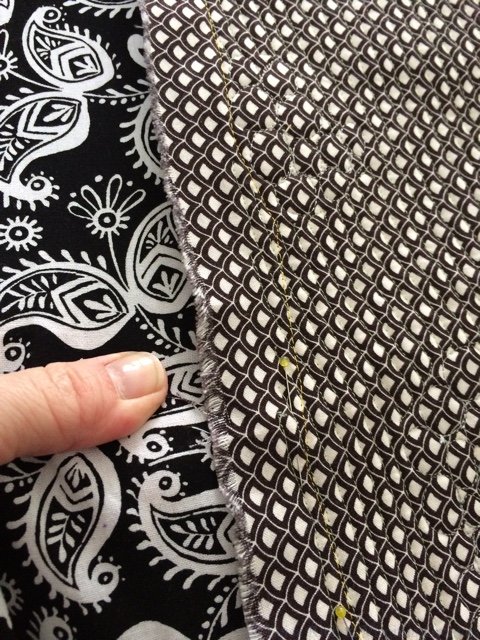
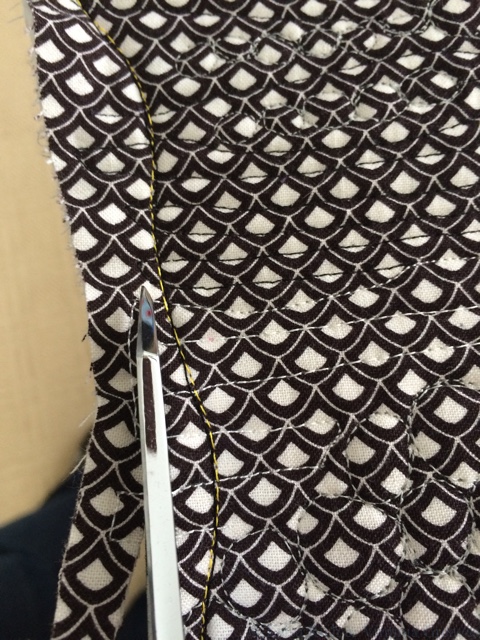
First thing, and sadly I don’t have a picture of this, I took a few markers and drew curves on the quilt to indicate where I wanted the boundaries to be. Then I took a top black thread and a bright yellow bobbin thread (that I would be able to easily follow on the black & white fabric on the currently quilted back) — and I sewed on the drawn line. I would use this as a guide later.
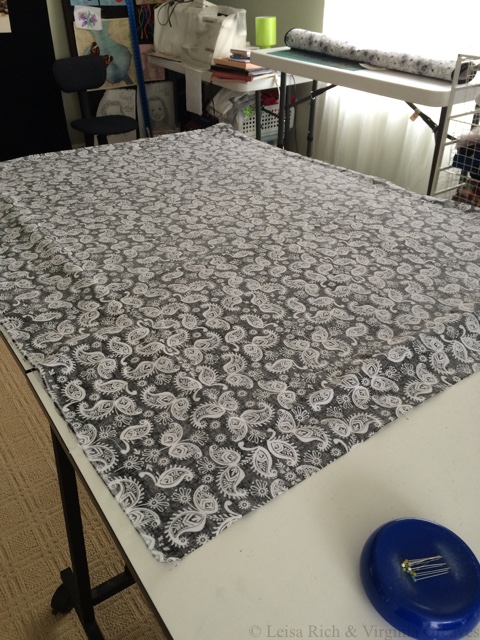
I took my false backing fabric and stretched it flat on a table with the front side up.
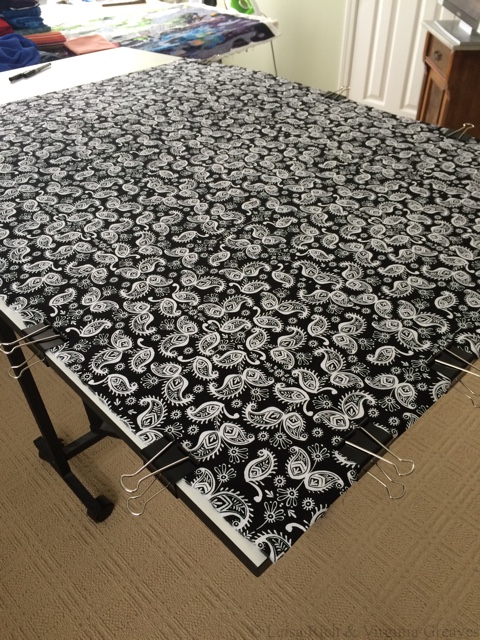
I then layered the quilt face side down on top of the false back — right sides facing each other — and then pinned them. I pulled a little on the fabric as I went to make it as taut as possible.
When I flipped it over, it was taut enough I think I could have flipped a penny on it.
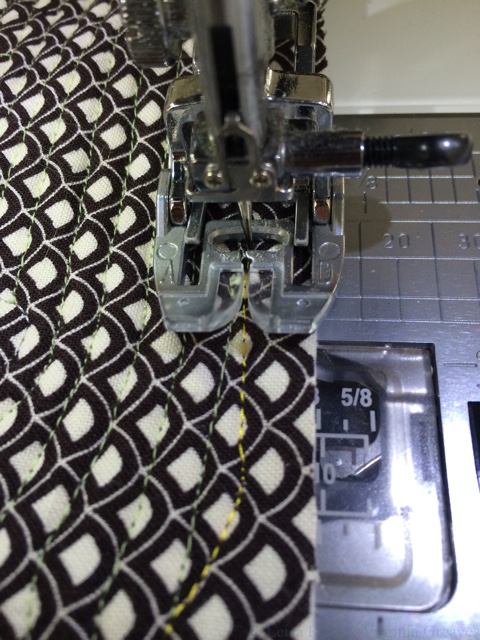
I flipped it back over so that the false back was facing down and the quilted back was facing me — and stitched a line over the yellow guide line I had sewn earlier. I did find a section that was relatively straight, about a hand’s width, and left that section un-sewn so I could use that space to turn it right-side out later.
Using sharp scissors, I cut a 1/4″ from the sewn line to remove excess fabric.
I clipped my inside corners to the sewn line (but not through), and I shaved some of the seam allowance from the outside corners.

And then all that was left was to turn it right side out.
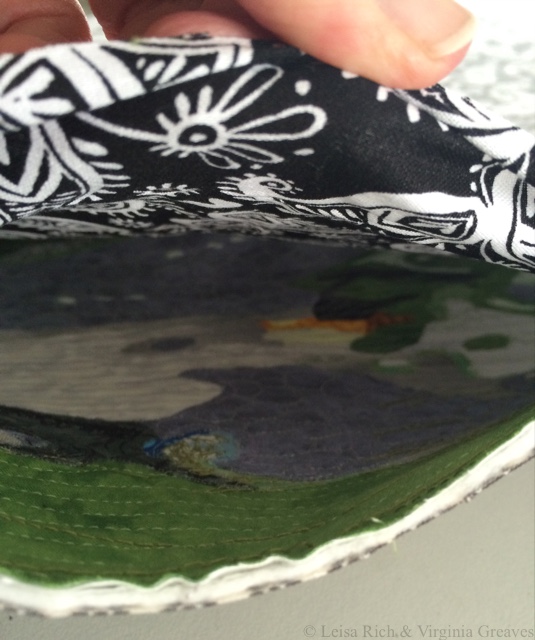
Once turned right side out, I carefully poked out the outside corners and smoothed the edges. It still looks like a pillowcase at this point.
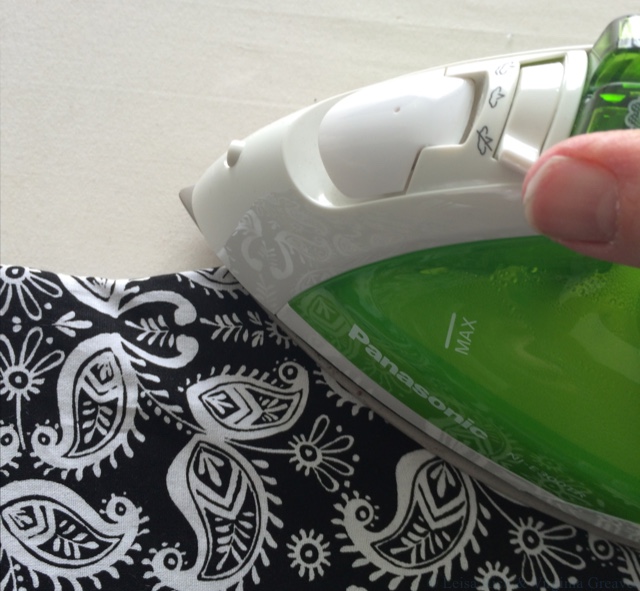
But I turned it over and from the back, I steamed the edges into submission.
I did press down the seam allowances in the section that was un-sewn and pinned them. I’ve learned from experience that it’s a good idea at this point to check that there’s not excess fabric across the middle, and if there is, smooth it towards this un-sewn section, re-fold the seam allowance to pull in that excess fabric, and re-pin. The goal is to make the back as taut as possible.
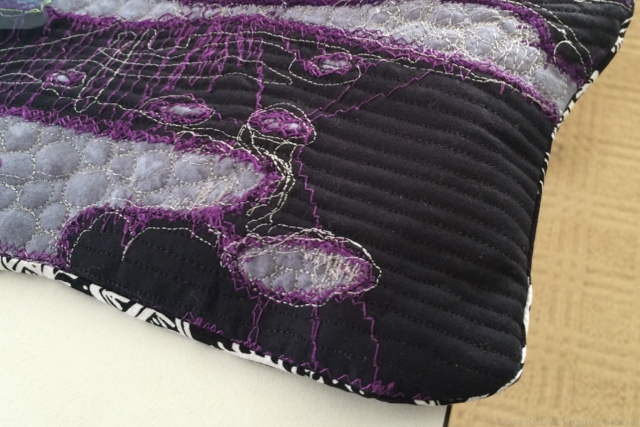
When I was done, I picked a neutral thread, something that I thought would blend well across all of the fabrics on the front (for me, a charcoal), and topstitched the edge about a quarter inch from the edge.

The result is a very flat piece with irregular edges. I did go back and quilt on it for a couple more hours, ditch stitching around the major shapes, and I liked the added dimension that that gave the piece. In the end, I didn’t save any time from adding a binding, but my fingers were happy to not do the hand sewing, and the result is a very well done irregular faced edge. (I did have to hand sew the sleeve to the back at the end.)
I could have, by the way, done this in the beginning with my first back before I started quilting, but given how tightly I quilt my pieces and how large this piece is, I felt that there would be tucks on the back. When you quilt tightly across the grain, fabric stretches, and it’s nice to be able to smooth that out to the ends and off the edges if you need to. With this technique, I wouldn’t have had that opportunity — the pulled fabric would have been trapped at the faced edge. It would have saved me the second quilting time though. Something to consider next time.
But now she’s done. She’ll debut in our two-person show at The Abernathy Art Center in Sandy Springs, GA, in September/October.
I have a page for Abstract #4 here — but the final pictures won’t be debuted on the website until after opening night in the gallery.