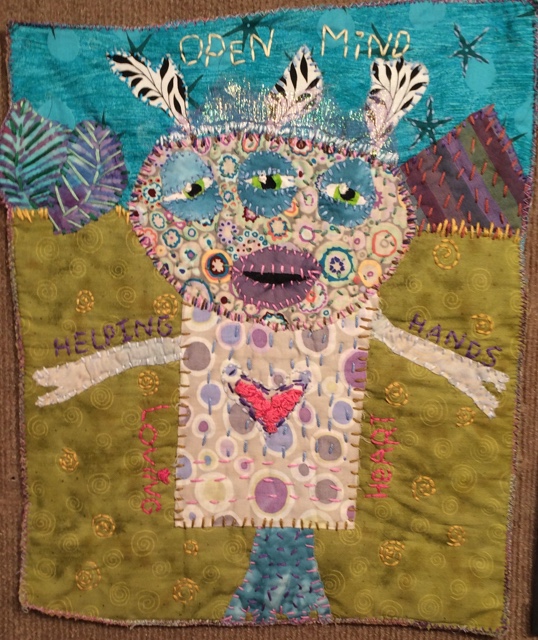
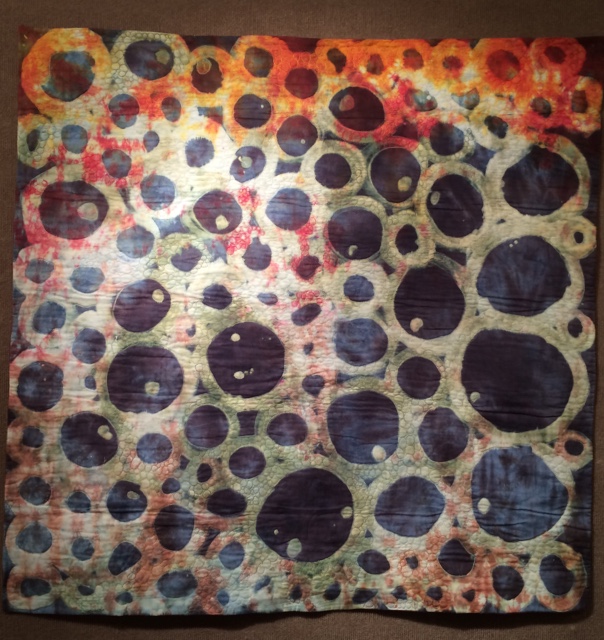
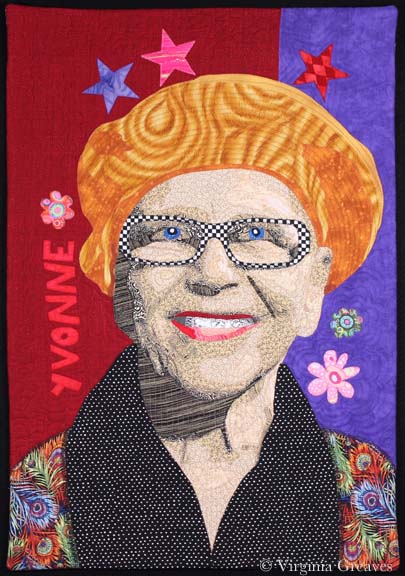
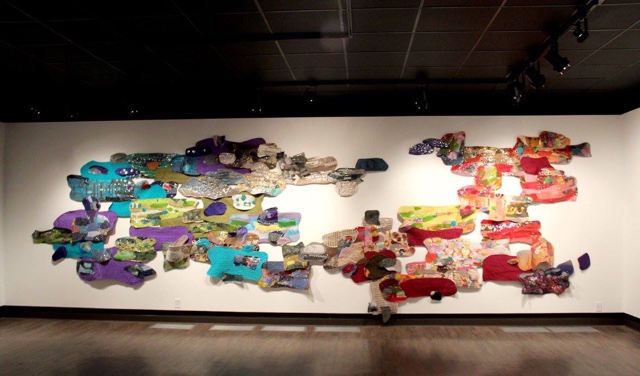
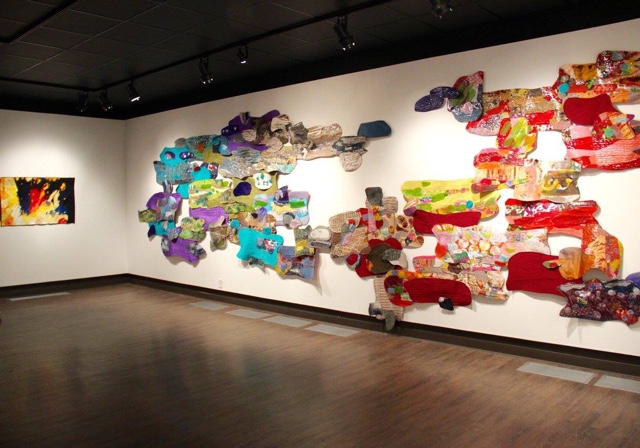
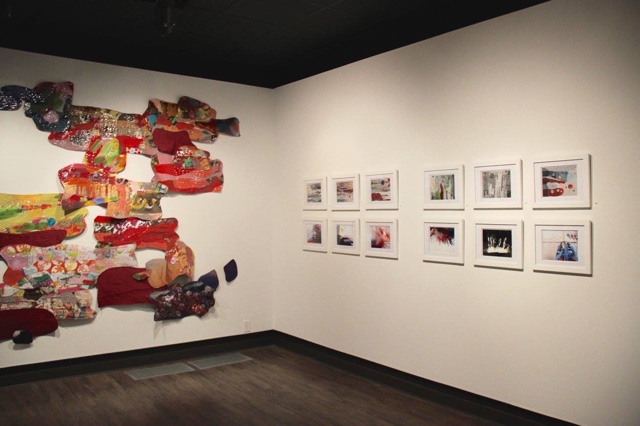
Pokey Bolton put out a call a few months ago for an exhibit honoring Yvonne Porcella. I was never personally acquainted with her, but she was the founder and first president of Studio Art Quilt Associates, an organization that has made great strides in advancing the art of the quilt in our culture, from which I have personally benefitted. So I have decided to pay homage to her exquisite life and learn more about her in the process.
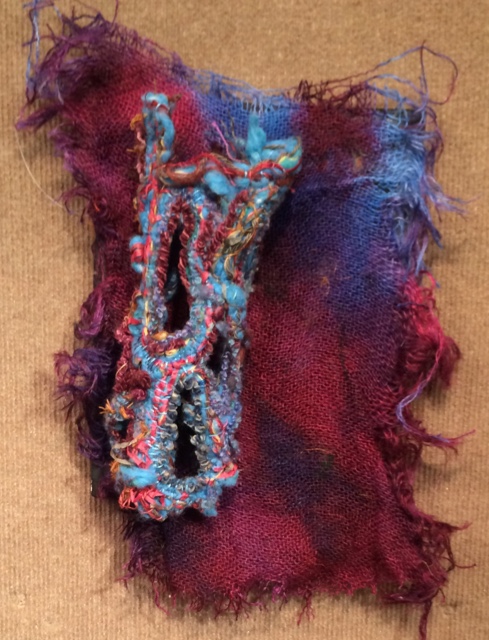
She was part of a group of ladies for whom red was a neutral. Such brass. I struggle with hot colors, but I knew that this would be a fun challenge. I also hoped to merge my style with hers, and in the process, learn to further loosen up my creativity. My process of portraiture is largely controlled, but there is something to be said for freeing your mind to accept creative karma into your work. As you’ll see, it helped me immensely in the final design.
I chose a selfie of her from her Facebook photo album. I later realized that it was also the pic being used as the cover for the show, although that was not my original intent in choosing it. No matter. I was only using it for inspiration. My final piece would be markedly different.
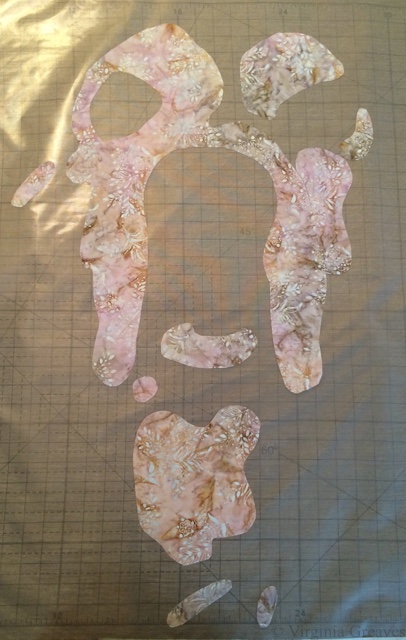
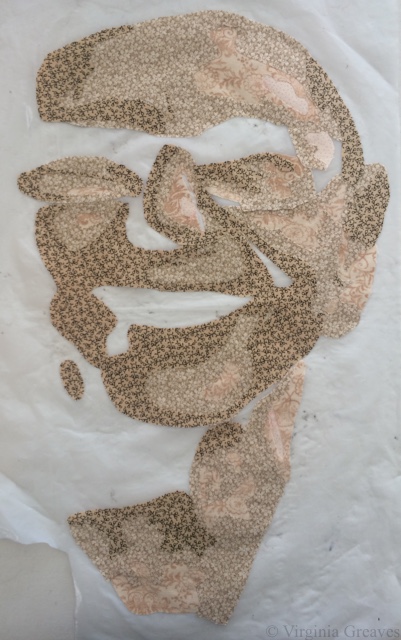
I started with the lightest shades. The final piece will be relatively small — 18″ x 26″, so I could fit her face on my small pressing sheet (which at this point is torn and marked but it still works).

This is the 3rd value — you can begin to see the outline of her face take shape.

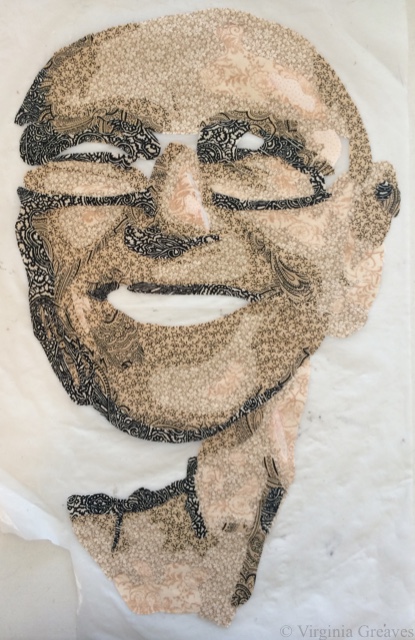
The 4th value give you shadows.
The 5th gives more.

The 6th value. The lines under her eyes are the shadows of her glasses on her face.
And yes, I’m pushing the envelope with a 7th value.
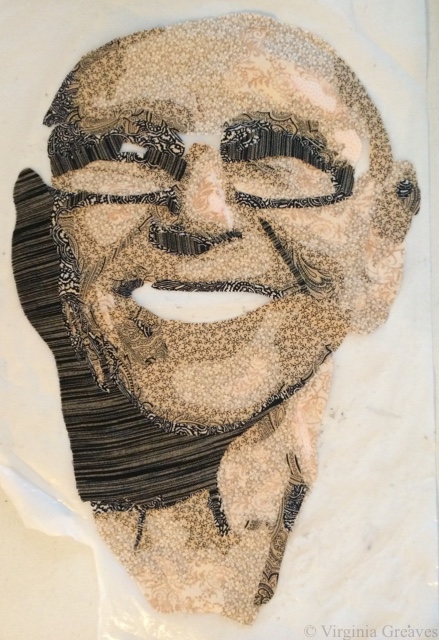
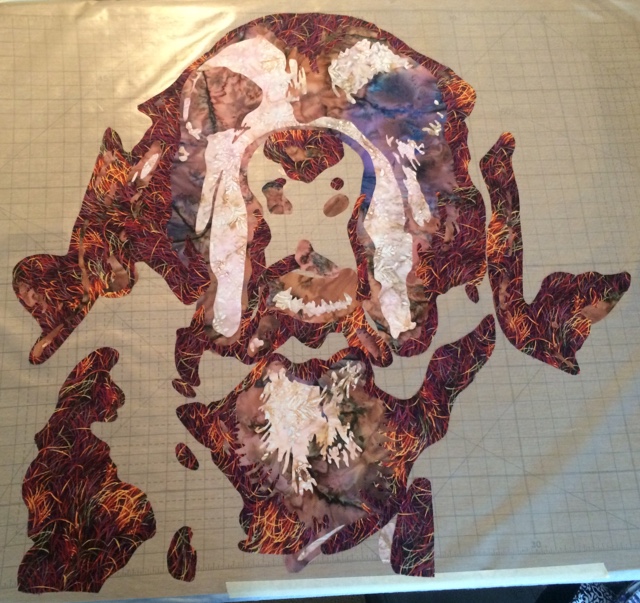
Her eyes in the picture were of no help. The shadow from her glasses was too great, so I had to redraw them as I thought they would be.
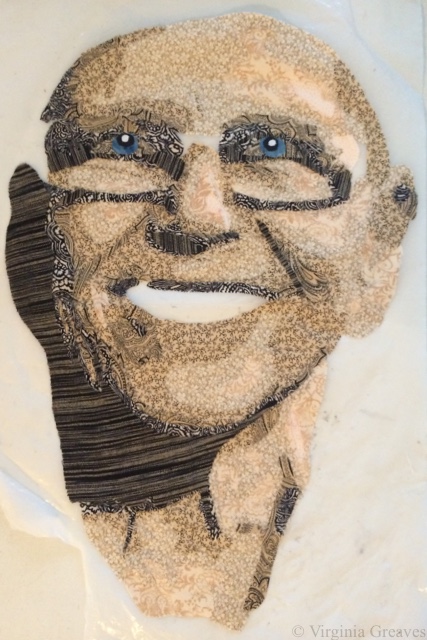
And here are her signature black and white checked glasses.

Then I added the teeth and the mouth.

And then she sat for a while, and I decided that her eyes weren’t commanding enough, so I changed the irises of her eyes to a deeper blue.

Yesterday, I finally had to time to work on her for a while. My original idea was not to have a hat or clothing — just have her face among blooms, but when the time came to cut into fabric, I wasn’t seeing it that way anymore. I changed my mind about the hat and the scarf and shirt, and I decided to have a green background with red, purple, pink, and orange squares covering it in a grid fashion.
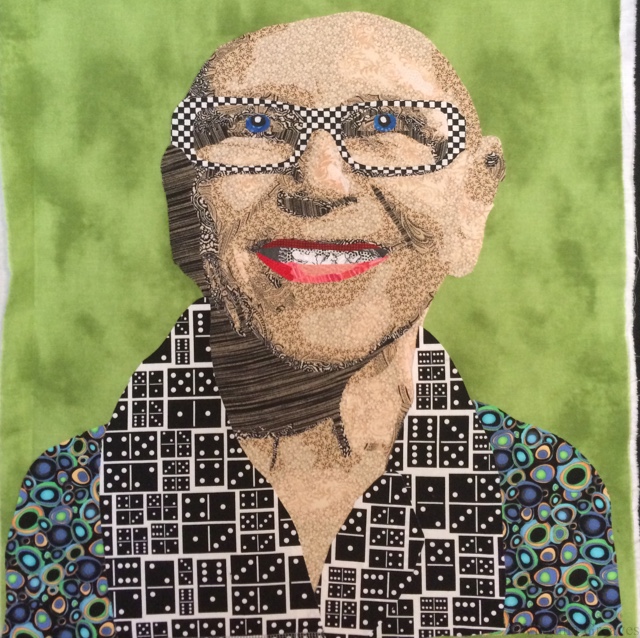
And by the way, I didn’t photograph my first attempt at her hat. It was awful. When something is yellow, it is hardly every TRULY yellow. I threw it in my scrap bin and remade it in more orange and brown tones.
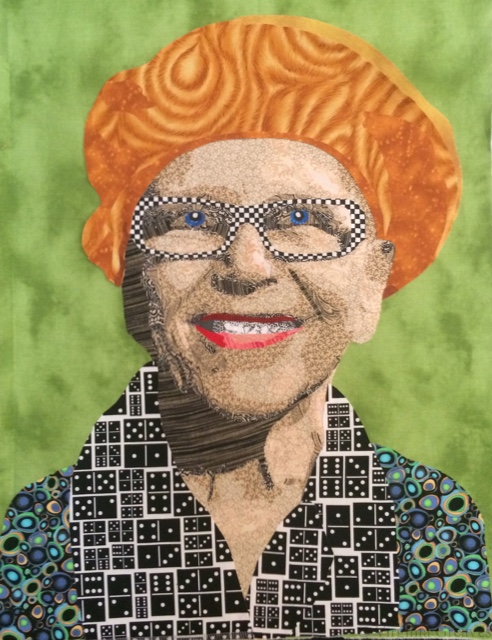
But you see, this is wrong also. It is not the spirit of her at all. So after I woke up this morning, I ripped her off that green. Red is her neutral, so I knew I needed to start with red.
I had the perfect piece, but it wasn’t large enough — which was actually perfect because it forced me to use purple — which is more like what she would have done. I also changed her shirt to a pattern that had warmer colors.
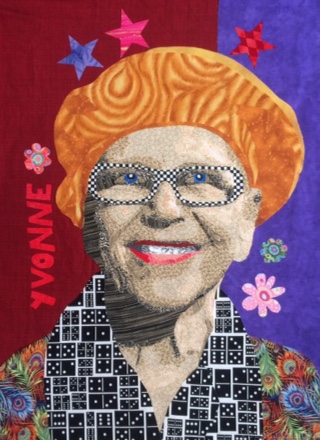
I studied several of her pieces, and decided that free-hand block letters of her name would be perfect in a bright red. Then I added the stars that she often used, and then finished with a few flowers.
I’m going to let it sit for the rest of the day before I decide if I want to add more. The print on the scarf is the right mix and black and white — but the square of the dominoes are making the scarf seem less flowing than a scarf should be. I may have to run to the fabric store for a replacement.

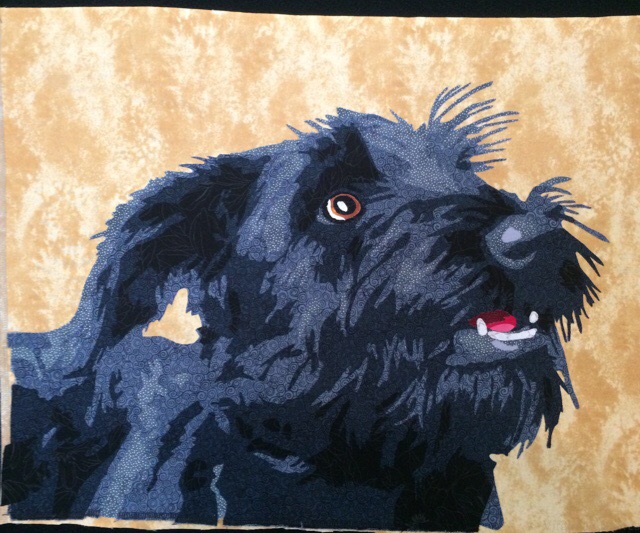
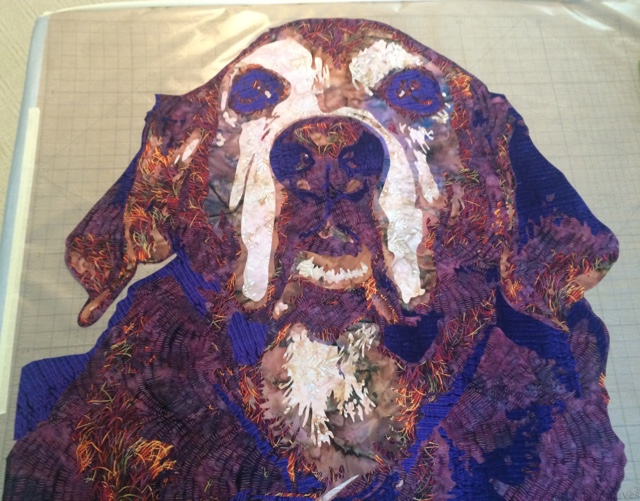
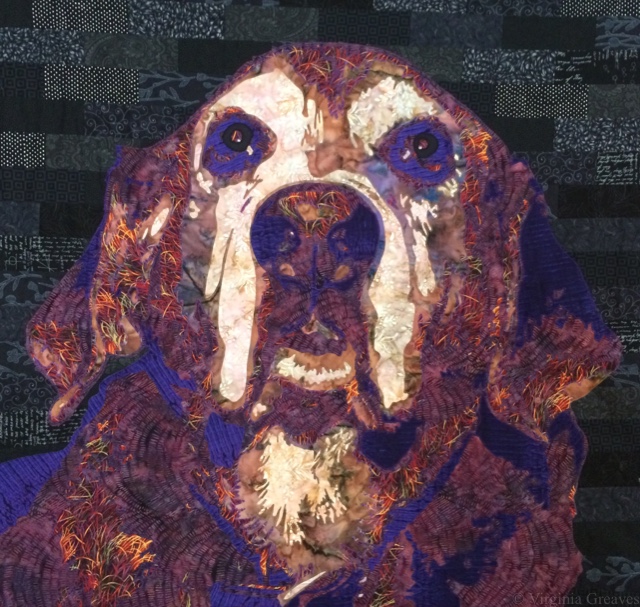
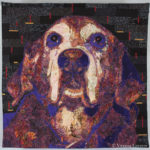
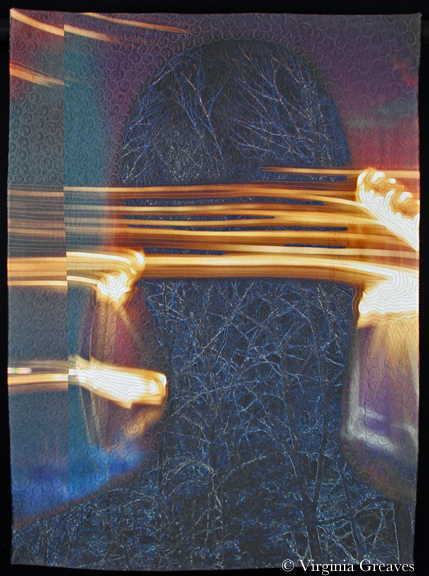
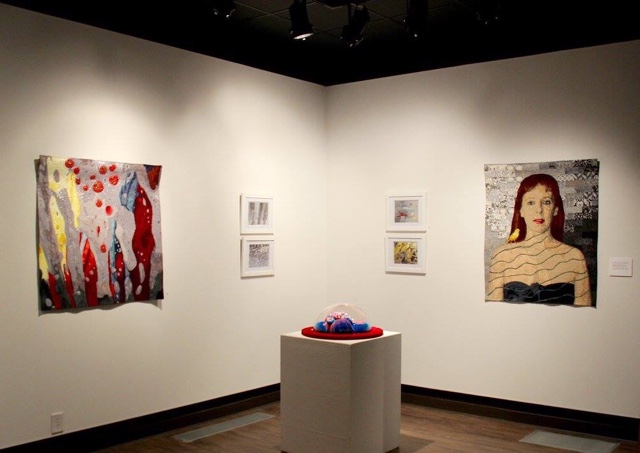
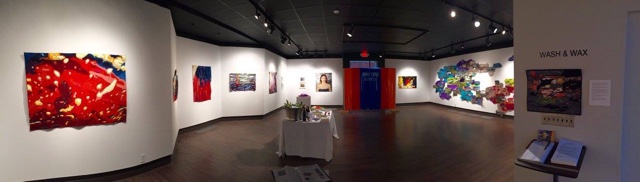
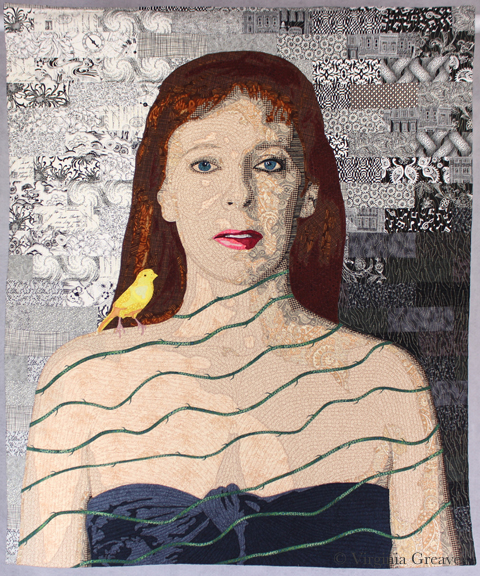
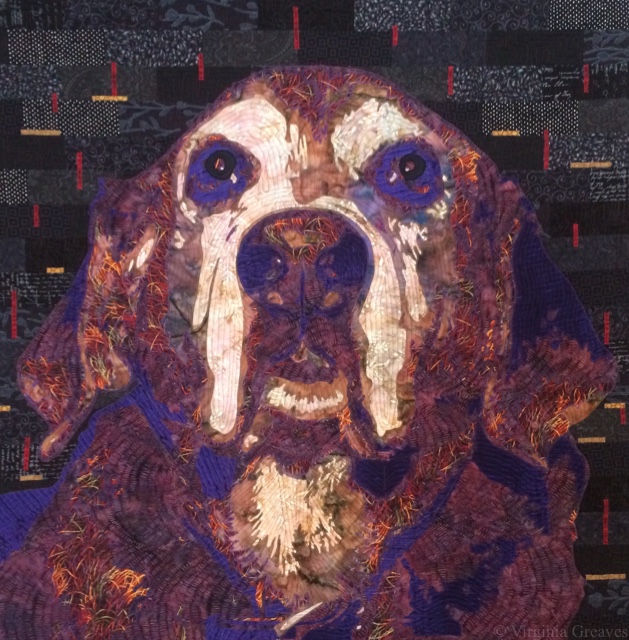 So I just got my email saying that my piece, Minerva, didn’t get into QN ’17, and I was talking to a friend of mine who also didn’t get in (who, incidentally, was in their last exhibit in ’15), and I started thinking — wouldn’t it be really cool to see all the amazing work that didn’t get into QN ’16. I mean, the pieces I know that didn’t get in are spectacular! The acceptance rate was just slightly over 11% — imagine seeing the awesome work that isn’t going to QN ’17!