Woohoo! My first piece in Dinner@8! I know there are a lot of you that can’t comprehend what a big deal this is, but it’s kind of like winning the lottery. It’s a juried invitational show, so I had to apply to be a part of the Dinner@8 group in order to be invited to make a piece for the current year’s show. After I was accepted, I made a piece according to the theme, which this year was Personal Iconography: Graffiti on Cloth.
I haven’t shown the piece in process on the website because that’s a no-no in this show. Virgin rules, except you can post after acceptances go out.
I’ll admit that I was stumped by this year’s theme. My goal, just as I did the Yvonne Porcella piece (Yvonne in the Garden), was to make a piece that was wholly in my style while still working within the framework of the theme, but I knew that doing that with this theme was going to be hard. I knew that I was going to make a portrait of a person, and I spent some time thinking about how tattoos are so personal and would work well within the theme. My daughter has several tattoos, and she spends a lot of time considering the symbology of each piece and finding the right artist before she gets them. I wanted to honor that, but I also knew that finding a female model would be hard. I envisioned a back shot with the main tattoo on the arm. I’m not entirely sure why, but it seems to me to be a deeply personal pose, enough that I didn’t know anyone personally that I felt I could ask. And really, who’s always available? (Me.) Thank goodness I have a remote control for my camera. I set it up in my studio, and by the end of one afternoon, I had a series of shots I could work with to create what I had in my mind.
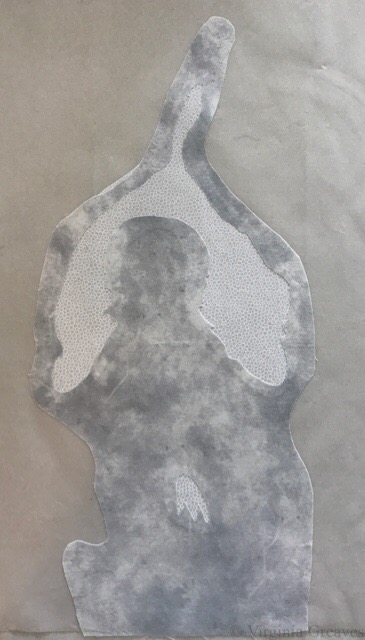
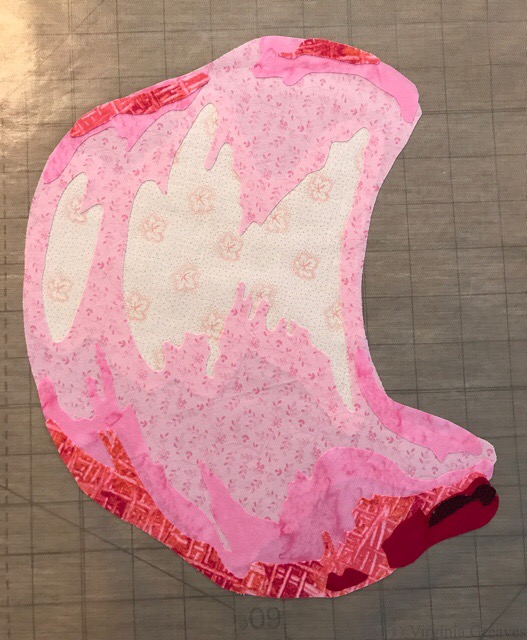
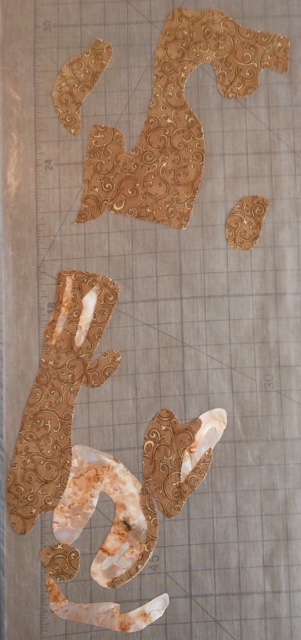
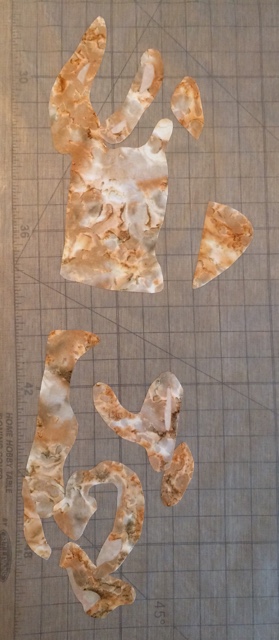
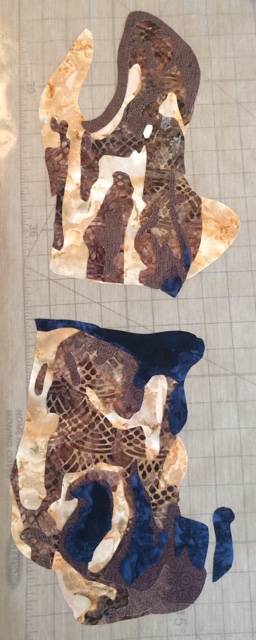
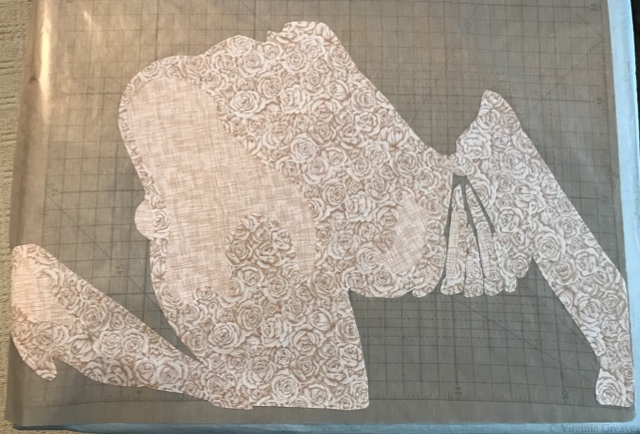
I started with the shoulders and back first since the hair would drop over the back. I usually start with the face, but in this instance, the shoulders made more sense. This is the first couple of values.
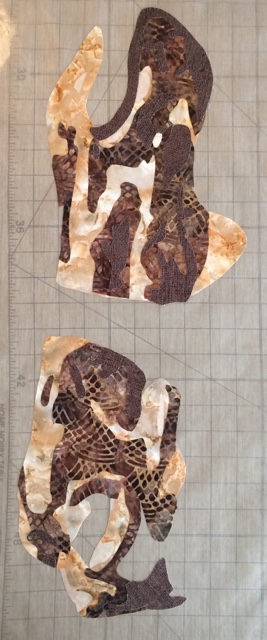
This is the 3rd value. I ran out of the fabric — or rather ran short on it. I knew I needed enough to cut out for the face and decided that I needed to supplement with a fabric that was close. I could use it on the extended arm and the change would be less visible. (This prompted a late night run to JoAnn’s as it was the only thing open at the time, & I was in the creative head space to keep moving forward.)
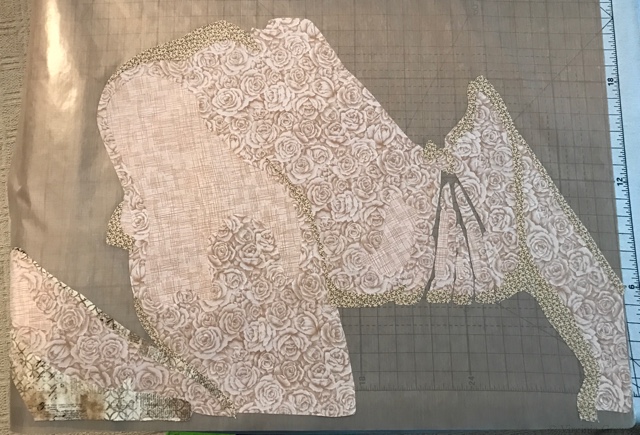
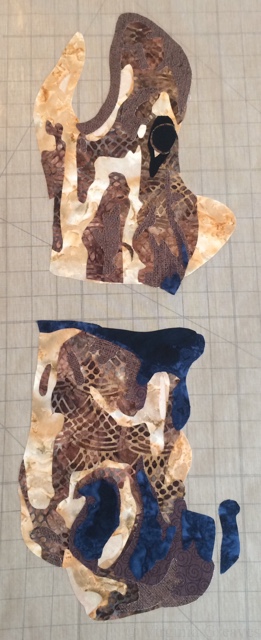
This is also the point at which I realized I needed to complete the hand along with the arm — and make sure I had enough fabric to do it as well.
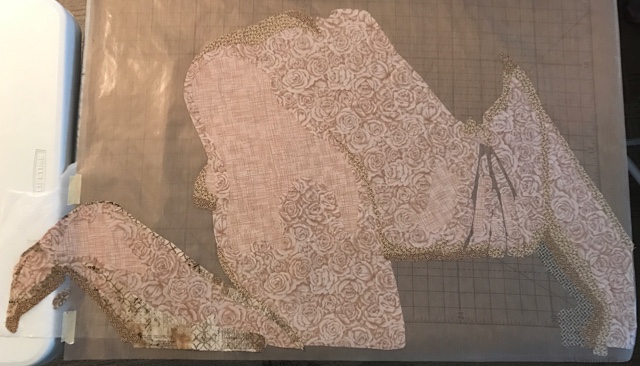
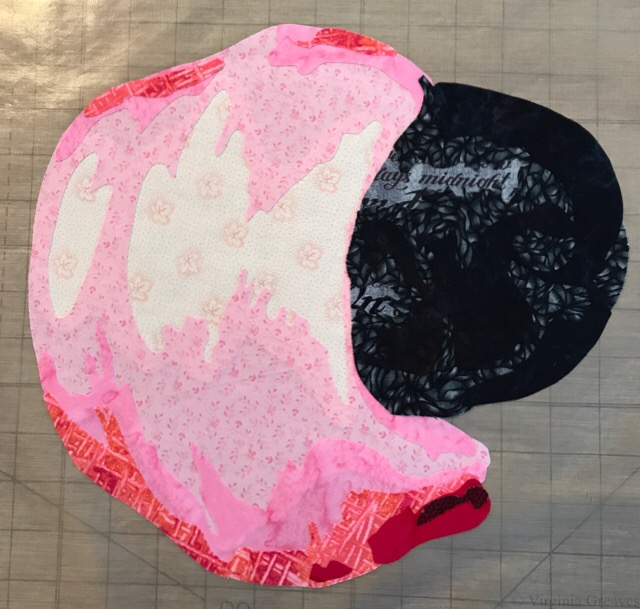
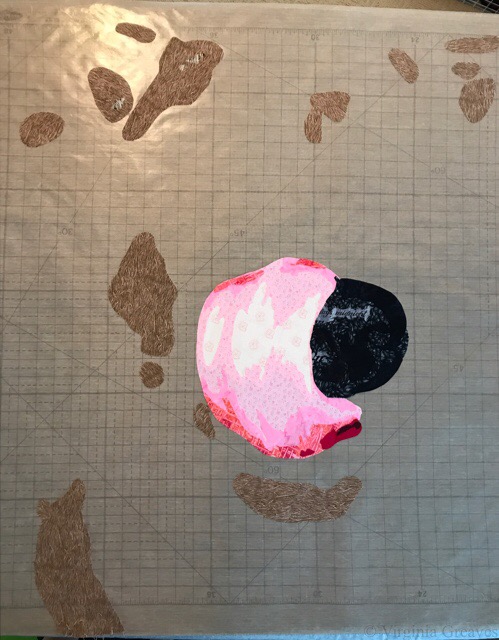
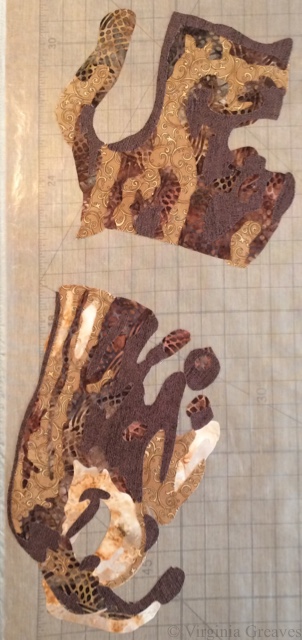
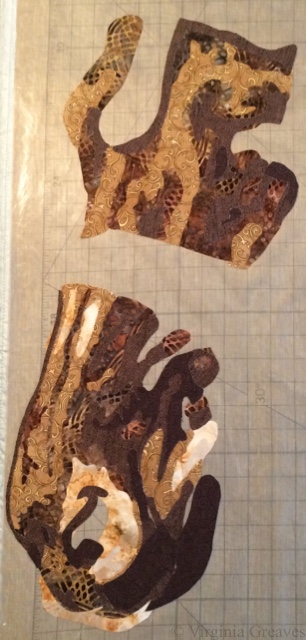
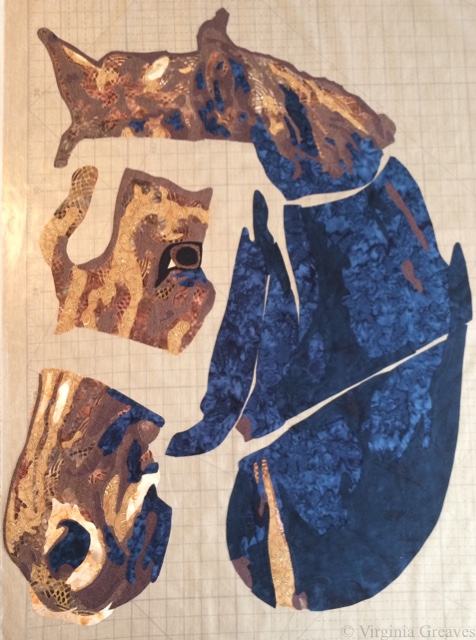
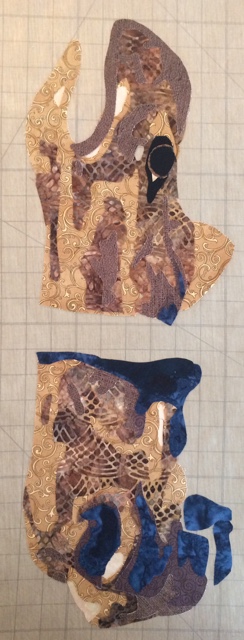
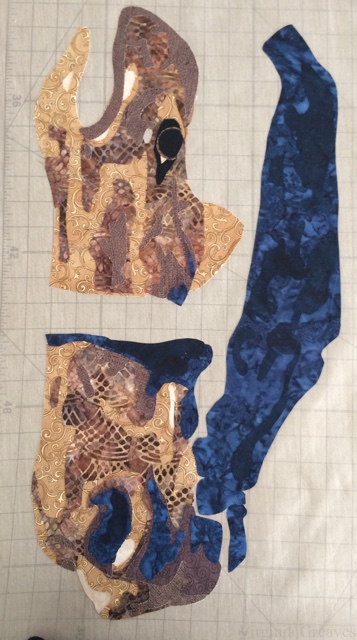
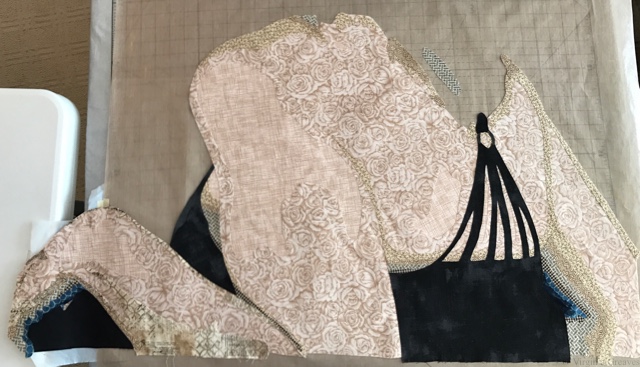
And then I added the deeper values, a dark tan and a couple of dark blues — and then the black garment.
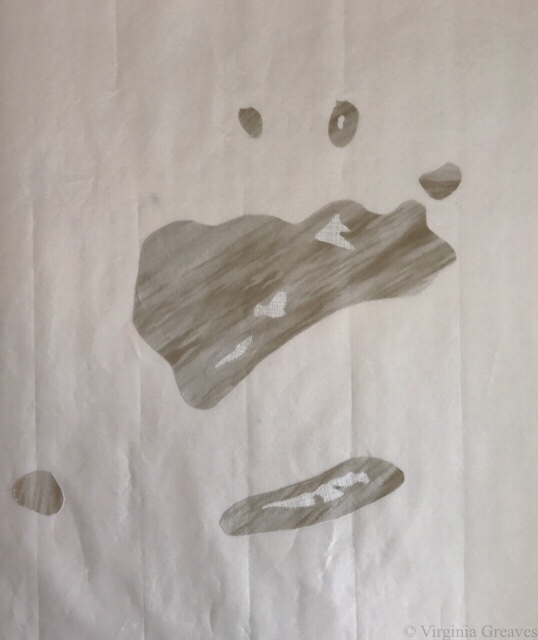
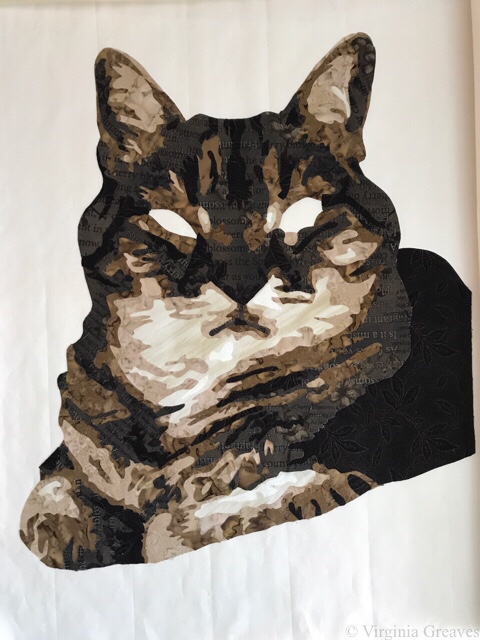
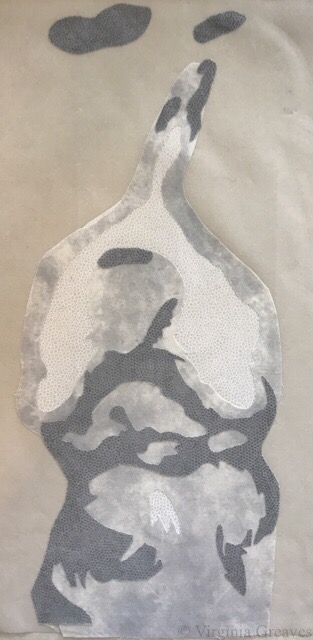
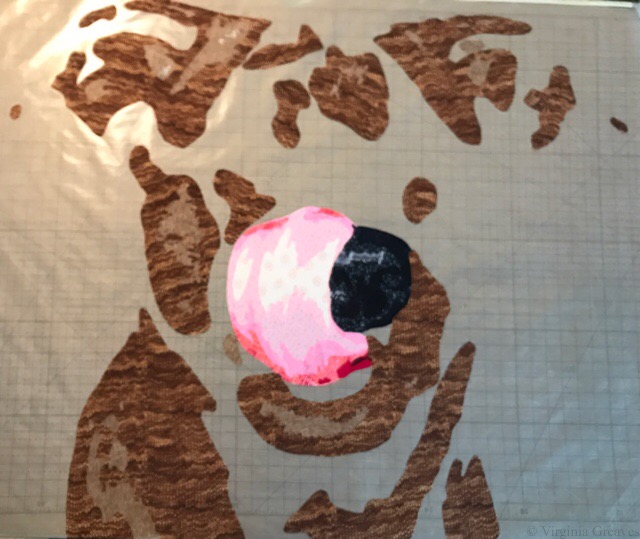
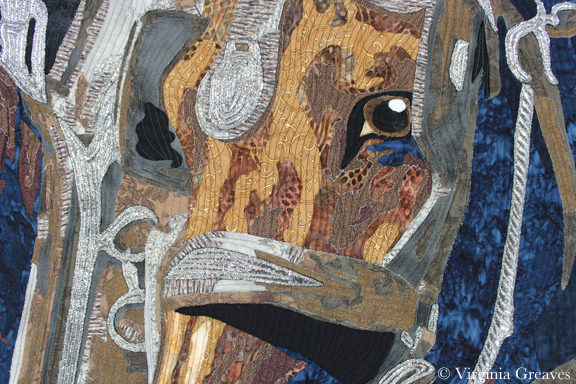
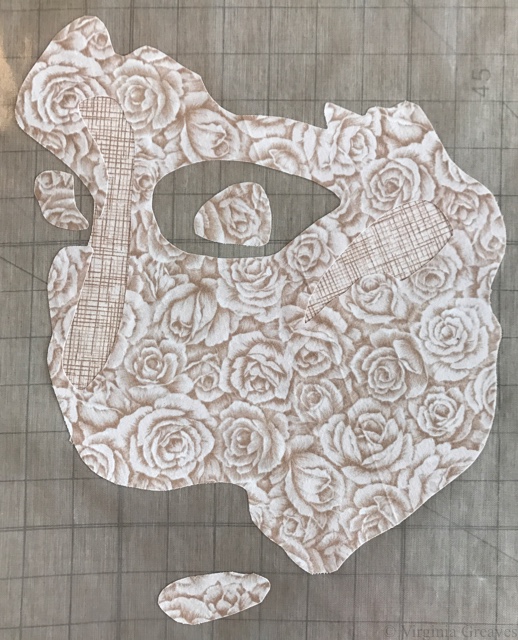
And then I started on the face using the same fabric. These are the first two, and you can just see the basic outline.
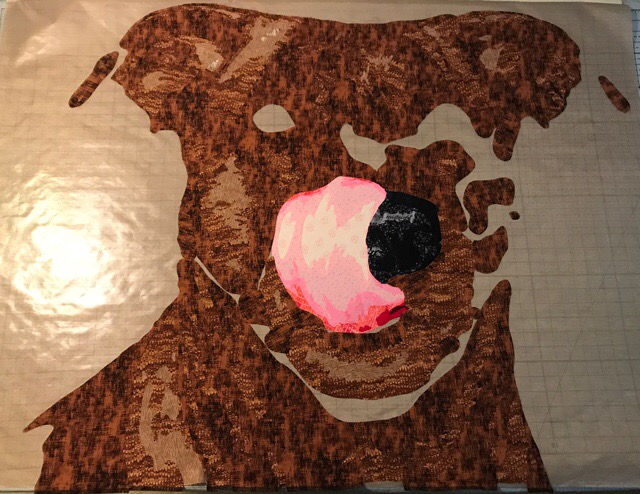
This is the 3rd value, the one that I ran out of. I’ve had this fabric for a long time, and I’ll have to try to replace it. (Never let anyone tell you that calicos don’t have value. They’re wonderful for faces.)
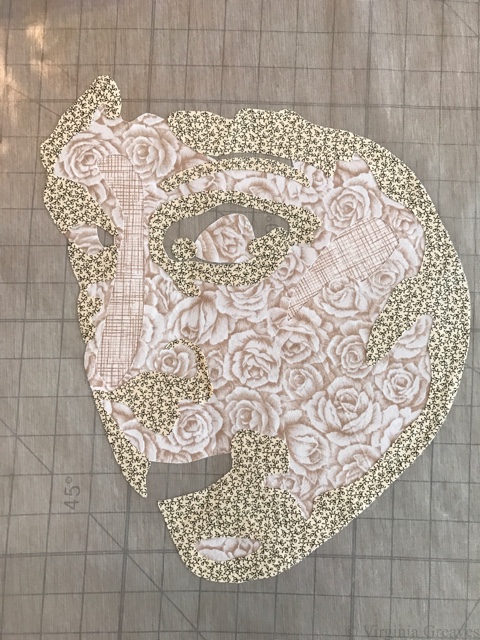
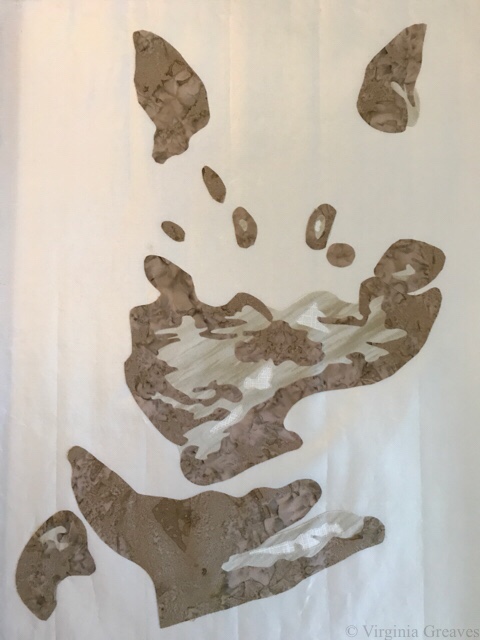
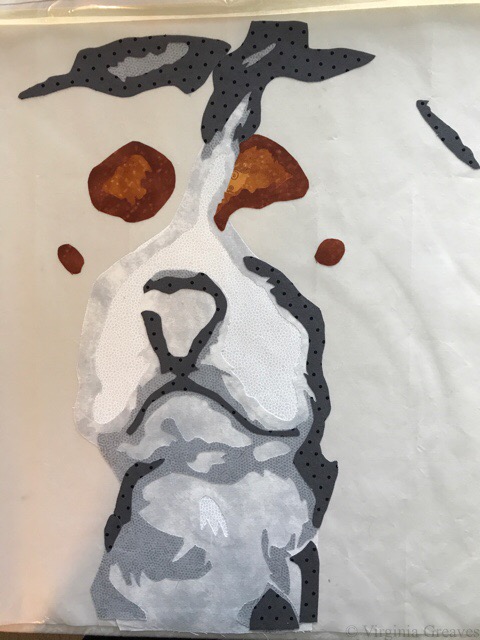
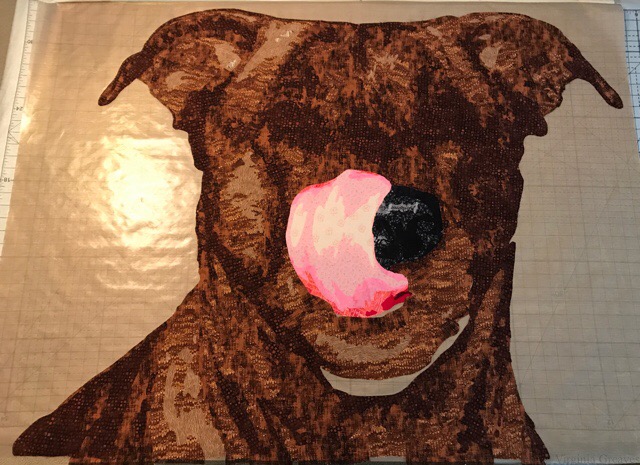
This is the 4th value. It inadvertently looks a little like horns, but really, that’s just my high forehead that will go under the hair.

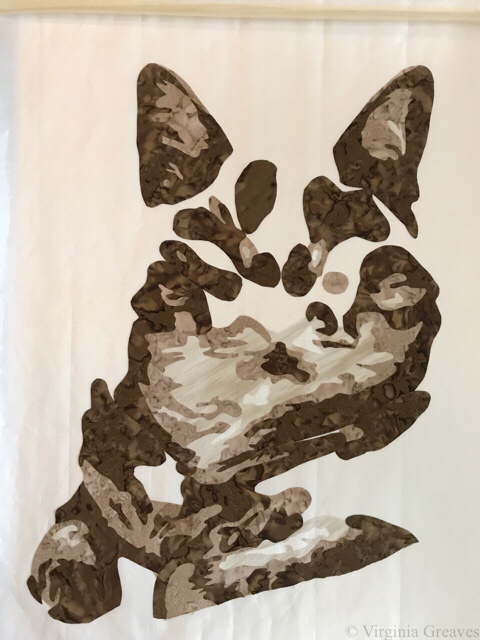
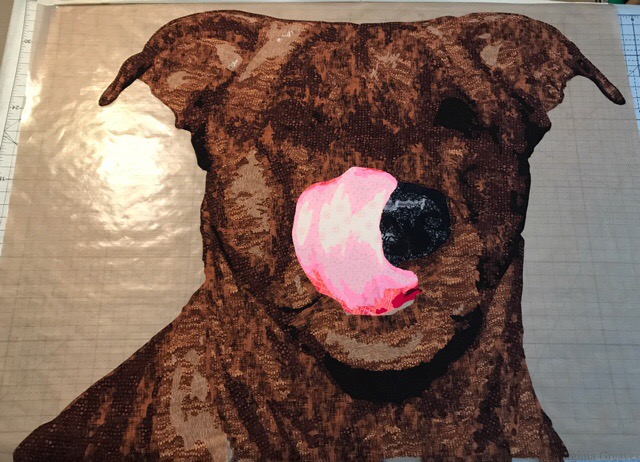
The 5th value. You can tell I was working at night in this one.
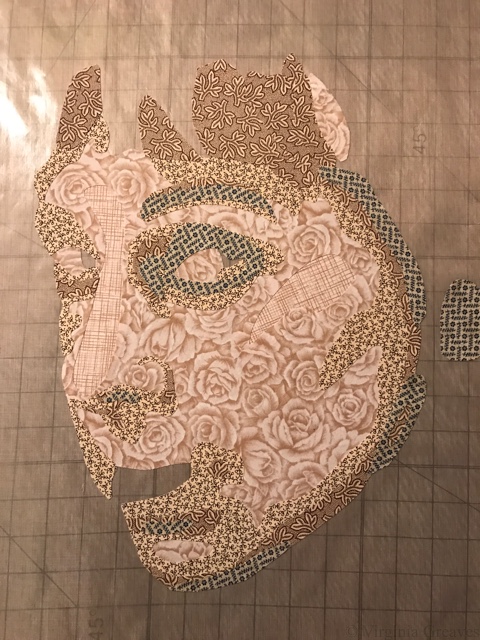
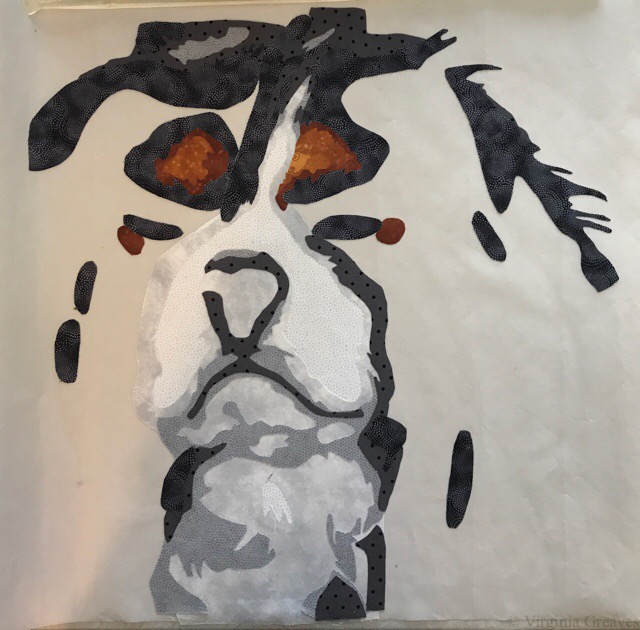
And then the rest of the darkest values. I leave the main parts of the eyes and the mouth for the end, so at this point, she looks a little bit like a zombie. I did play around with the darks around the eyes a little bit. I naturally have very dark circles around my eyes, but it wasn’t aesthetically pleasing in the piece, so I backed off on the value a little. (This is part of what I call creative license. Do what’s best for the piece and don’t feel tied to exact duplication of the photograph.)

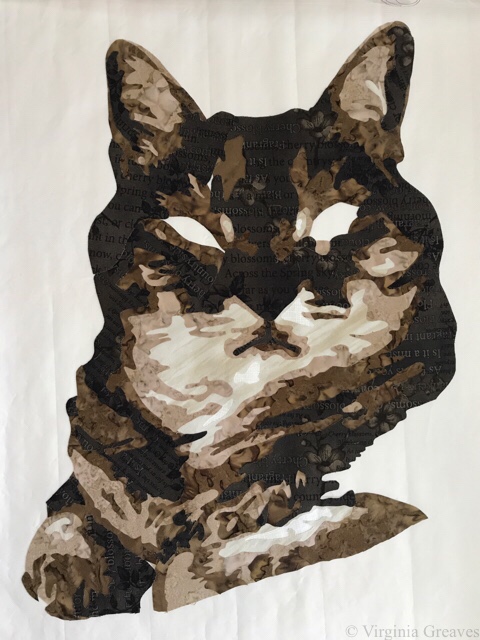
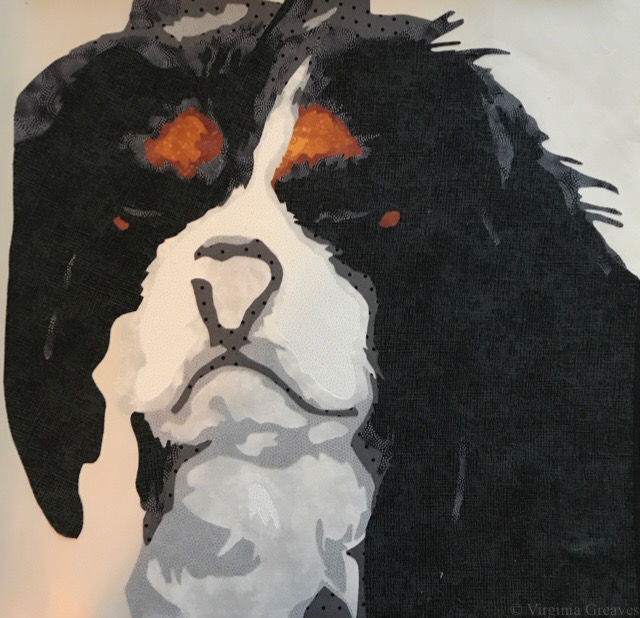
These are the eyes. Not quite right. I almost always freehand cut these nowadays.

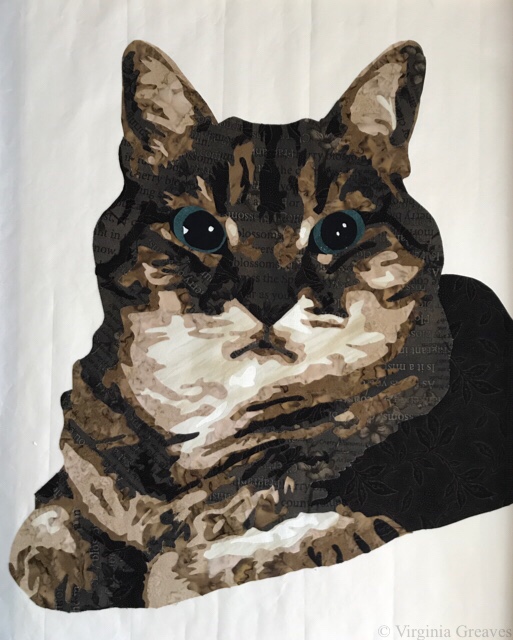
And in this one, a darker blue around the rims of the irises and larger pupils. Then I made the teeth (or the suggestion of teeth) and the mouth.
I did go back later and make the eyebrow on the right darker.

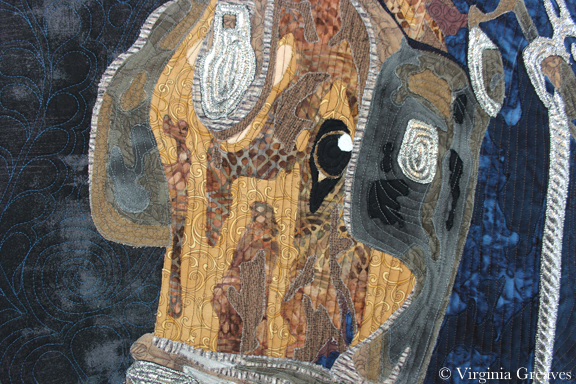
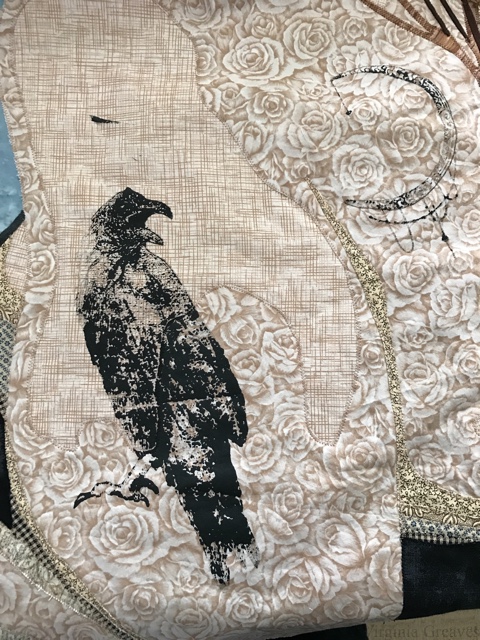
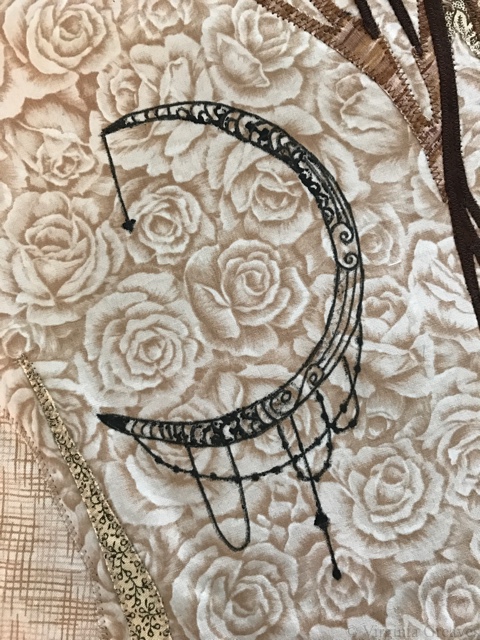
I spent quite some time trying to figure out how I would do the tattoos. I wanted them to look like dotwork tattoos, and so screen printing seemed the way to go. I had, years ago, done some screen printing. What could go wrong? I drew the tattoos in my sketchbook, scanned them, skewed them in Photoshop so they would look as if they were on an arm and tilted across the back, and sent them to Fiber on a Whim to be burned to screens. After fusing my figure to a background and appliquéing it in place, I then screened them right on my piece. What was I thinking? The moon is clean but way too light, and the crow is a mess. I even have a paint blotch above the crow’s head.
With the moon, I just grabbed a fabric marker and filled in all of the light spots to clean it up.
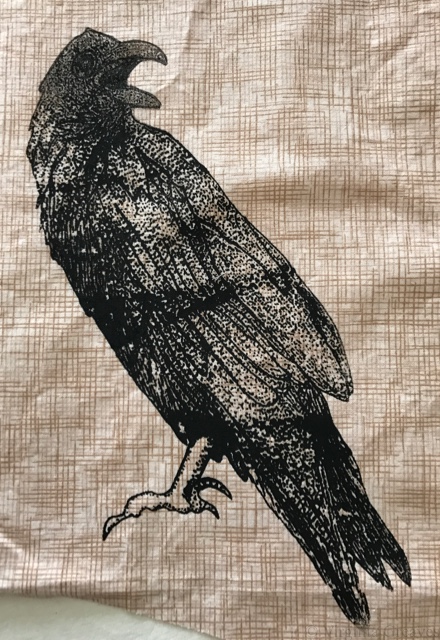
The crow was much harder. I think it sat on my ironing board for at least a week while I thought it over. No use crying over split milk. I had leftover fabric, so I made a bunch of screens of the crow until I got a decent screen. I now have mad appreciation for anyone that screen prints, especially to fabric. It’s much harder than it looks to get a clean screen print.
On the finished piece, I cut out the crow and the blotch. I had to pick out appliqué stitches in two places. Those will be covered by the new crow.

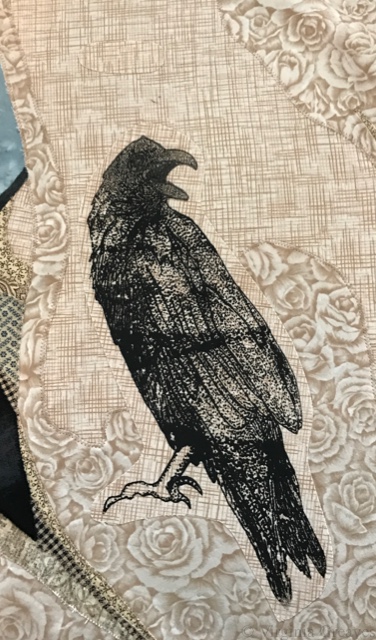
Then I took the new crow, cut around the crow shape, and then fused it onto the arm. I also made a patch to fuse onto the area of the blotch that I had to cut out. Then I ran an appliqué stitch around the crow and the patch. I worried that it would be too obvious around the bottom area where the fabric value is darker, but it’s hardly noticeable on the final piece. There’s only about a quarter inch of light fabric around the crow, and it blends with the fabric it’s next to. In the end, it was a good solution to a difficult problem.
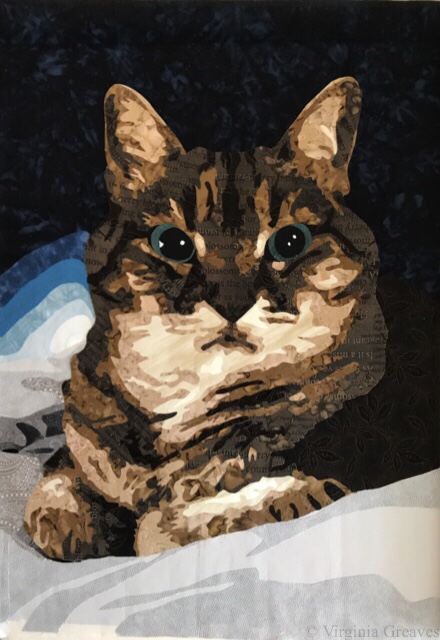
As I was making the piece, I thought it would be cool to add graffiti to the background. That’s why I went with a solid blue background. I even studied graffiti shapes and practiced lettering. I made the graffiti, but then I decided it was too much of an in-your-face interpretation of the theme — so I took them off. That was much worse. So I spent time thinking about the background — and about how I approach my work. In the end, I decided that I didn’t want to be safe, and leaving off the graffiti was safe. Keeping them on there gave the piece a vibrancy it didn’t have without them. So I played with their placement and added black outlines to them and some sparkly points.

You can see the final piece on the Tattoo page here.
Tattoo will premiere in the Dinner@8 exhibit at International Quilt Market & Festival in Houston this coming October/November.