Posts tagged bird

Making Tattoo
0Woohoo! My first piece in Dinner@8! I know there are a lot of you that can’t comprehend what a big deal this is, but it’s kind of like winning the lottery. It’s a juried invitational show, so I had to apply to be a part of the Dinner@8 group in order to be invited to make a piece for the current year’s show. After I was accepted, I made a piece according to the theme, which this year was Personal Iconography: Graffiti on Cloth.
I haven’t shown the piece in process on the website because that’s a no-no in this show. Virgin rules, except you can post after acceptances go out.
I’ll admit that I was stumped by this year’s theme. My goal, just as I did the Yvonne Porcella piece (Yvonne in the Garden), was to make a piece that was wholly in my style while still working within the framework of the theme, but I knew that doing that with this theme was going to be hard. I knew that I was going to make a portrait of a person, and I spent some time thinking about how tattoos are so personal and would work well within the theme. My daughter has several tattoos, and she spends a lot of time considering the symbology of each piece and finding the right artist before she gets them. I wanted to honor that, but I also knew that finding a female model would be hard. I envisioned a back shot with the main tattoo on the arm. I’m not entirely sure why, but it seems to me to be a deeply personal pose, enough that I didn’t know anyone personally that I felt I could ask. And really, who’s always available? (Me.) Thank goodness I have a remote control for my camera. I set it up in my studio, and by the end of one afternoon, I had a series of shots I could work with to create what I had in my mind.
I started with the shoulders and back first since the hair would drop over the back. I usually start with the face, but in this instance, the shoulders made more sense. This is the first couple of values.
This is the 3rd value. I ran out of the fabric — or rather ran short on it. I knew I needed enough to cut out for the face and decided that I needed to supplement with a fabric that was close. I could use it on the extended arm and the change would be less visible. (This prompted a late night run to JoAnn’s as it was the only thing open at the time, & I was in the creative head space to keep moving forward.)
This is also the point at which I realized I needed to complete the hand along with the arm — and make sure I had enough fabric to do it as well.
And then I added the deeper values, a dark tan and a couple of dark blues — and then the black garment.
And then I started on the face using the same fabric. These are the first two, and you can just see the basic outline.
This is the 3rd value, the one that I ran out of. I’ve had this fabric for a long time, and I’ll have to try to replace it. (Never let anyone tell you that calicos don’t have value. They’re wonderful for faces.)
This is the 4th value. It inadvertently looks a little like horns, but really, that’s just my high forehead that will go under the hair.
The 5th value. You can tell I was working at night in this one.
And then the rest of the darkest values. I leave the main parts of the eyes and the mouth for the end, so at this point, she looks a little bit like a zombie. I did play around with the darks around the eyes a little bit. I naturally have very dark circles around my eyes, but it wasn’t aesthetically pleasing in the piece, so I backed off on the value a little. (This is part of what I call creative license. Do what’s best for the piece and don’t feel tied to exact duplication of the photograph.)
These are the eyes. Not quite right. I almost always freehand cut these nowadays.
And in this one, a darker blue around the rims of the irises and larger pupils. Then I made the teeth (or the suggestion of teeth) and the mouth.
I did go back later and make the eyebrow on the right darker.
I spent quite some time trying to figure out how I would do the tattoos. I wanted them to look like dotwork tattoos, and so screen printing seemed the way to go. I had, years ago, done some screen printing. What could go wrong? I drew the tattoos in my sketchbook, scanned them, skewed them in Photoshop so they would look as if they were on an arm and tilted across the back, and sent them to Fiber on a Whim to be burned to screens. After fusing my figure to a background and appliquéing it in place, I then screened them right on my piece. What was I thinking? The moon is clean but way too light, and the crow is a mess. I even have a paint blotch above the crow’s head.
With the moon, I just grabbed a fabric marker and filled in all of the light spots to clean it up.
The crow was much harder. I think it sat on my ironing board for at least a week while I thought it over. No use crying over split milk. I had leftover fabric, so I made a bunch of screens of the crow until I got a decent screen. I now have mad appreciation for anyone that screen prints, especially to fabric. It’s much harder than it looks to get a clean screen print.
On the finished piece, I cut out the crow and the blotch. I had to pick out appliqué stitches in two places. Those will be covered by the new crow.
Then I took the new crow, cut around the crow shape, and then fused it onto the arm. I also made a patch to fuse onto the area of the blotch that I had to cut out. Then I ran an appliqué stitch around the crow and the patch. I worried that it would be too obvious around the bottom area where the fabric value is darker, but it’s hardly noticeable on the final piece. There’s only about a quarter inch of light fabric around the crow, and it blends with the fabric it’s next to. In the end, it was a good solution to a difficult problem.
As I was making the piece, I thought it would be cool to add graffiti to the background. That’s why I went with a solid blue background. I even studied graffiti shapes and practiced lettering. I made the graffiti, but then I decided it was too much of an in-your-face interpretation of the theme — so I took them off. That was much worse. So I spent time thinking about the background — and about how I approach my work. In the end, I decided that I didn’t want to be safe, and leaving off the graffiti was safe. Keeping them on there gave the piece a vibrancy it didn’t have without them. So I played with their placement and added black outlines to them and some sparkly points.
You can see the final piece on the Tattoo page here.
Tattoo will premiere in the Dinner@8 exhibit at International Quilt Market & Festival in Houston this coming October/November.

From Sting to Sing
2Back in late July (I had to look this up — I can’t believe how long I’ve been working in this piece), I had an idea for a new piece. I had finished up most of the work for the Wash & Wax exhibit and wanted to get back to realism. A SAQA call for entry created a spark of imagination, and I was off and running on a large ambitious piece.
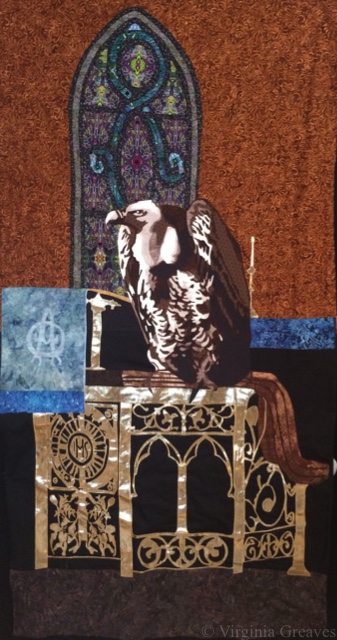
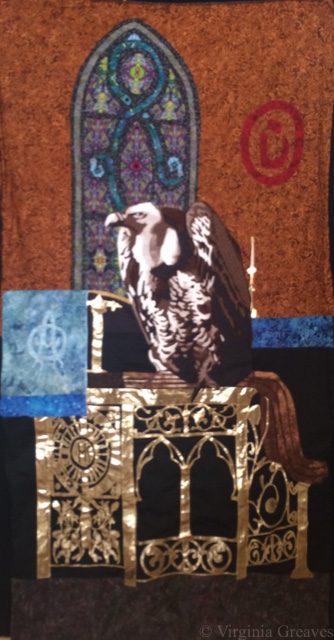
The central figure in this piece is a vulture. This is the vulture with the first value.
The second value.
The third value.
The fourth value. The bird really starts to come alive here.
The fifth value.
And the sixth value — all those really dark nooks and crannies.
But there’s a lot more to this piece than just the vulture. There’s also a stained glass window. I knew that if I had the right fabric, I could fussy cut sections to give me the stained glass effect. I scoured the local quilt shops, but they just didn’t have what I needed. I ended up finding some Paula Nadelstern prints online, however, that were perfect.
This is the beginning. The drawing is under the pressing sheet so you can see where I’m going with this.
I originally picked a print in teal, but at the last minute, I also bought it in another color way and ended up using them both. I used the teal for the swirls and the purple/green/red for the main windows.
I had a very small piece of fabric in my stash that was perfect for the outer border. I had less than a fat quarter, but I had just enough.
And then I added this black stained glass print for the leading (also a Paula Nadelstern print.)
I pinned it to my black design wall with the vulture to see how if they were working together.
And then I kept going. I had a picture I had taken years ago of the brass lectionary podium in a church. I considered drafting out values and using flat cotton fabrics, but really, there’s a lot more choices in that fabric store beyond cottons. I found this metallic gold spandex nylon that has a black shadow to it. It’s stretchy, but what the heck. I figured the Wonder Under would help stabilize it.
I was still able to cut out some fairly complex shapes without it falling apart. This is a part of a screen section.
And this is part of the larger structure. I didn’t take many pictures of the lectionary as I worked on it. Suffice it to say that I had luckily cut out all of the complex parts before I broke my wrist — my right wrist.
That was on Labor Day. I was in the middle of curating a show at The Art Place and preparing for the opening of Wash & Wax. Thankfully, the only work I had left for the opening was to hand sew the binding of a 9 foot long piece. With a cast on my right arm, I would insert the needle with the right hand, and then pull it through & out with the left.
This shows the lectionary completed with a wooden railing at the top, the stained glass window, and other elements.
And here is the vulture in his place. I did, by the way, appliqué each piece on to the background as I went. I couldn’t risk the spandex stretching out of control on me, and it didn’t stick as well as I would have liked with the Wonder Under — but working one piece at a time, I worked through it like a large puzzle.
This pic is blurry (the sheen off that metallic fabric was confusing the camera in my iPhone), but it shows the addition of the Arabic symbol for Nazarene spray painted on the back wall.
And then of course I had to add the spilled wine and broken bread at the bottom — symbolizing the broken blood and body of Christ — which also symbolizes the broken body and blood of Christians being murdered in the Middle East.
And even though I was in a lot of pain, I just kept going. Entries were due October 31, and I had spent too much time on this piece to miss the deadline.
I really worried about quilting this large piece. I still had my cast on, and I knew it would be heavy. I debated renting time on a long arm at the local quilt shop, but I finally realized that that was a new skill for me, and I really didn’t want this to be a practice piece for quilting.
So I moved all of my tables in my studio. In front of my machine, I have a board (which sits on my ironing board), and I put one table on the other side of that. Then I crammed another one just to the left of my chair. (I briefly envisioned creating a sewing table built like a doughnut.)
In the end, it worked. It supported the quilt perfectly, and I was able to quilt this in a week.
In this pic, you can see how the quilting outlines the vulture’s neck and defines his feathers better.
At about this time, I got my cast off, only to learn that I had lost 50% range of motion in my wrist. But I just kept going. I managed to add the facing and the sleeve to the back. And then I photographed it myself. I bought some more lights since the piece is so large (once again wishing I had a Speedlite flash), but after spending a couple of days on it (and wishing I had someone I could just take it to), I finally got some good, sharp pics for entry.
I entered it a week before the deadline. I was so proud of myself. I loved how the piece turned out, and I felt confident that it would be a great contender for inclusion in the show. You can see the full piece on its page The Last Supper.
I was wrong. My rejection email came this morning. However, I’m still very proud of this piece, and I was pushed to develop a complex story for my subject. I wouldn’t change a thing.
So I take the sting of rejection, and I move on. I will enter it somewhere else, and it will have a life. It didn’t fit in that show, but it will fit somewhere else. I just have to figure out where next is.

Setting the Mood
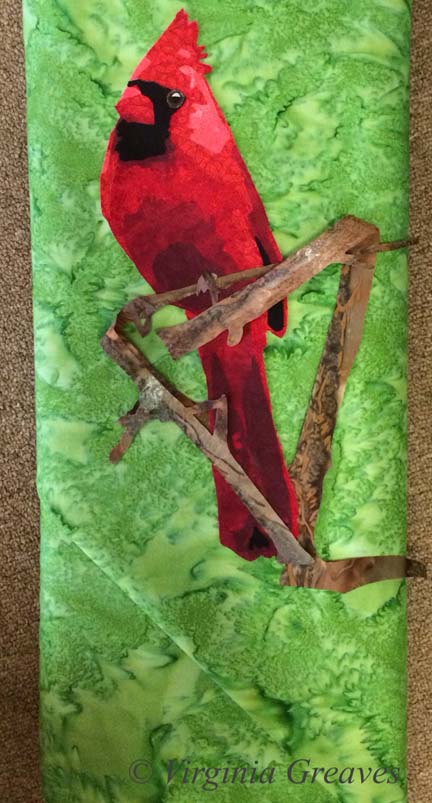
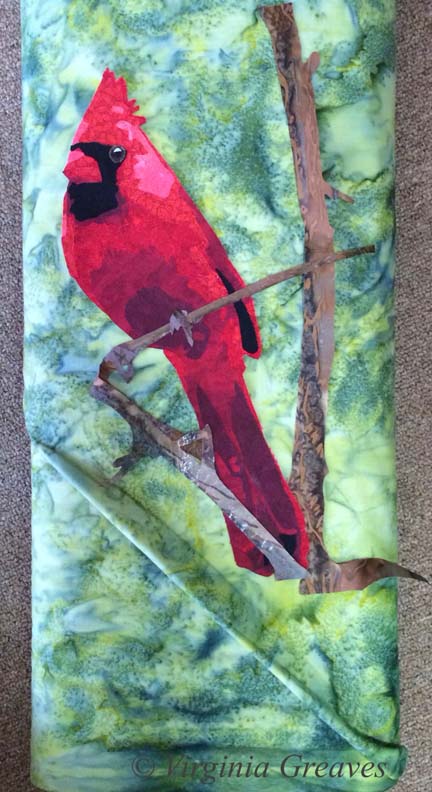
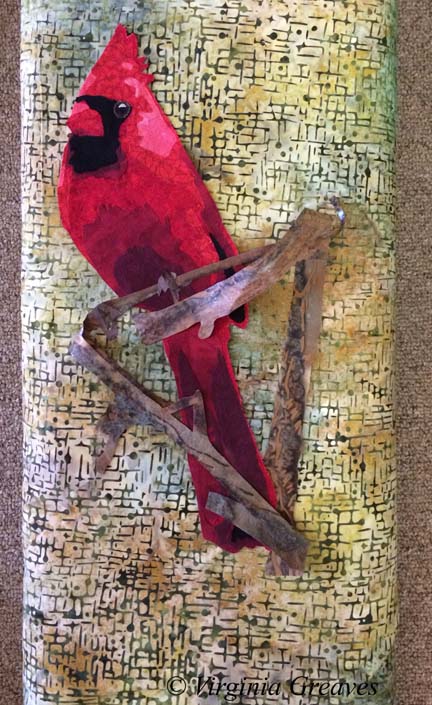
0Today I escaped from my house to the fabric store — the one closest to me — Tiny Stitches. If you remember, this is what I started with — a yellow green. The more I looked at it, the more I didn’t like it. It’s too yellow for me.
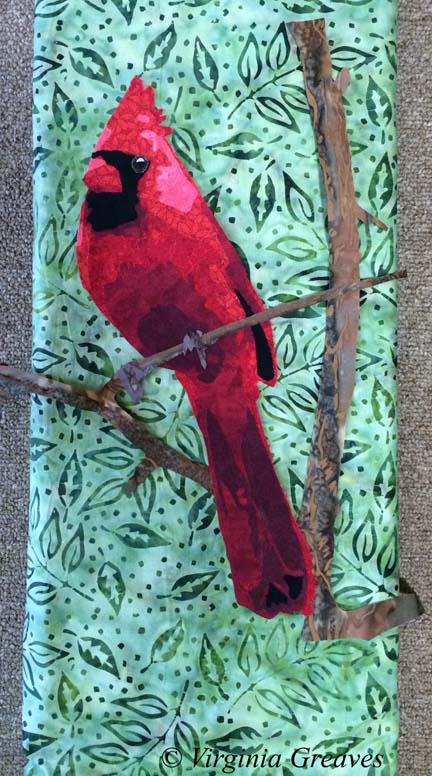
This piece really relies on the background to set the mood — and this yellow green takes too much away from the cardinal.
So I went back to my color wheel — and found something strange. I have two color wheels. One says that the opposite of red is green — the other one says that it’s cyan. The plot thickens.
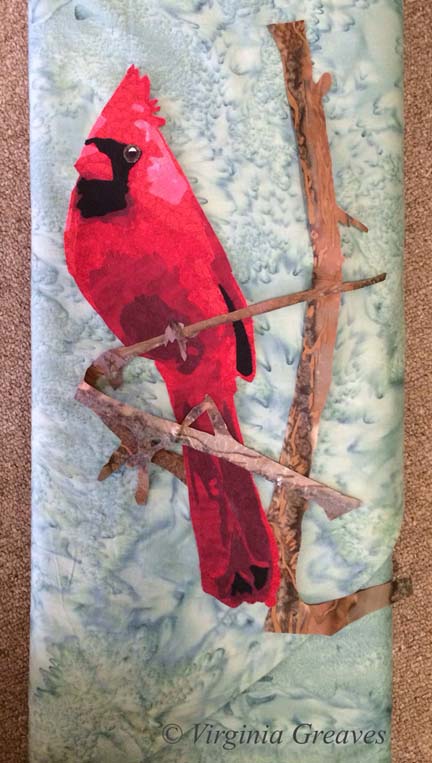
So I pulled this light cyan from my stash. It’s not quite right either.
So I went to the store — the batik section — and started laying bolts on the ground and then laying my appliqué on top. I’m fortunate that it’s so small — I can’t usually carry my appliqué work in a folder.
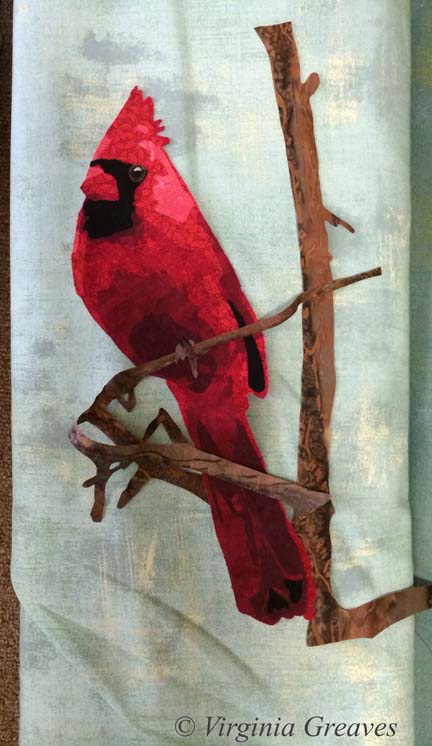
This is nice but feels urban to me — not what I’m going for. It’s just a little too distracting.
And this is the green that should work — except it doesn’t.
This one is a little better — but it still doesn’t make the bird sing.
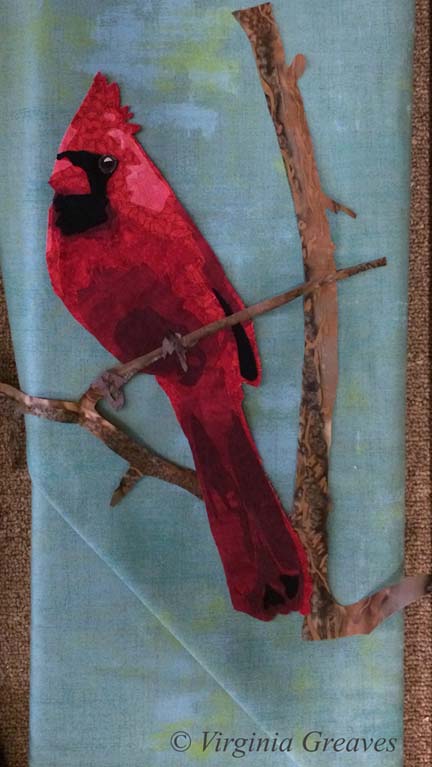
And then I pulled out this blue green. I liked it a lot more. It’s a good value change and sets off the cardinal nicely. So I carried this bolt around for a while and started walking through the aisles — because sometimes you can find interesting things in places you wouldn’t think to look — so it helps to go exploring.
Wow. A print. It is also a light blue green.
This is the same pattern in a darker color — too dark for the cardinal.
So at this point, I looked at all of the pics on my phone and I really loved the blue green print — but I thought I should try one more green batik. No — it just doesn’t work for me. It’s the right value and the print is the right proportion — but it isn’t for me.
So I lost a couple of days — but I now have the right background — the light blue green print. Better to change it now than wish I had later.

Cardinal Longing
1After I finished Worry, I had no idea what my next project would be. I get so involved in one project that I don’t tend to think ahead to the next — can’t really split my focus. I concentrate on one thing to the exclusion of other things.
But when I was done, I decided to make a small piece for the SouthEast Fiber Arts Alliance (SEFAA) Square Foot Fiber Art Pin Up Show. No theme — the piece just has to be 12×12 or smaller. I don’t usually work in this small scale — but I needed a rest and working on a small piece seemed like a good way to do that.
I had seen many pictures of cardinals in the snow being posted on Facebook — and I think that this is what I had in my mind’s eye when I began — a piece of hope flying across the frozen tundra (a little melodramatic, but we’re currently iced in for the second time in a couple of weeks and this southern girl is more acclimated to sunshine than snow.)
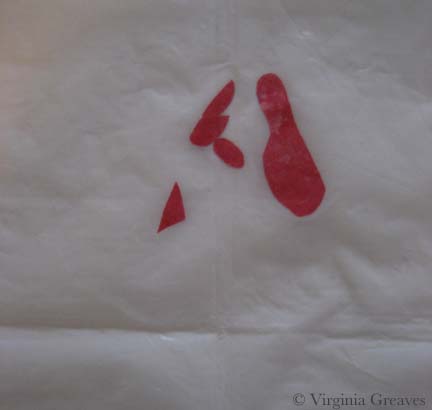
So I searched through all my reds and picked out a decent range. I wasn’t really happy with my first value — but then, what could I do? The weather was too iffy for me to risk a trip over to Marietta to pick out fabric — so I was limited to what I had on hand.
Just as I was getting ready to iron my WonderUnder templates down, I had the funny realization that I had paid for both sides of my fabric (obvious, I know, but a fact often overlooked) — so I ironed the templates to the front — so the back would show — which was exactly the shade I needed for the first value.
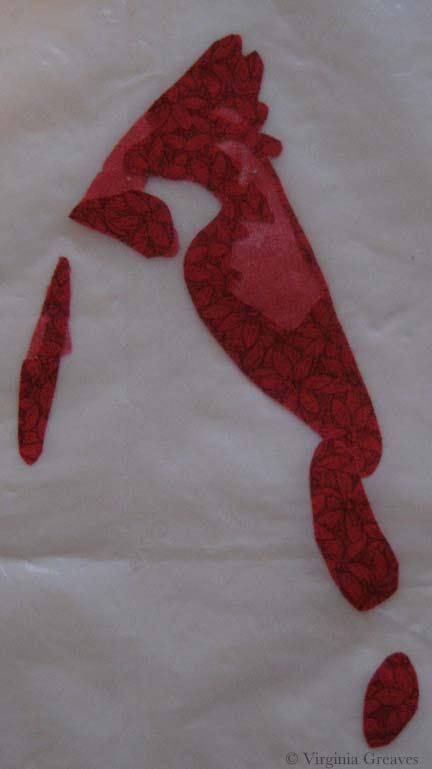
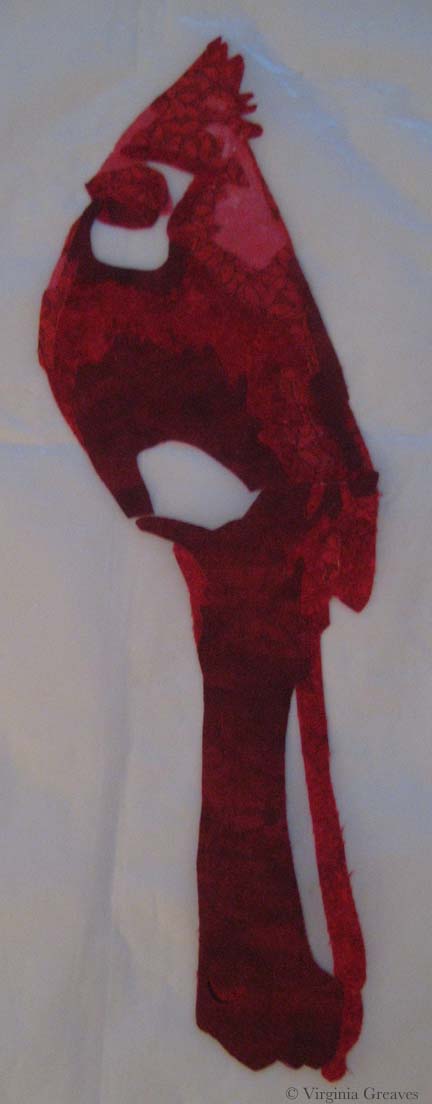
This is the second value — you can begin to see the outline of the cardinal.
The third value gives you even more — although I should have added to the lighting in the room before I took my pics.
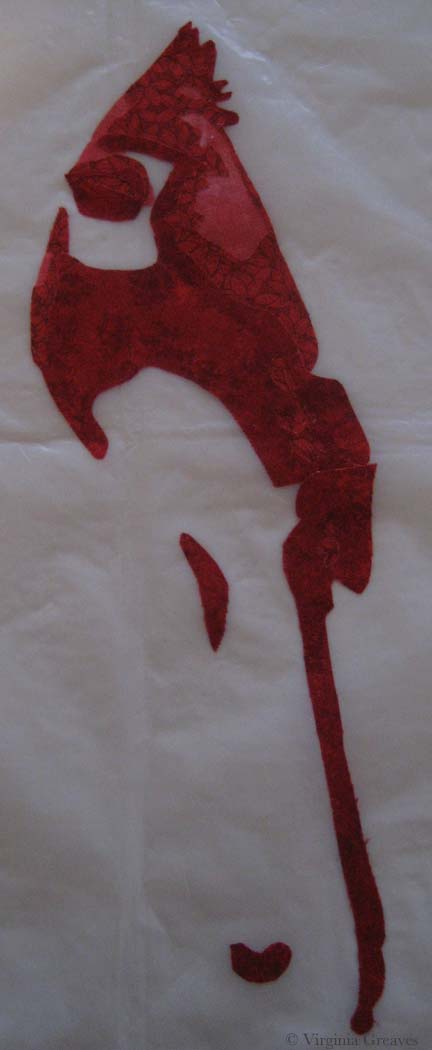
The fourth value was all I got done before I heard that the news was telling me (I had the TV on while I was ironing) that I might lose power for several days — and I realized I needed to add a few things to my pantry. It was at this point that I ran out the door with fading daylight before the roads became truly impassable the next day (and they did).
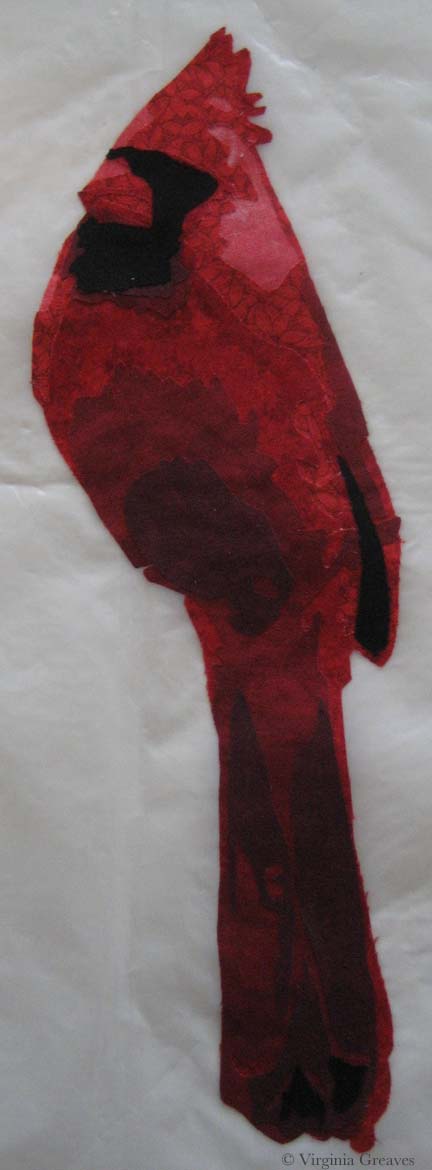
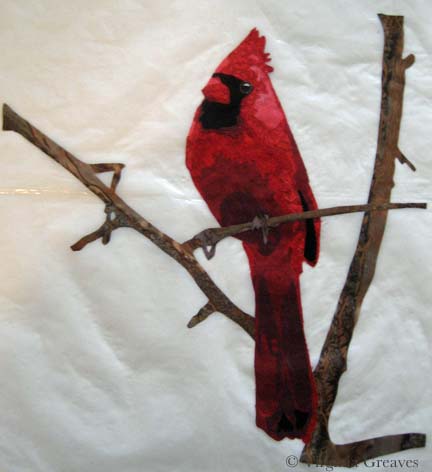
I returned to this yesterday and added values five and six — the sixth one being black. Not bad but I really miss the eye.
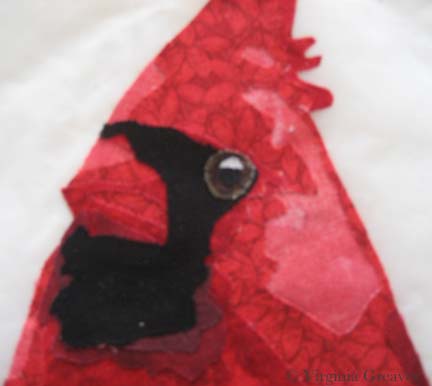
Again, other blurry shot. I think the ISO on the camera I was using was way down — but you can see how I built up the eye in a similar way to the eye on The White Raven. I did add a larger highlight than I usually do — this guy has a small eye and the light coming off it gave the impression of the dimension of the eyeball.
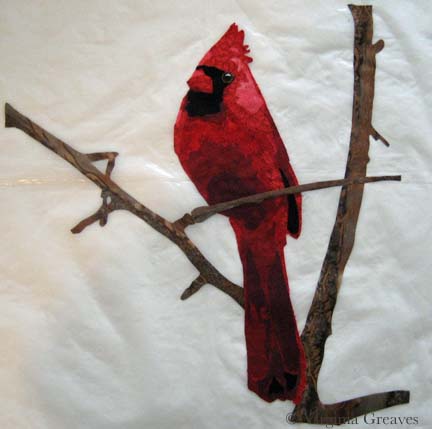
Once he was done, I added the branches. I thought about adding a bunch of detail and then decided that it was so small, it made more sense to let the fabric do the work for me — so I found a brown wood batik and fussy cut it so I roughly had highlights and shadows where I wanted them.
And finally, I added his claws. They are really similar in tone to the branch — and I decided to stay with that. I used a purple with a lot of gray in it — but they are obviously the same value as the branch. I’ll define them more with texture in the quilting stage.
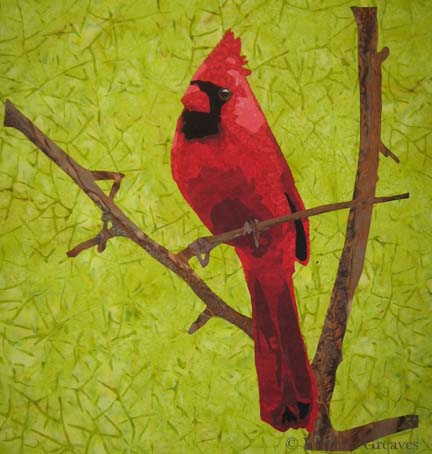
The last part is to add a background. This was my first pick. It’s a really bright acid green but it makes the cardinal pop. I tried other greens from my stash — but the greens with more gray in them make the cardinal more sedate — more like it’s a common wildlife scene.
And I could try something other than green — but the color wheel shows the green is the best choice — and holding up colors — it’s the one that makes the most sense visually — even if I did originally imagine more white and gray blues.
I’m not sold on this yet. I would love it if I could go to store and see if I could find something better — or validate my choice here — but there is still too much ice on the roads. I may go ahead for something to do. Sewing is a good antidote for cabin fever.


