Posts tagged dog

2017 IQA Auction
0This year I wanted to make another animal portrait for the IQA Silent Auction in Houston. I think they’re easily relatable and are a good choice for broad appeal for the auction.
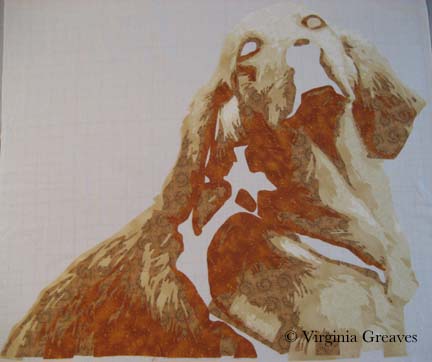
I was going over my inspiration folder and found this adorably cute Cavalier King Charles spaniel which I thought I could do rather simply. Oh, the best laid plans. See, I fell in love with this piece as I worked on him. I spent way more time than I had intended, but he grew under my hands into the adorable creature that had captured my heart in the photograph. I’m really fond of this piece.
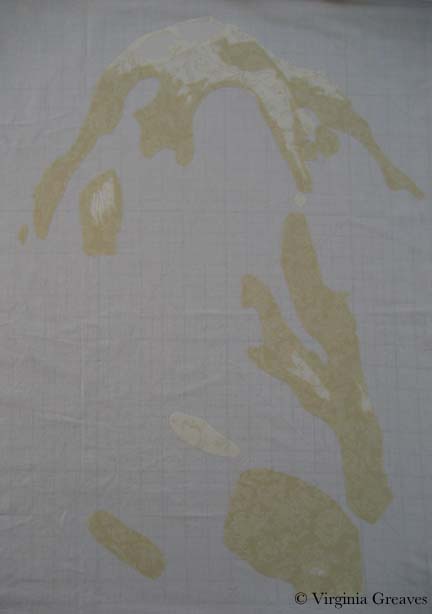
This shows the 1st two values.
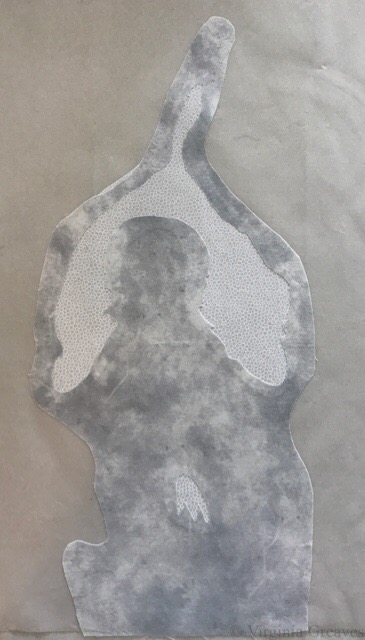
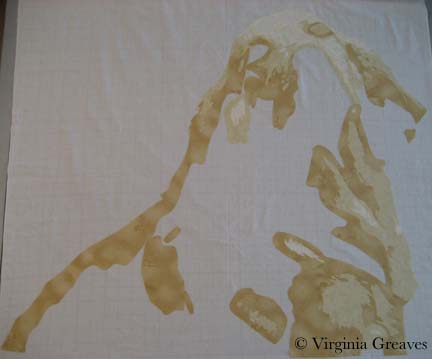
And the 3rd.
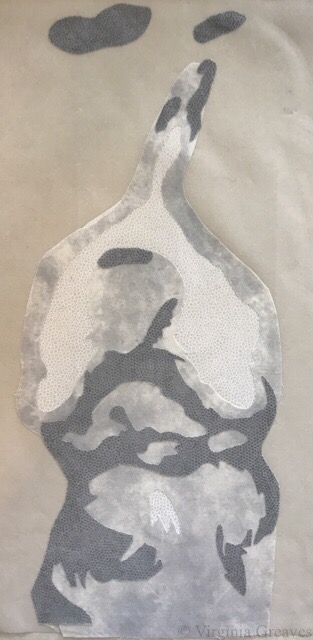
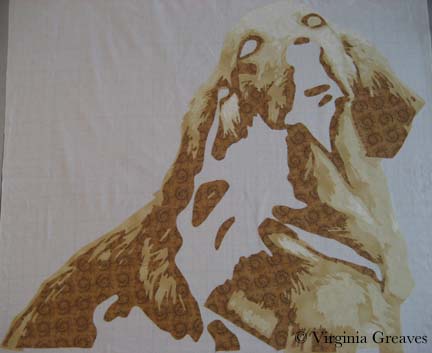
Although he’s all black and white, there are a couple of points of orange. I studied the spots above his eyes. Logic told me that the color was brown, but no, it was really fairly orange, although the darkest orange tends toward brown. I decided it would look better underneath the black fabrics rather than on top, so they were added at this point.

And then the 4th value. Now you can see the outline of the nose and the mouth.
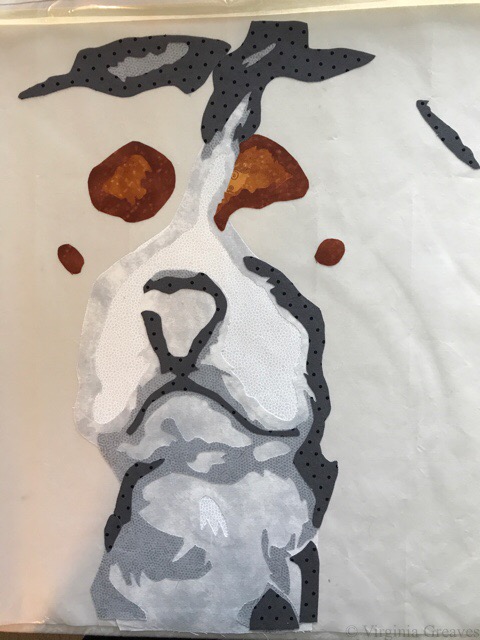
The fifth value. I took this pic on my iPhone at night in my studio so the grays look darker than they actually are.
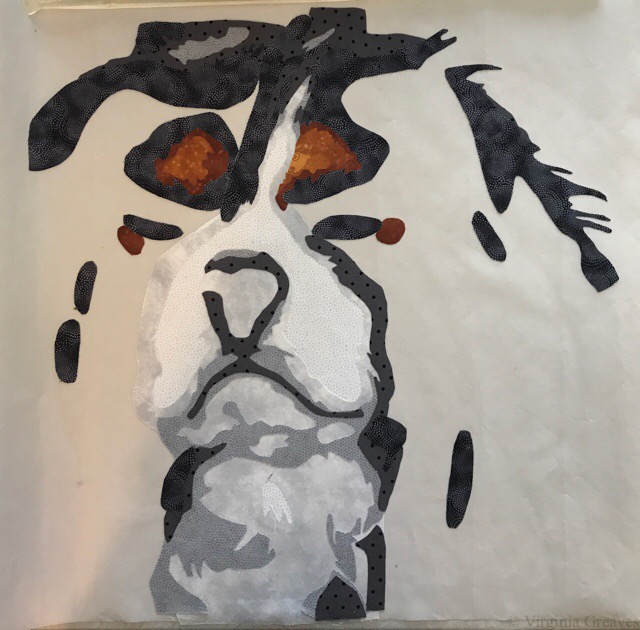
The 5th value.
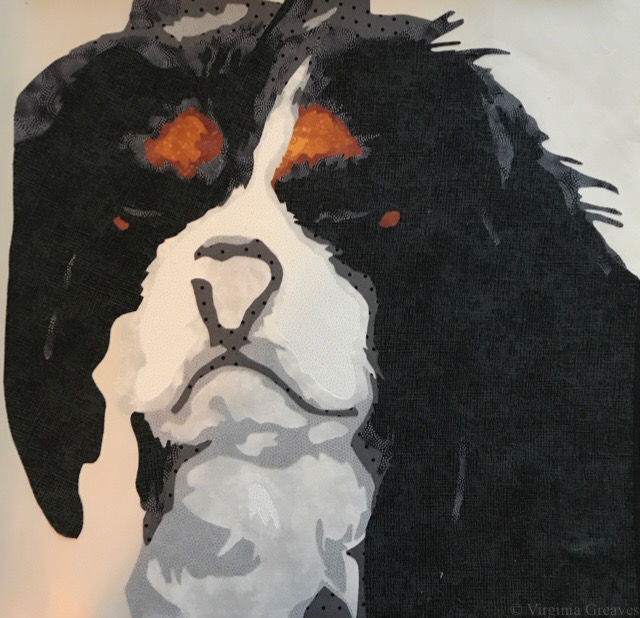
I realized at this point that I had neglected his nose and went back to do that.
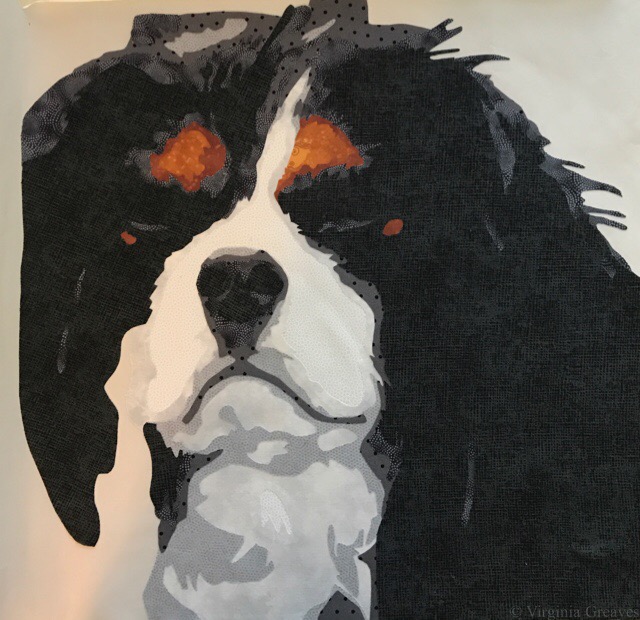
And then the last value. Better picture.
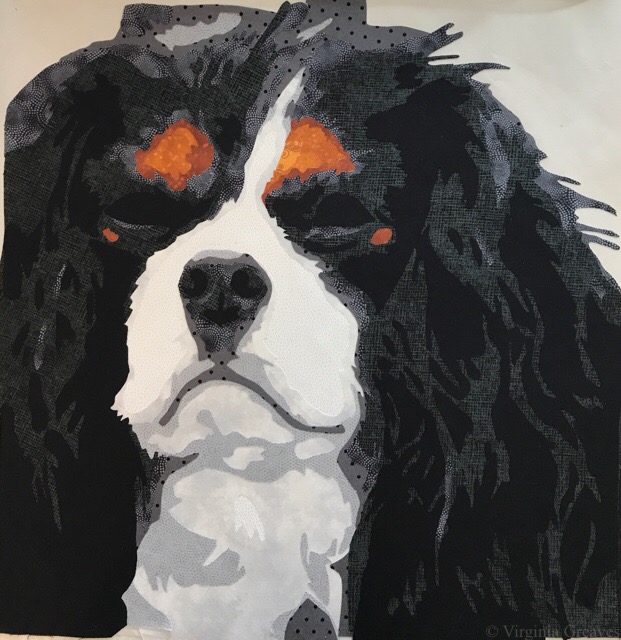
I played with his eyes quite a bit until I got them just right. The pupils were bigger than I had anticipated, but this gives the expression I was looking for. Isn’t he charming? The eyes really do make the piece.
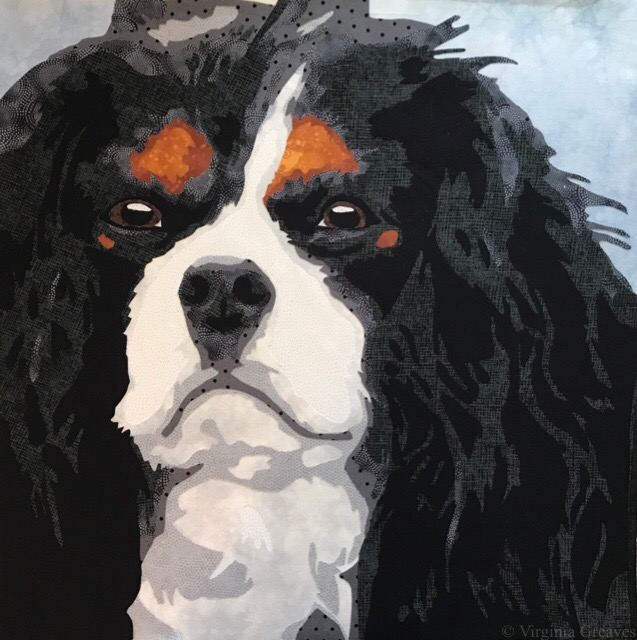
And then because I could, I went back and added some whiskers.
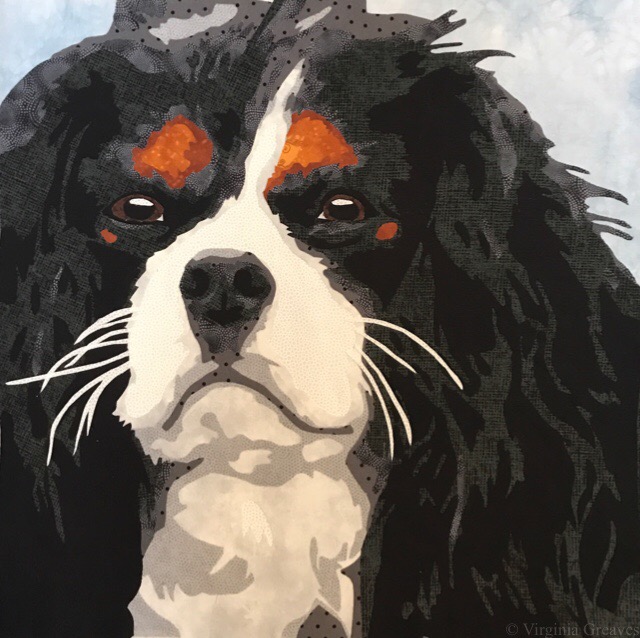
This is what he looked like all cut out. I spent several hours machine appliquéing him down and quilting him.
 The final pice is called King Charles and can be found in its quilted and completed state on its own page here.
It will be available for sale in Houston at the Silent Auction in November 2017. I hope that you’ll consider bidding on it. I’ll mail him off this week — be a little sad to see him go.

Brindled
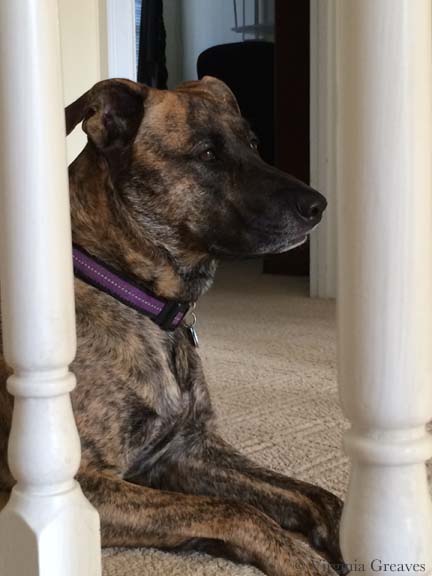
0Although I’ve made many dog portraits, my current pet is brindled, something I despaired that I would never be able to capture in fabric. A brindled animal is typically brown with streaks of black. It’s very distinctive. Given the nature of closed shapes in appliqué, I didn’t think that it was something that I could recreate. However, I was speaking with one of my SAQA mentees recently, and she had tried it in her work with success and encouraged me to do the same. It’s all about the fabric.
So for this piece, I chose a picture I had taken of her with her great big tongue curled up over her nose. It showed a lot of her personality. I searched through my pinks for just the right ones and started there. I could have put the tongue on last but worried about the darker fabrics I would use for her fur showing through, so I started with the tongue.
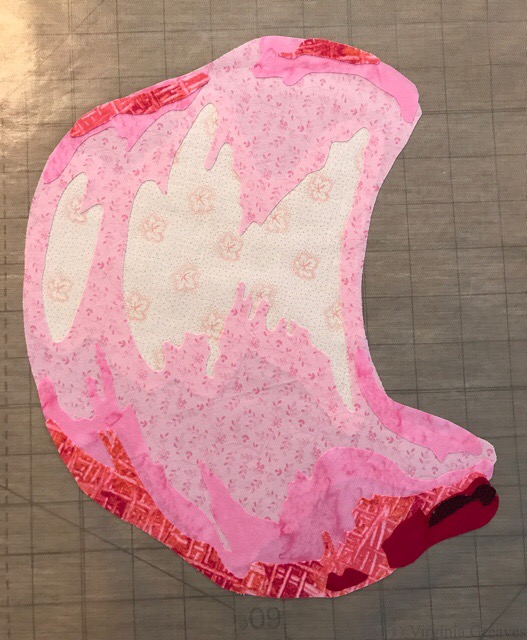
And then after the tongue, I went on to the wet nose.
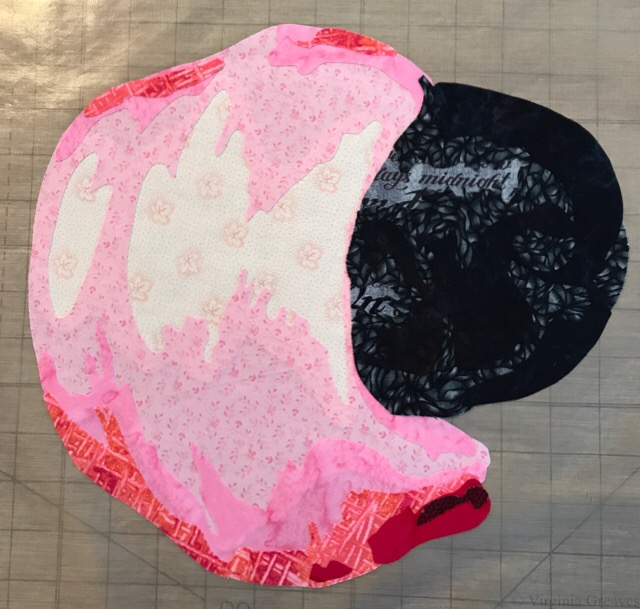
And then the hard part — the fur. I chose highly textured browns. These are the first two values, although there’s only the tiniest amount of the lightest brown up there in the top left-hand corner.
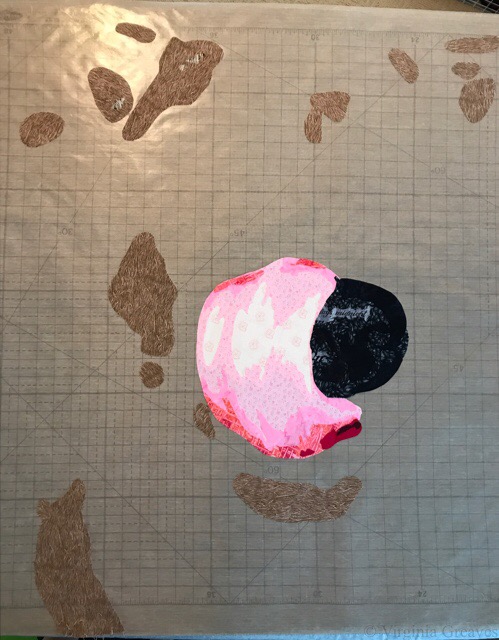
This is the 3rd value — not a very clear pic but probably taken late at night in my studio. Did I mention these are flat on my drafting table and I’m standing above them on a ladder taking the pics?
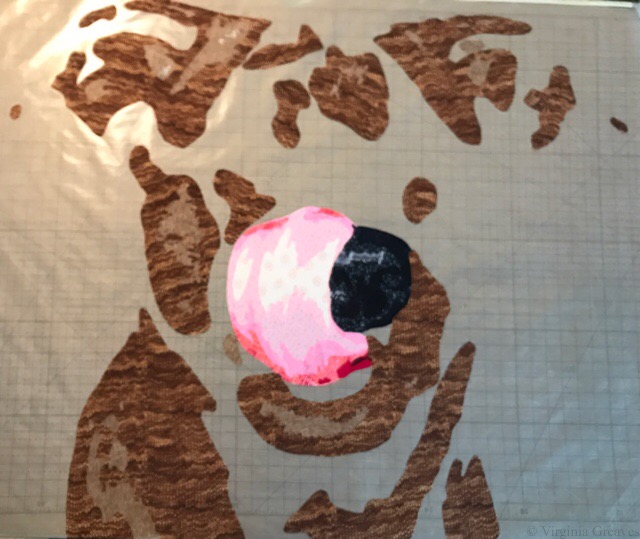
And here, with the next value, you can start to see the magic happen. The textures start to blend together but still maintain their integrity.
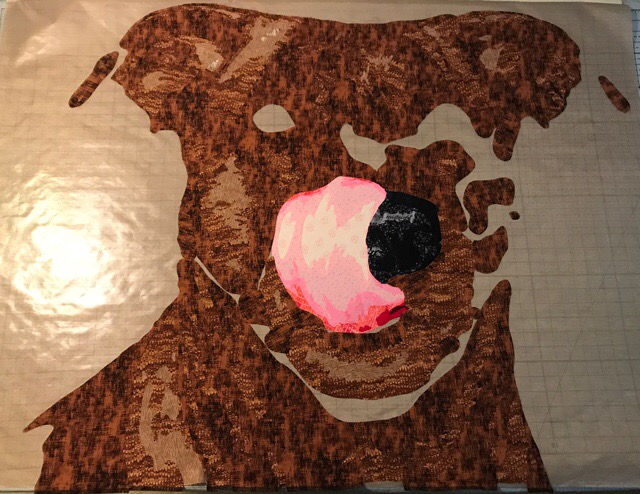
The next value.
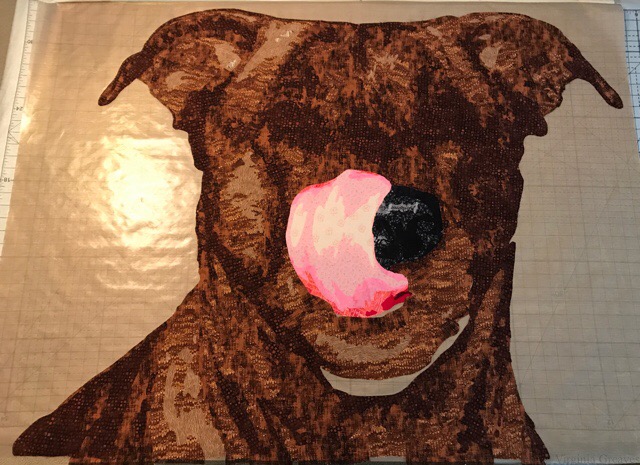
And the darkest value.
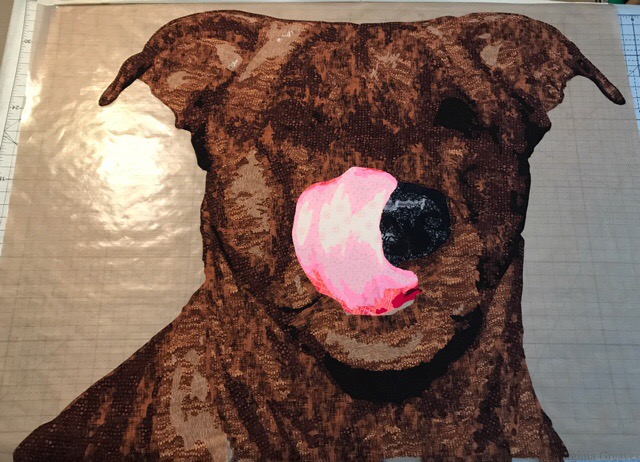
The eyes always make a big difference. It was interesting finding a brown iris color that wouldn’t blend into the fur.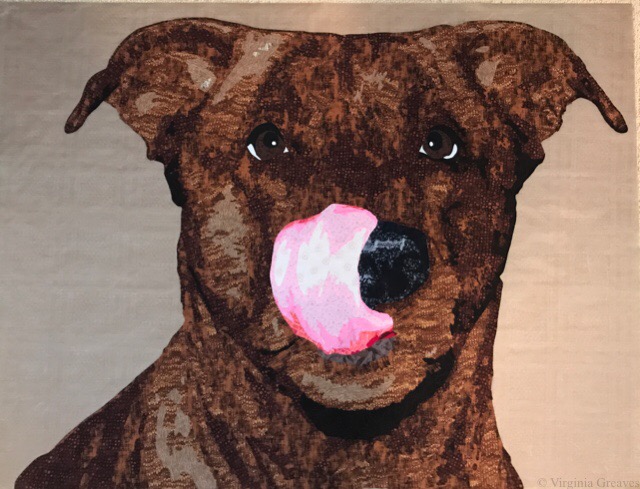
And then this is the background I went with. I cut strips of green and randomly assembled them for the background to give an abstracted look.
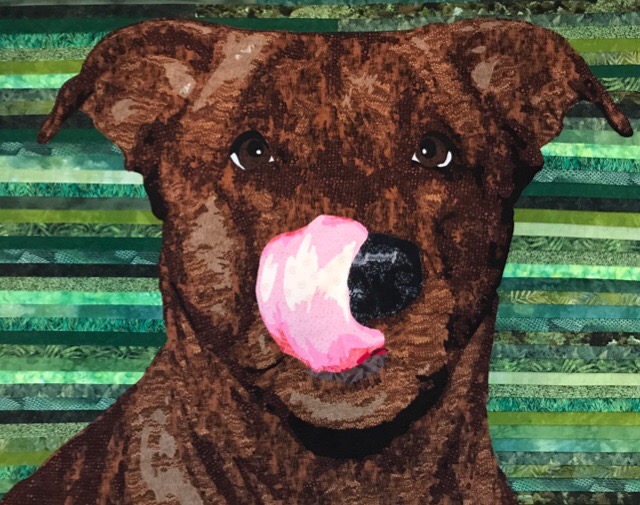
And this is her. This is what she looks like. This is the piece before quilting.
I almost finished this piece in July but a confluence of activity prevented that from happening — so it was finished in early August. And then I was able to then create a piece from beginning to end for the IQA Auction by the end of August. No idea how that happened. I will share pics of that one in another post.
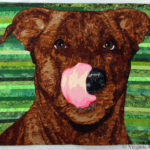 I named it Tasty, and you can find it once quilted and completed on its page here.

2016 IQA Auction
0This year, I was again asked to create a piece for IQA’s Celebrity Mini Quilt Silent Auction. It’s an honor to be invited, and I try to support IQA as much as I can. They have helped sell my work, and they have bought my work for their private collection. That’s a lot. So once a year, I stop what I’m doing and create something for them for their auction.
This year, I wanted to make a piece that was more like the rest of my work The last two years, the pieces have been tiny. So I wanted something that was a little bigger but still small that would give more of a sense of my personal style. I finally decided that the broadest appeal to the general public would be a dog or cat, and given that I don’t have a cat and people don’t typically take their cats out in public in the same way that dog owners do, I chose a pic from my catalogue of dog pics.
I found this pic of a black dog that I’m sure I took during a lacrosse game. I have no idea who he belonged to, but he was cute so I took his picture. I think he’s a schnauzer. I zoomed in on his face and loved his quirky expression.
In keeping with my new penchant to use unexpected fabrics (but then also working only from my current stash), I decided that the best way to do a black dog would be to use blue fabrics. Gray doesn’t have the same character as the blue grays. So, like with Minerva, I wanted to create a black dog using blue fabrics — but the end result should look like a black dog, not a blue one.
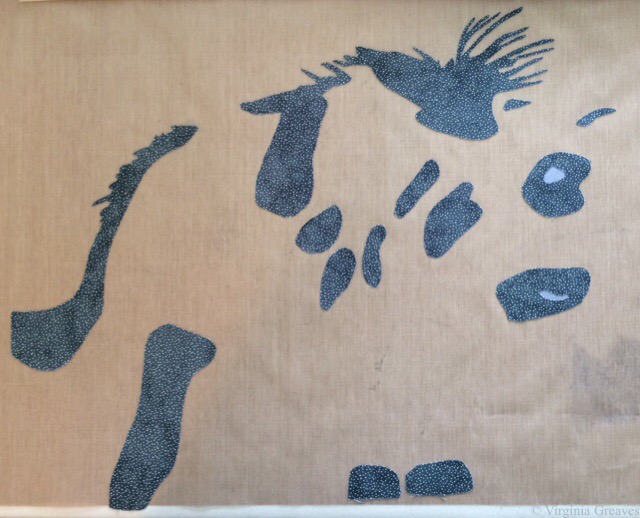
This shows the 1st two values on my pressing sheet.
This is my 3rd value. You’ll see in a minute, there was a hole for the space at the bottom of the ear that I forgot to cut out of this layer.
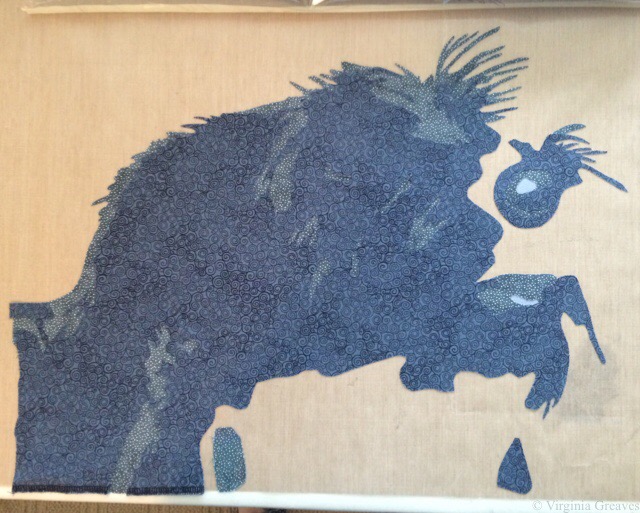
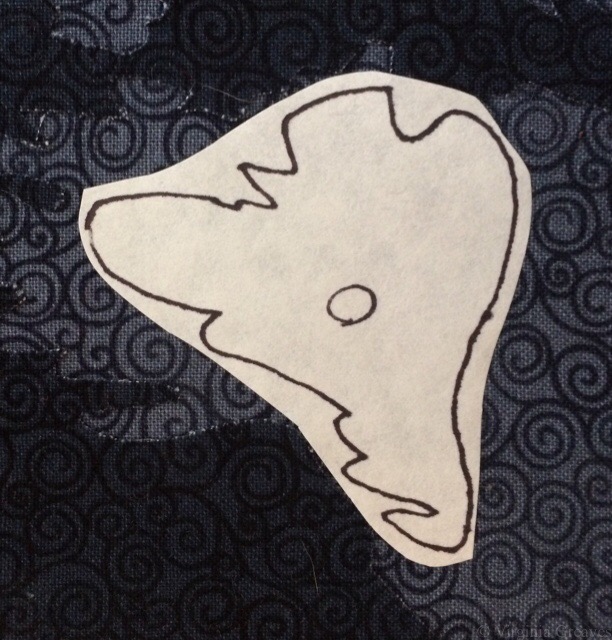
When I realized it, I traced the shape onto freezer paper and ironed it to the front.
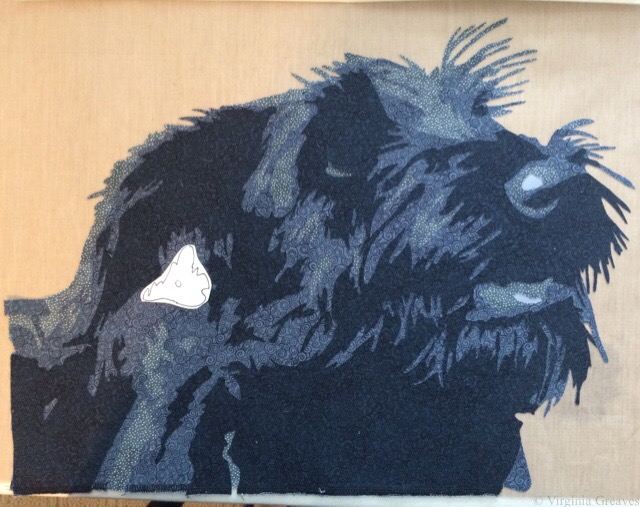
You can see the freezer paper template in this one — which also shows the 4th value. There’s a lot more character in him now.
And then the 5th value was the actual pure black. He has a lot more dimension now — but he needs a proper mouth and eye.
There’s a little bit of tongue tucked in there and then a row of teeth and two fangs on either side of his gum line.
And then his eyeball. As I have often done lately, I constructed it as it was in the drawing made from the values in the pic — but then ripped it off and redrew it as it needed to be in order to look as it needed to look. There are some things you can finesse if they’re not quite right — the eye isn’t one of them.
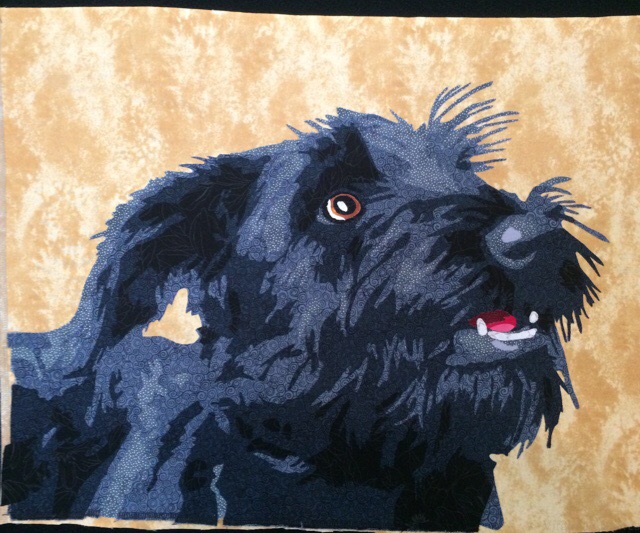
And then I ripped the appliqué off the pressing sheet and cut out the freezer template to give me the space I needed on the underside of the ear. You can see the ear more clearly now, especially ironed on to the background fabric. This yellow was a nice contrast.
At this point, it isn’t appliquéd. I decided to appliqué stitch and quilt at the same time, so I sandwiched this rough top up and straight free-motion stitched around all of the shapes.
After the appliqué was done, it still needed more quilting to be evenly quilted — and of course the background had to be quilted.
The only thing I might do differently in the future, in terms of construction of a small piece, would be to pillowcase it so I wouldn’t have to add a facing to finish the edges. That took a while. But I opted against doing it because I thought this piece was a little big for that and I didn’t want any issues with it not laying flat or creating a tuck on the back. I wanted it to be perfect.
I snapped a few shots before sending him off in the mail — he’s due Thursday — so I cut it close but he’ll make in under the wire.
Let’s hope he goes to a good home. He’ll debut at the Silent Auction in Houston in November.
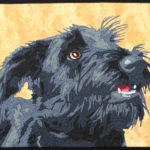 If you want to see the finished piece, he’s here.

The Rules Have Changed
2Many years ago, I entered Quilt National, and like many others, my piece was rejected. Since then, I haven’t entered again due to their virgin rules which said that the piece couldn’t have been displayed anywhere at all ever in any part online or on physical view in a public venue. I have always enjoyed showing my in progress work on my blog which disqualified anything I might want to enter.
But this year, in their infinite wisdom, the powers that be at Quilt National have changed their rules. They now allow social media marketing of your piece. They only require that the piece not have exhibited publicly in the US or been published.
And I have a piece that I’ve been working on most of the summer that I just finished, so I held my breath and entered it. We’ll see. Quilt National takes 3%, I believe, of their entries. In the past, they’ve been almost completely an abstract show, but in the last exhibit in ’15, there were a few illustrative pieces, so I’ve decided to try. You never know if you don’t try.
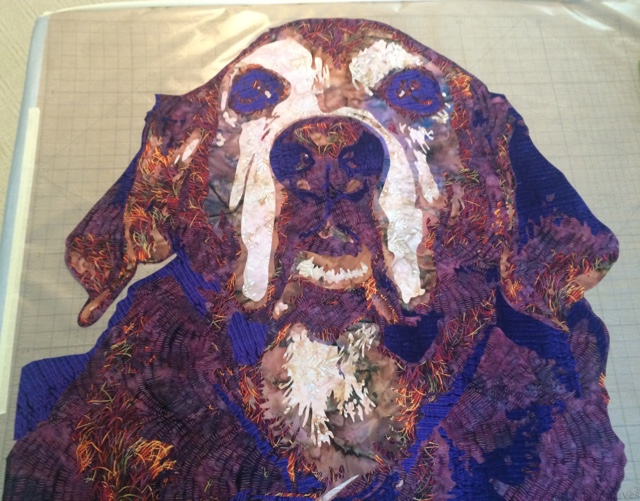
This has been a strange piece for me. I can do realism in fabric. That isn’t a stretch for me. But I’m to the point that I need more. I need my work to speak more. And so I’ve stepped out of my comfort zone. I drafted a picture of one of my dogs, but I couldn’t get excited about making her in realistic colors, so I chose wild ones. My base was purple. I even went down into pink for the latest shade.
It was my original intent to use Kaffe Fassett prints — but I still haven’t figured out how to makes those work. There are some fabulous artists that do, like Danny Amazons and Sophie Standing. I think my issue is one of scale. They work very large, and making the large Kaffe Fassett prints work in a very large piece is much easier than in a medium piece.
So as I went, I changed several fabrics.
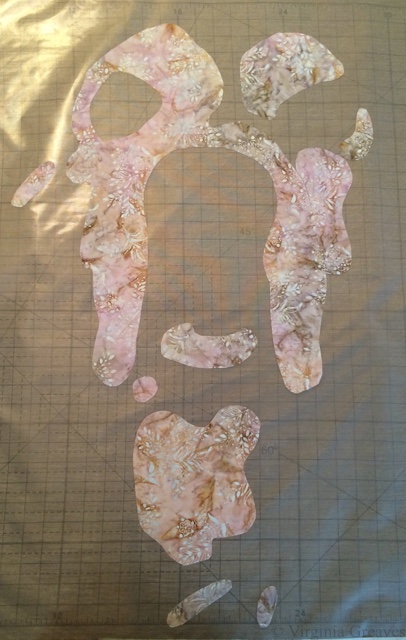
This is how I began, a pink batik.
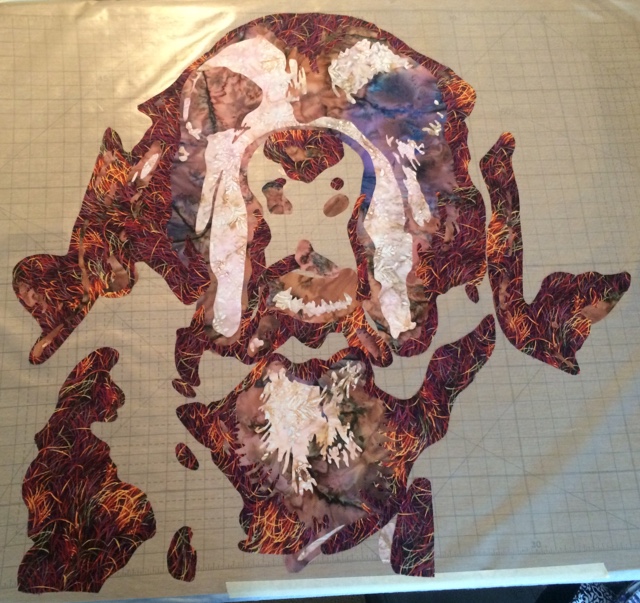
This shows the next two values, a batik that varies from a muddy pink to a blue purple and a print with red, purple, and yellow. This last one was my wild card. To me, it gives the impression of the spiky fur.
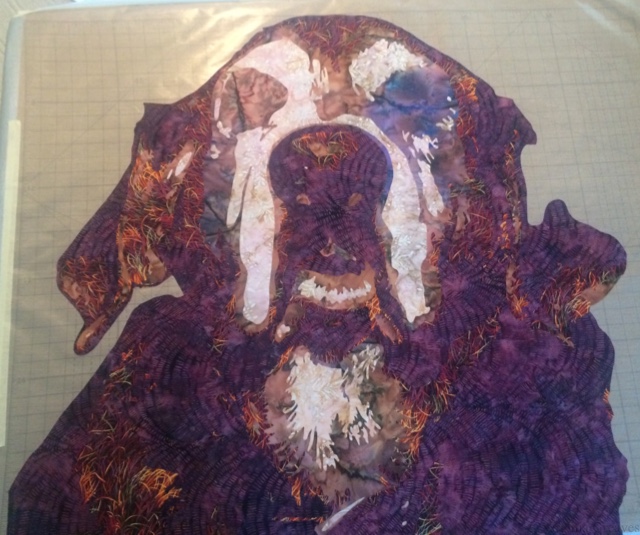
The fourth value is a deeper purple.
And the fifth value is the deepest purple.
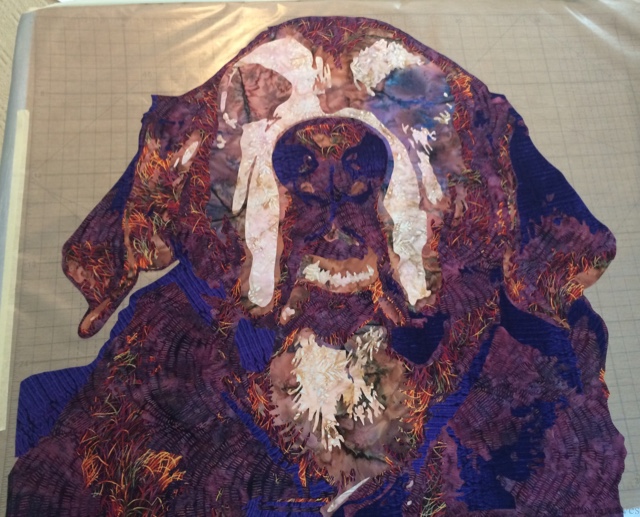
And this is what she looks like after I went back and added the eyes. And I’m struck because I’ve used pink and purple, and yet she still comes across and orange and brown.
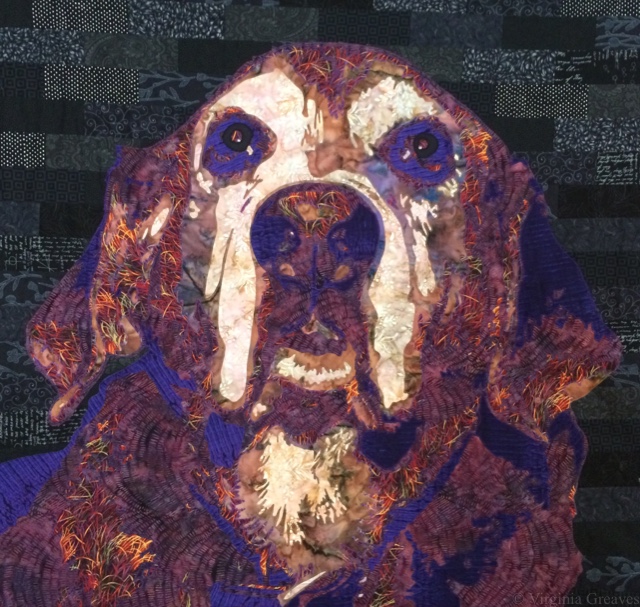
I made a black pieced background for her. At this point, I realized that she needed the deeper black in the pupil — the purple alone wasn’t giving quite enough depth.
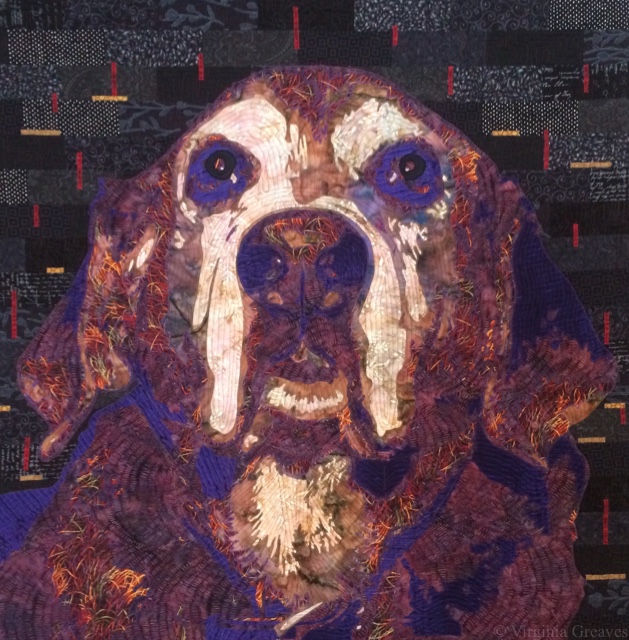
And then I played with the background to make the piece come alive. My first thought was to add many narrow yellow strips on the black, but that became distracting. Someone suggested using some red too, and I played with placement until I came up with something that adds energy to the piece but doesn’t distract from the main subject.
It is about 36″ square which is what I would call a medium piece — but it’s large for the head of a dog. Its greatest impact is seen when you step back from the piece.
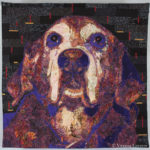 If you want to see it as completed, click on the thumbnail pic to the left or here.
My intention was for her to be somewhat abstracted, and in some way, my experiment yielded something strangely more realistic. I think using the deep purples pulls on the Impressionistic background I learned from my mother’s work. I may continue to explore that in my next piece.

Going to Houston
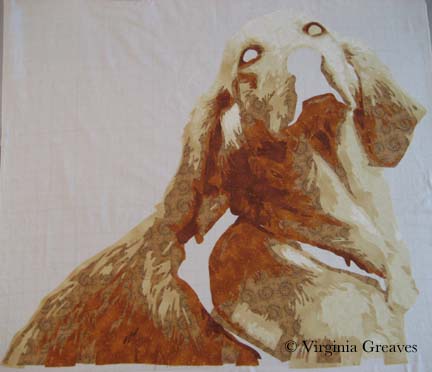
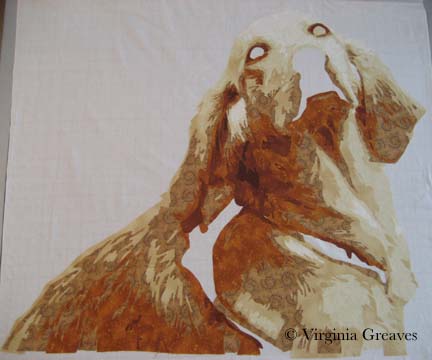
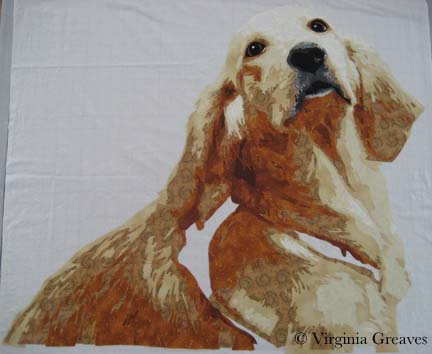
1I have been working away here on my Golden Retriever. This is what she looked like before appliqué and quilting. I have since completed appliquing her and just finished pinning her this morning in preparation for quilting.
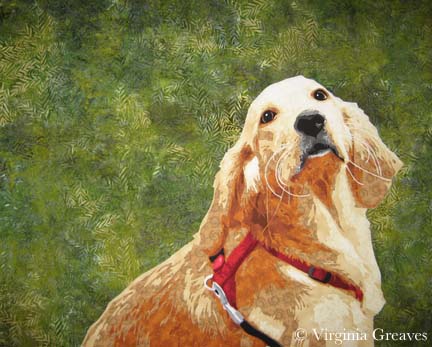 I bought several backgrounds before I settled on this batik. I didn’t want anything busy to distract from the Golden — so piecing a background was out. I also had decided to stick with analogous colors on the color wheel — so I knew yellow green was the correct color choice. The first piece I bought was a lime green that I thought would be perfect, but the minute I brought it into my studio, I knew it was wrong. I also bought a yellow green with some gray in it — which worked, but it didn’t make the Golden sing. It was just too flat. There was a batik at the store I had decided wouldn’t work because it had too much yellow in it — but at home, looking at my other choices, I knew it would work — and it does. Sometimes you have to move out of your own way.
I have also had some exciting news — I’ve been given the honor of being invited into the Winner’s Circle at the International Quilt Festival in Houston this year for my piece Lincoln. I’ve never even been to the show before — but I’ve made my reservations and I’m looking forward to meeting other artists I’ve only met on the internet and feeling honored to be in their presence. When I find out my prize at the end of October, I’ll be sure to share.

Golden
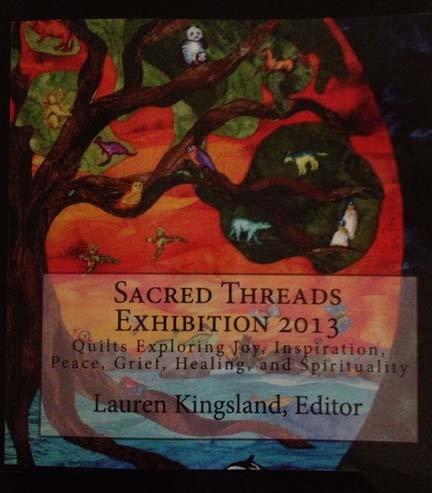
0As I’ve mentioned before, I was lucky enough to have two pieces in the recent Sacred Threads show in Herndon, VA — Beach Guardians and The Bowl Judgments. It’s a biannual show and I haven’t participated in about four years — so I was delighted to find that the show published a book with all of the pieces from the show. Not having the ability to see the show in person, it gave me the chance to enjoy the exhibit from home and read all of the artist’s statements with time to study them alongside the work. You can order a copy of the book here.
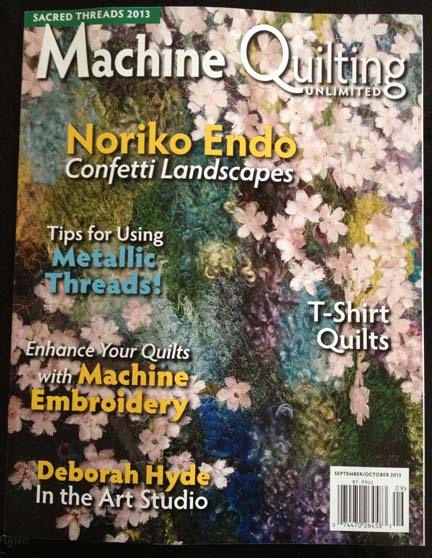
Then a couple of weeks ago, I received a manila envelope in the mail. Inside was this new copy of Machine Quilting Unlimited and nothing else. I don’t have a subscription (although I might have to get one now — it’s really well done) — so I was confused until I saw the little strip at the top that said “Sacred Threads 2013.” I flipped to the article for the exhibit — and Beach Guardians was one of the highlighted pieces.
I was really stunned. I have never had my work included in a magazine before. I felt like I had reached a milestone. My 15 minutes anyway.
I have not been writing much on the blog lately. Part of me thinks that to have a blog, you need to write at least weekly. Another part of me really despises blog writers that fall off subject or write about nothing just to get a post out. I try to prepare something interesting and present it in a large enough piece that you can see progress. If I just showed you one day at a time, the blog would show everything in reverse order and it wouldn’t be nearly as interesting — to me anyway.
Once I had the girls back in school in August, I started thinking about my next piece. I really had no idea what I wanted to do. I started sifting through pics I took in the Spring and came across one that I really liked of a golden retriever. She is looking over her shoulder at her owner and has such a look of love in her eyes. If I found it captivating, maybe someone else would too.
I spent about a week drafting her. I typically bring the pic into Photoshop and reduce it to values only, adding lines of separation between differing objects — like the dog from her harness — or even her eyes and her nose from her fur. Then I spend a lot of time drawing in Photoshop using my Wacom tablet pen. Not only do I clean up the light scatter, I deepen shadows, add shadows to create definition, redraw the eyes, and simplify shapes.
From there, I continue the drafting process by pulling the final pattern into PosteRazor as a BMP file & scaling it to what I wanted. In this program, I can then tile print. Then I take the puzzle pieces, cut off the margins, and tape it back together. Now my pattern is back together — but larger.
Then I outline everything with an ultra thin black Sharpie. It bleeds through to the back giving me the reverse image that I’ll need for WonderUnder templates. I’ll have to go back & re-draw the lines on paper overlap — but it’s otherwise done. And FINALLY, I place a layer of see-through vinyl over the top of the pattern, tape it down, and trace it. I can then sew the vinyl to a piece of muslin (using a teflon foot that won’t stick) to use as my guide when I fuse the pieces down — or I can work on a very large fusing sheet and tape the vinyl pattern over that.
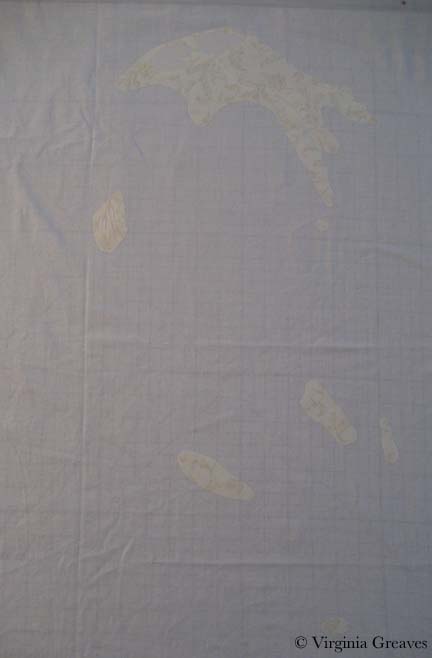
This is the beginning showing the first & second value. The first value is almost impossible to see as it’s white like the muslin background.
The third value gives you a better idea of the face.
The fourth value shows the outline of the entire dog.
The fifth value begins to give shadows and therefore definition to shapes.
The sixth value goes into an orange. There is only so far you can go with yellow — even cream. The color that shows for this value will depend largely on what is placed next to it. In the pic, it looks a lot more orange than it actually is.
The seventh value gives more depth and tones down the orange.
I debated having an eighth value — I though about just making it black — but between yellow and orange, I had room to move into a dark brown cinnamon. There isn’t a lot of it anyway.
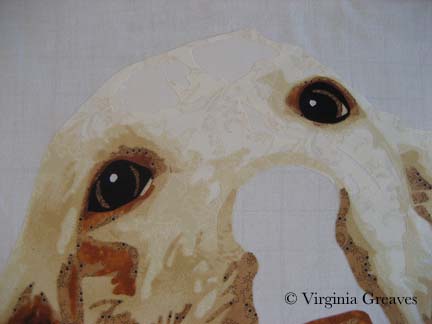
Now the eyes. The pic normally gives me useless information here. I’ve found it best to draw them myself. The pupils are wide — and the irises are brown but has more gray in it than the brown tones in her fur. The outline of her eyes is black. You have to have a deep contrast here to feel the depth of the eye and most dogs can easily take the rich black for that function.
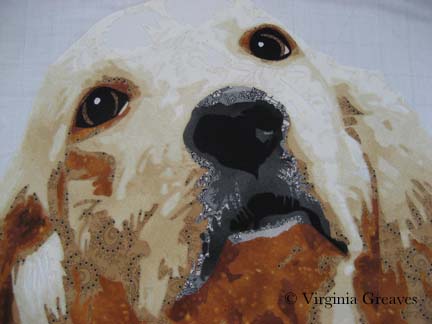
The nose is an experiment — although I’m leaning towards keeping it. You would think that all the fur around the mouth would match her other fur — but it doesn’t. It’s shades of back and gray.
Seeing a full picture of her, I think the nose makes sense. The gray and the black have to work together to give the impression of a snout — which I think they do.
The open patches around her shoulder are for a harness — which I’ll work on today.
I ripped off the orange under her left eye — I found it distracting.
I’m not sure about the light gray at the bottom of the mouth — I’m still considering it.
I made the entire piece without extra around the edges — which I should have done since I put her right on the muslin. Making her this way, I should have fused her to a fusing sheet where I could detach her & place her on a background. I wasn’t thinking through it — I was too excited to get to my favorite part — the cutting! I love the meditative process of fusing the shapes, cutting them out, and layering them until I start to see recognizable shapes.
I’ll have to think around what to do to correct this.
