Fiber Art Fusion Class
Last night, I walked through my process with my Fiber Art Fusion group. Great bunch — always a fun group to spend creative time with — but I was so nervous about doing this in front of MY group. Speaking in front of strangers is so much easier. In addition, this was more than a trunk show — I was walking through my process — which is complicated. Yes, there are other ways to achieve the same ends. I tried to tell them which things I had tried & explain why I do things the way that I do. I tried to make it as simple as possible — but at one point, all of those blank faces was truly daunting. It’s a detailed technique and requires a lot of drafting — so I guessed that about half would love it and half would hate it — which I think accurately described the meeting.
I have been working with fusibles for so long I had forgotten all of the misunderstandings. Although most everyone immediately understood machine applique — and there were hardly any questions about Photoshop — using Wonder Under created the most problems. If I do this again, I’ll have to come up with a better way to demo how it’s done.
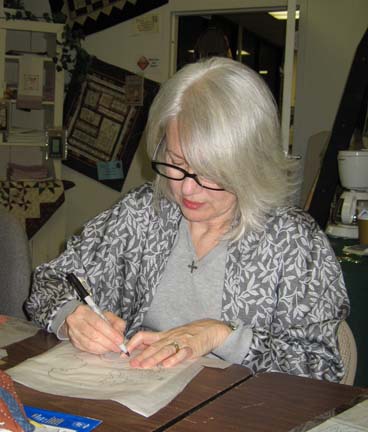
This is Martha Meyers working on drafting:
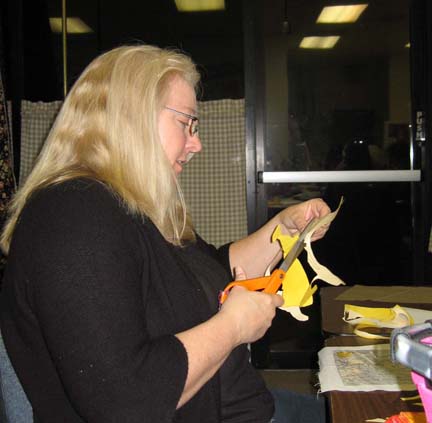
And this is Rebecca Reasons-Edwards happily cutting away (my favorite part):
I’m hoping that a few of them will share their finished fused projects. Unfortunately, most of them only got through with drafting and a couple only through the first value by the time we were done for the evening.
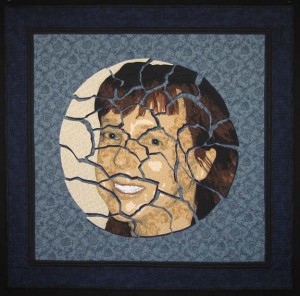
Before I ran through the project, I did spend some time showing them some of my portrait quilts including one that I finished just in time for show & tell — Cracked:
You can read more about this piece in the gallery section of my website here.
I did have someone ask for resources for learning Photoshop. I have taken online classes at both Eclectic Academy & LVSOnline & found them both to be wonderful.
After spending the last 3 weeks quilting & wanting to finish my quilt in time for the class, it feels strange to have a day without a deadline looming over me.
I do want to point out that there is a substantial border on Cracked — which I don’t usually do. After hanging Duodecim in my dining room with my usual black skinny binding as a stand-in for the only border — I decided that maybe my piece needed breathing room. If it were a painting, I would have added a broader frame — for a quilt, a wider border. So I added one on this quilt.
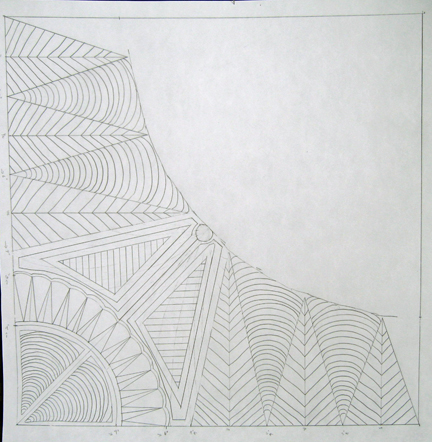
When I was done quilting the plate pieces, I was really stuck on how to quilt the rest of it. I took a 16 x 20 piece of paper, mapped out a corner, took out the quarter circle, and starting drawing with a pencil. I made a few adjustments along the way — and the corners had to have room to change since the plate pieces affected each corner a little differently, but this is my last drawing.
In the final border, I added what I call piano keys. I had intended to stipple — but it’s been a while & my stipple was just too rough. The keys add a more formal border anyway, which I like.
I’m not sure I’ll do another one with a wide border again. I’ll have to hang it in my dining room first and see if I like it better.


