How To Fly Part 2
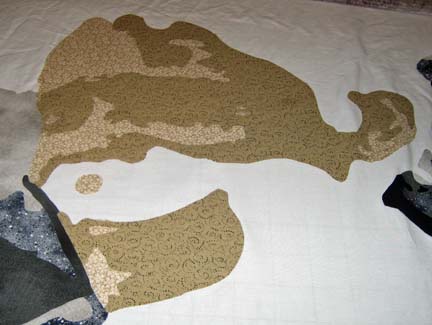
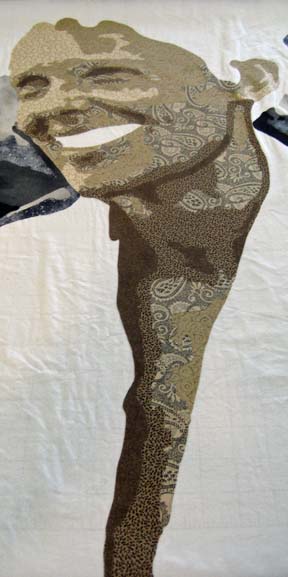
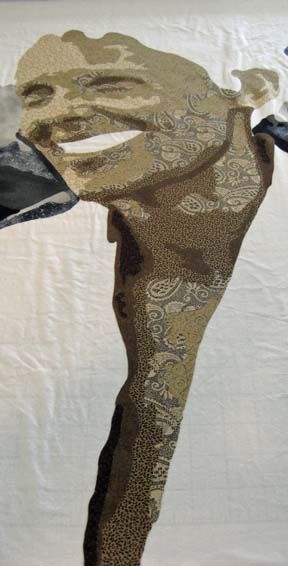
Now that the pieces of the plane are all together, I could start working on Amelia’s face. This first picture was taken mistakenly in black & white. I forgot that I changed the setting on my camera (which I will do to study values on fabrics). The first value never shows much detail anyway though.
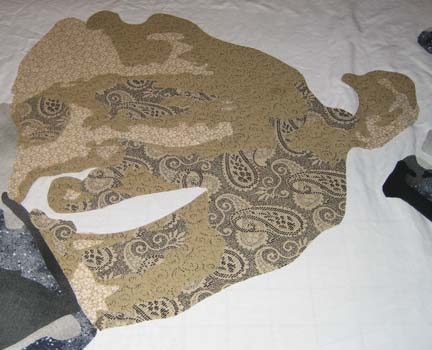
Back in color mode, you can see the beige tones that I’m working with. The second value begins to show the outline of her face.
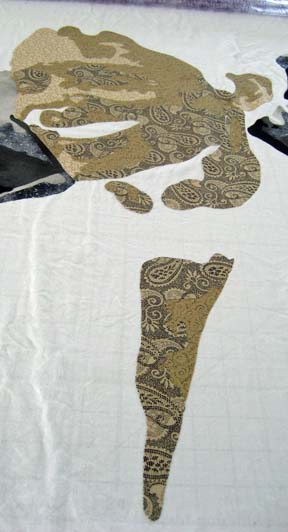
And the third really begins to give her character.
Of course, at this point, I realize that I have neglected her neck — and that in order to continue, I have to go back and fill in the values of her neck. (In studying the original photograph, I was surprised at how open the front of her shirt is given that it was the 1930’s — but it really did plunge down that low down. I suspect that she had just landed from flight and was oblivious to the state of her clothing — although in today’s society, no-one would blink twice at it.)
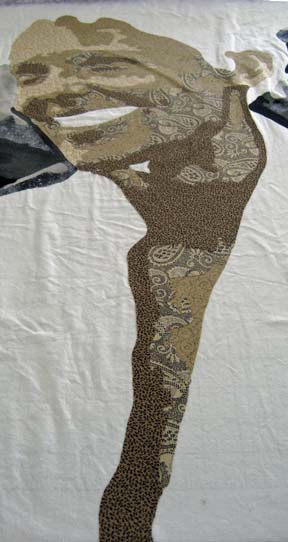
The darker values can be harder to find. I’ve learned to go beyond the categorizations that I make when I purchase the fabric & place it in a color drawer — and now go look in other less obvious places.
She really was a beautiful woman. I have not added her eyes and mouth which I normally do at this point. I made a half-hearted attempt at her eyes that you’ll see in the next section on her hair — but I’ve since ripped them off. I’m beginning to see that the color of the eyes are better chosen when more of the surrounding pieces are in place. You want to generally stick with eye color that is representative of the person you’re doing — but the exact color and shade are more effective if they are relative to other fabrics in the piece. For instance, I started with a gray blue that completely fell flat. After laying in her scarf in blues — and then the sky — I see that the blue in her eyes needs to be more vibrant to draw the eye into the middle of the piece. So although her eyes were blue gray — I take artistic license as to what will look best in the piece.

