Construction of Free Floating Abstract Pieces
I haven’t written much about the free floating piece that will cover one long wall of the gallery in our two-person show, partly because it has been an exercise in experimentation to see what would work. I think I’ve gotten better as I’ve gone along and thought that I would share some of my wisdom.
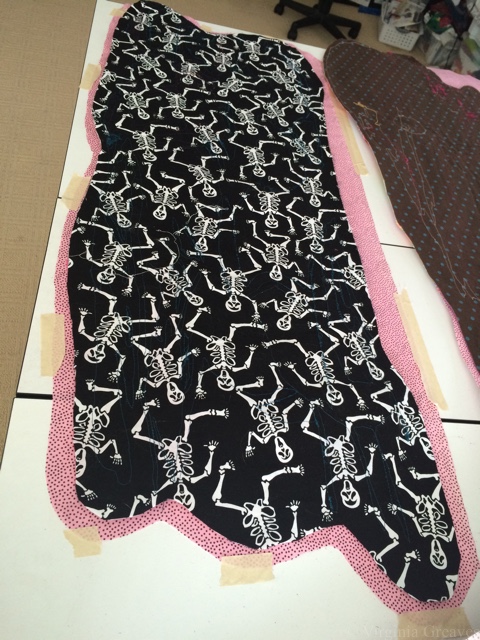
In these examples, Leisa has constructed the main pieces — the fronts. She has used either the skeleton or the brown polka dot fabric as a stabilizer (since she has all ready embroidered them at this point). The pink fabric will be the actual backing of each piece.
Here, I have placed the actual piece face down on the pink backing fabric (right sides together) — and I have taped down the backing fabric to keep it flat. I have merely rough cut it so that it is big enough for each particular piece. I pinned them together, checked the back to make sure it was smooth (making adjustments as needed), and then sewed them together at the 1/4″ mark with a basting stitch — leaving, of course, an unstitched area about 6″ long through which I can turn (or pillowcase) this later. Remember, I’ve sewn right sides together, so at this point, I have wrong sides facing out. I will later turn them right sides out. (Backstitch a few times at the beginning and ending — there’s a lot of tugging on these to turn them right sides out.)
When I first started doing these, I did not do this basting step. I merely layered the batting (2 layers of fluffy polyester), the backing, and the front. I didn’t worry too much because of the thickness of the batting. It was my goal to lightly quilt them so that each piece would be more sculptural than a flat quilt.
The economics finally won out, however, and at some point, we realized that there were so many of these, we would have to be content with one layer of batting. Well, that changes the game. At that point, I have to worry about puckering on the back.
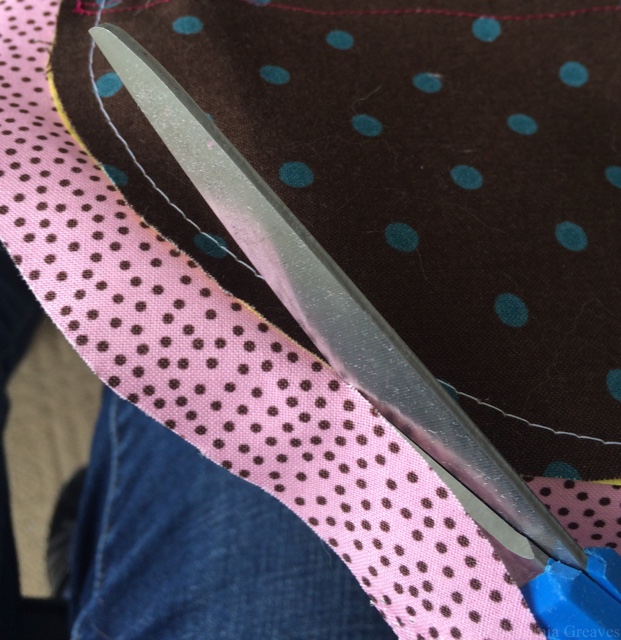
After basting, I cut the pink backing even with the front.
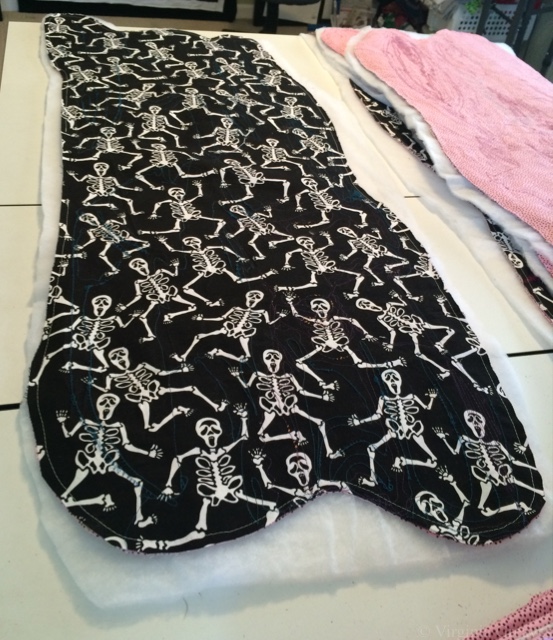
Then I rough cut out a piece of batting, placing it underneath the backing, and pin all of those layers together.
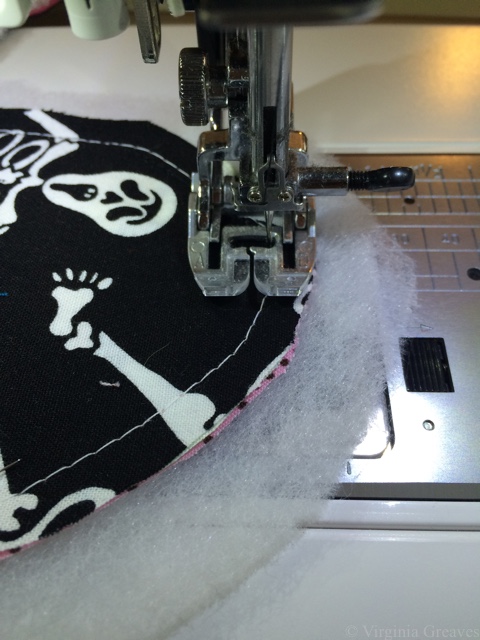
I sewed a smaller stitch length on top of the previous one. In this example, the basting is white thread, the tighter stitch is black thread. Again, I leave the opening for turning.
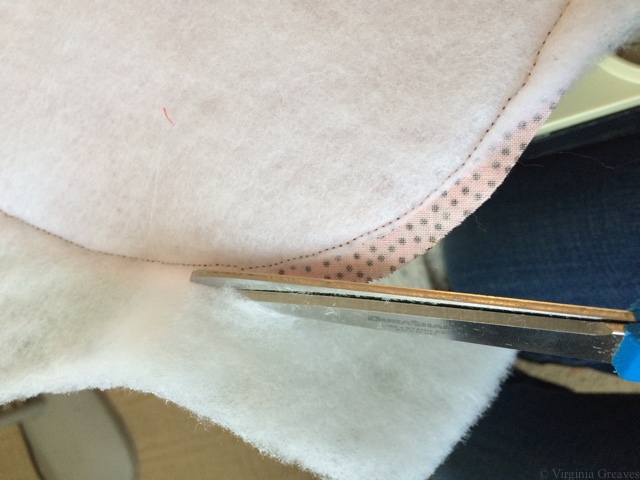
Afterward, cut the batting (only) as close to the stitched line as possible. Also cut the batting from the section where there is no stitching, guess-timating where the stitching would be.
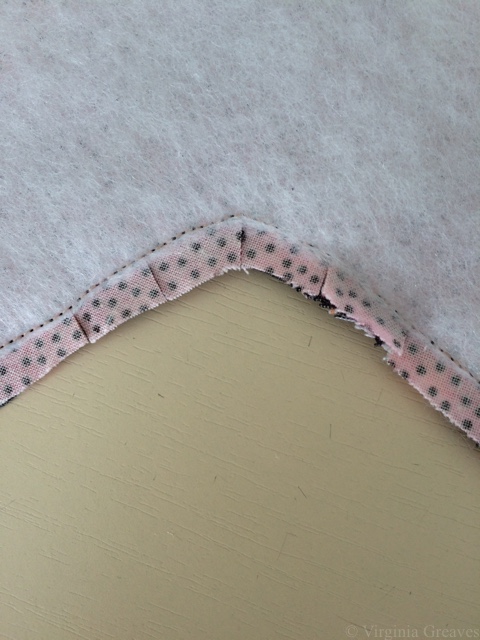
Before turning these right side out, you need to clip corners. (And yes, I forgot a few times and had to turn them back to clip them.) Clip the inside corners as close to the stitching as possible without clipping the stitching line. No worries if you do — just re-sew the line where you cut it before continuing.
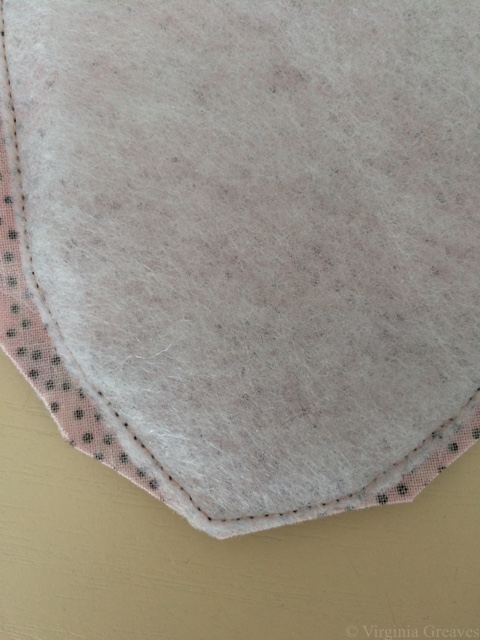
On the outside corners, trim all of the layers close to the the stitches. You want to minimize the bulk in the corners so they will lay as flat as possible after turning.
At this point, you turn the piece right sides out. On one of these, since I have three layers, I turned it right sides with batting on the outside. I was on the phone and not thinking about what I was doing. Turn it so the backing and the front are facing right sides out.
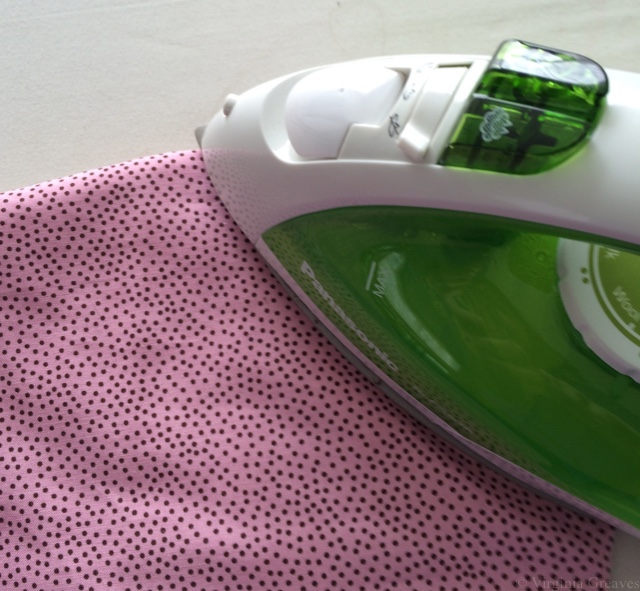
And then, another step I added after several problems, the end result is much better if you take the time to steam the edges flat. Although the long edges are fairly tame swooping curves, I have some sharper shapes on the ends, and ironing them flat (from the back since I have some plastic pieces on the front) ensured that the back behaved.
Also iron down the unsewn edge through which you pulled the piece right sides out, folding along the seam allowance — being very careful to make sure that the end result pulls taut from the opposite corner on the back. If you don’t check, you will invariably end up with a little extra on the back. Pin that section to keep it in place (pin on the front).
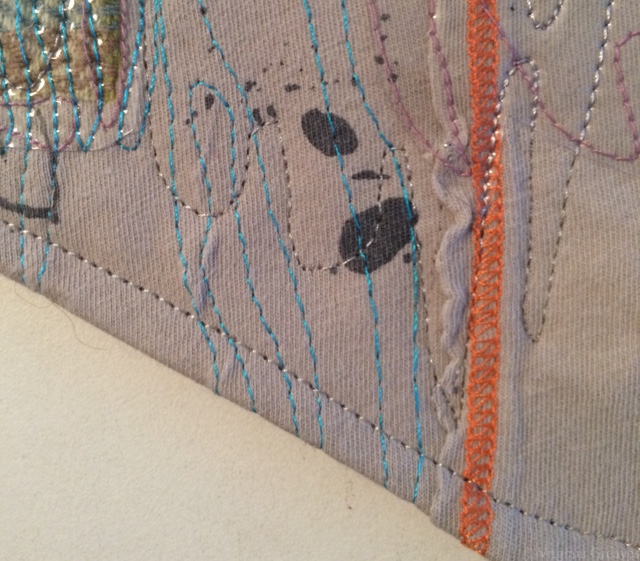
Then flip back to the front side and sew a topstitch 1/4″ from the edge all the way around. This will also close the opening that we used for turning.
Then quilt. Although I generally quilt my pieces to death, these are meant to be more sculptural. That’s partly why we chose to use the polyester instead of the flatter cotton batting. I quilted them in sections so that some areas rise up.
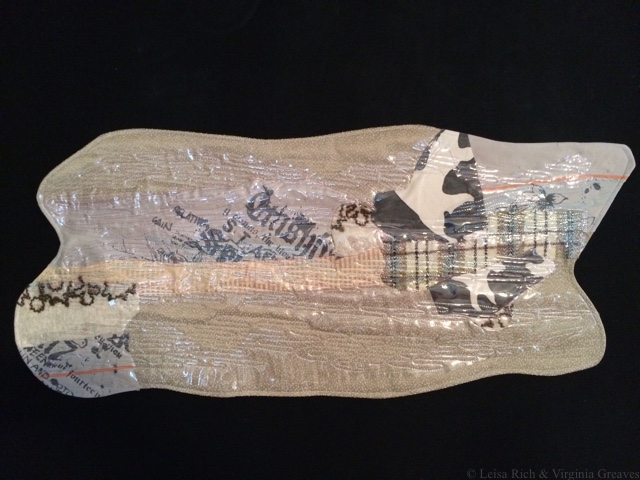
This is one of the turned pieces.
The intention is to hang them on the wall independently, meaning that its presentation will be specific to the individual exhibition.
I toyed with the idea of using this same technique on abstract #4 — which is sitting on my design wall, ready to be quilted — since we’ve discussed making its edges irregular as well. The abstract wall pieces are small and I could get away without pin basting them. However, turning abstract #4 would require basting — and I can’t pin baste many of these because of the added plastics. I also know that intense quilting stretches the fabric, and not having a place for it to go could be problematic.
After research, I’ve decided that I will spray baste it, as I’ve done several of the others, and then after quilting, I’ll add large strips to the front which I’ll use as facing and turn to the back. Of course, I will then have to hand sew the facing down on the back, and we know I don’t love hand sewing — but I think it’s the best solution. I’ll add a sleeve after the facing is done.
Where there’s a will, there’s a way.
