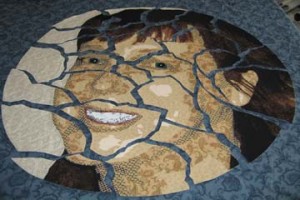
Not All It’s Cracked Up To Be
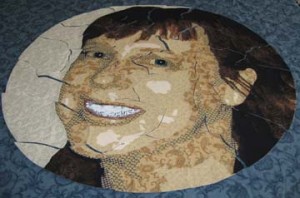
My latest face is rather small — but my intention when it’s done is to cut it up. I know I know — but it’s time to do something unexpected.
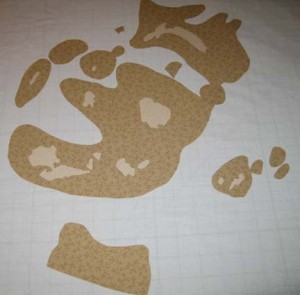
To start, the face is made the same way. This pic shows the first 2 layers. Since I’m ultimately going to make an applique out of the entire thing, I’m much more careful with my layers so that I have as few of them as possible. I put down the 1st value — and then the 2nd value with cutouts for reverse appliqueing the 1st values.
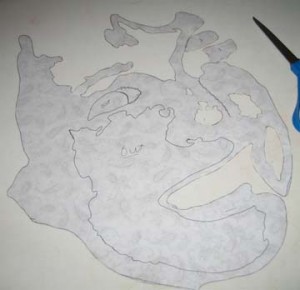
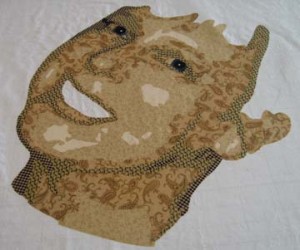
I thought I would show what the cutting out looks like. This is the back of the 3rd value with some large areas still left to be cut out.
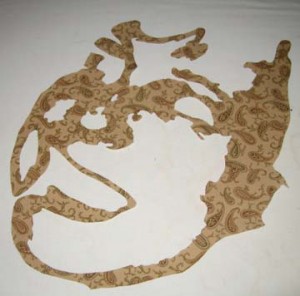
This is it cut out entirely. The 3rd value in the face tends to be the most complex.
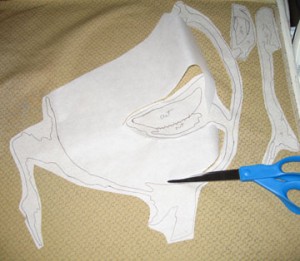
I thought that I would mention that you can really screw up these complex shapes. If you draw a deep curve onto the paper backed fusible, cut it close to the lines, then fuse it, cut it out & try to apply it — it can get really wonky. Sinewy lines won’t lay flat when you fuse them & thus when you try to lay out the fabric, it won’t lay straight on your design. So there are times that it is best to leave big empty spaces in the fusible. You don’t want to fuse them down — that would be wasting fabric — but you can fuse down the lines you do want & use the big spaces to help you lay your design flat while you are fusing. Then you cut away the excess fusible.
These are the 4th & 5th layers.
And now the eyes.
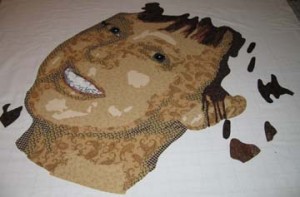
Then I added the mouth & started on the hair. There are only a few pieces of the 1st layer of hair — so this pic shows the first 2 layers.
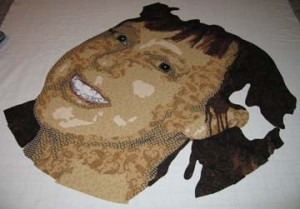
Most of the hair is made up in the 3rd & 4th layers.
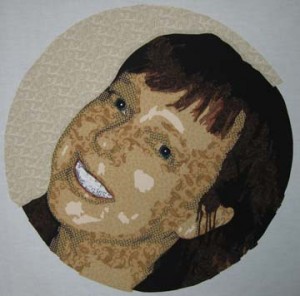
And then I finished the piece with a background. I wanted something circular in a fabric that wouldn’t distract from the hues in the skin but that would work well with the background blues I’m going to add. Since I’m going with the idea of a plate, it made sense to go with a stoney white. It doesn’t compete with the yellows in the face or make it seem that the face is bleeding into the background. It will give a good contrast to the blue but not draw too much attention.
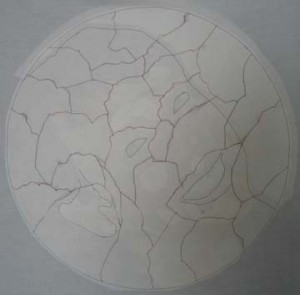
And now comes the scary part. I draw my circle onto Wonder Under and using my pattern, draw out the outline of the front of the face, the two eyes, and the mouth. I try to place the Wonder Under approximately on top of the corresponding elements. I prefer not to cut through the eyes and the mouth.
Now, how do I draw the lines to make it looked cracked? Hmmm — well in Photoshop, it’s fairly easy to use the magnetic lasso tool so I can estimate what it is going to look like — but I have to take a leap of faith & a pencil & draw my cracks onto the Wonder Under. When I’m happy with it, I draw over all of the lines to cut in red to make sure I don’t try to cut one of the guide lines I drew earlier.
This is what the front looks like with my neat circle cut out.
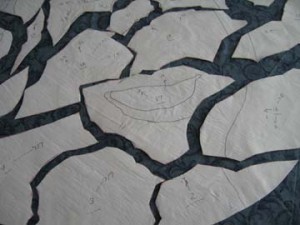
I then turned it over and (gulp) started cutting. It helped that I couldn’t see it as I did it. (I did in fact cover this piece as I worked on it for fear that someone in my house would grow attached to it before I cut it up & give me grief for sacrificing it.)
It was then that I started thinking about turning it over. You can see that it is sitting on the background blue fabric that I picked out — but you can’t just turn each piece over. It is a mirror image — so things on the right have to be moved to the left. I started worrying about putting it back together again — so I numbered the pieces on the back with hints to the pieces that bordered each other.
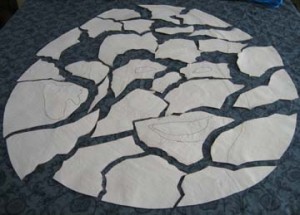
Then I stacked them all up by number, turned them over, and laid them back down as close as I could to make the puzzle pieces match.
And then I pulled the pieces apart so you could really see the cracks.
I spent today adding a drop shadow to the pieces in a dark blue so that they look dimensional. I’ll show that later. I got it all up on my design wall and I’m second guessing the placement of the pieces before I fuse it all down. (I fused the drop shadows on a teflon sheet so that I could attach them to their pieces but keep them loose. This way I can play with them on the design wall.)
Part of me wants to start sewing immediately, but some perspective might help the overall design. There may be another way of presenting this other than what I’ve all ready considered.
