Making a Plate
After realizing that the “It’s Raining Cats & Dogs” special exhibit at IQF/Houston had added a new virgin rule this year — thereby disqualifying my piece Golden Moment since I had posted LOTS of pics of it on my website and blog — I decided to make a small piece for another one of IQF’s special exhibits. At first I thought about Life Begins At 40 — since I am currently in my 40’s — but what struck my interest more was What’s For Dinner.
I’m friends with Jamie Fingal, one of the curators, on Facebook, and every night she posts the question “what’s for dinner?” I get to hear about what delicious meal she is preparing and it usually makes me hungry.
Keep in mind that at this decision making point, I was at the beginning of May. I don’t typically spend many hours in the studio during the summer, and May itself is full of constant interruptions — so I was looking for a small piece to do. This needed to be an exact size — 24″ x 15″. Perfect.
Then I started thinking about what to put on the plate — and I started to get hung up on plate design. Let’s face it — there are people that go to culinary school to learn how to properly plate food. (I know — I’ve watched way too many hours of Food Network.) So I was stuck for a while — until I decided I was making this too difficult. I went to my cabinet, pulled out a plate, knife, fork, spoon, and a crystal glass. Then I pulled some simple things from my kitchen — a croissant, a couple of different kinds of miniature cheeses, a boiled egg, and some fruit.
Simple yet elegant. It reminded me of the plate that Julia Roberts makes in the movie Eat, Pray, Love when she is learning about “dolce far niente” — the sweetness of nothing.
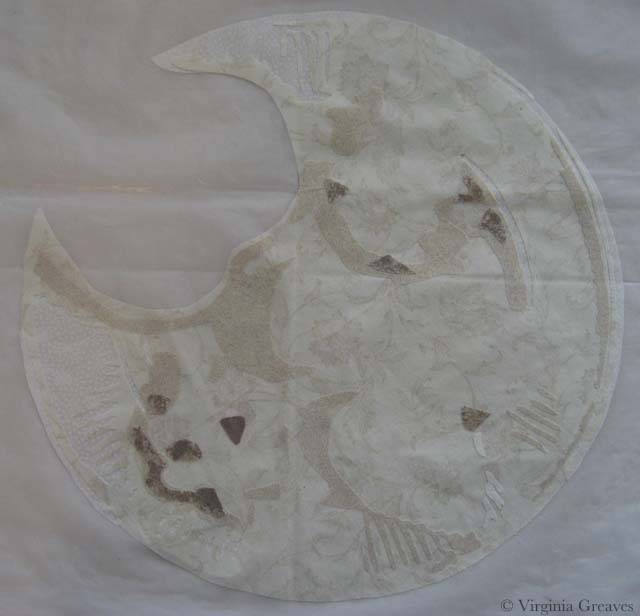
I started with my cream Wedgwood Edme plate. There are shadows all ready added for the different items on the plate.
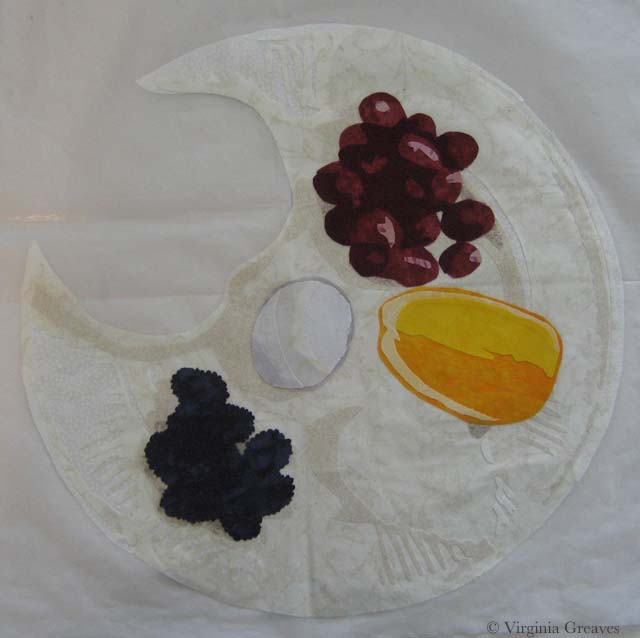
I put the egg in the middle. Probably not my best choice — a white egg in the middle of a cream plate. And I really struggled with how to make it stand out on that plate. I tried many combinations of white and gray. This is what I ended up with (with one change later).
And then I added the fruit. The blackberries are from one fabric — a dark blue batik. It looks really dark in the pic but that’s the limitation range of a camera. If I want the plate to be sharp, then the darkest dark will be a little blurry. Then I added the grapes — and then the orange. I actually had a print of grapes — perfect size too. I thought about using it — but I wanted an artistic representation — not perfection.
You’ll also noticed that I added a rim of gray around the egg. I think it gives the egg more depth than it had. (The bias of white is a little choppy but it’ll clean up when it’s appliquéd.)
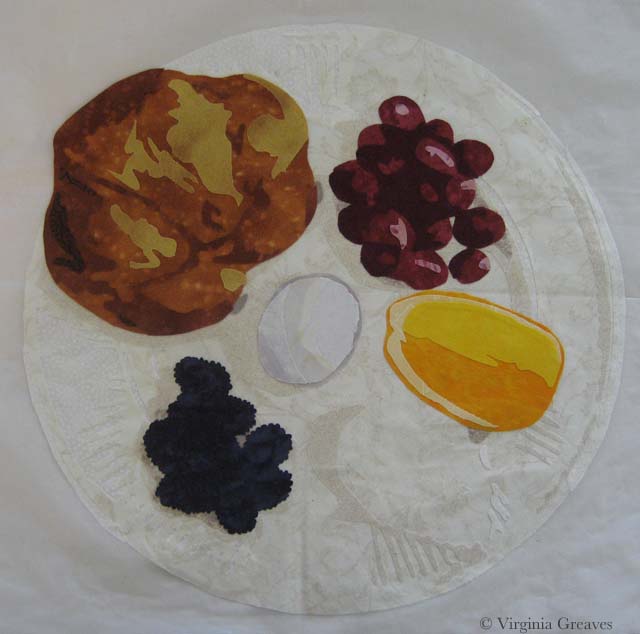
And then I added the croissant in the corner. I was dubious about the fabrics but I think they turned out well. It looks even better quilted.
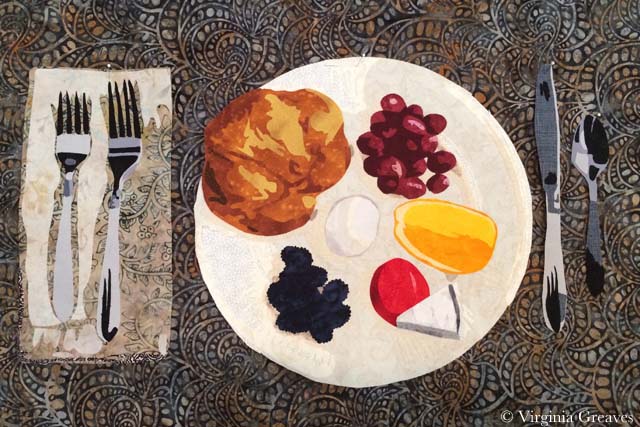
My last food items were miniature cheeses. When I originally photographed them, they were covered in their commercial labels. Those had to go. I redrew them plainer for my plate.
And here you can see the napkin and the silverware. I could tell from last year’s entries that people struggled with the silverware. Using non-metallic grays and black, I took a literal interpretation of the values in the silver. (I did use a metallic thread for quilting them though.)
I chose the background before the napkin. I loved this print and how it worked with the plate. I barely had enough — although I’ll admit at this point that I had it in my mind that the piece had to be 24″ x 18″ — and I wasn’t sure if I would end up with 18″ after quilting. I used it anyway, figuring I could add across the bottom if I had to — and it was just as well since the actual height requirement is 15″.
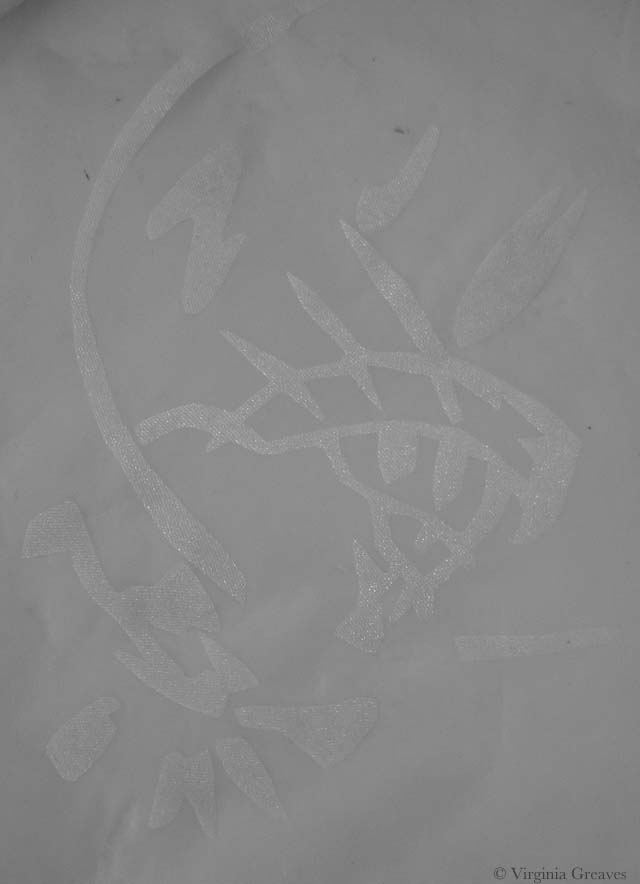
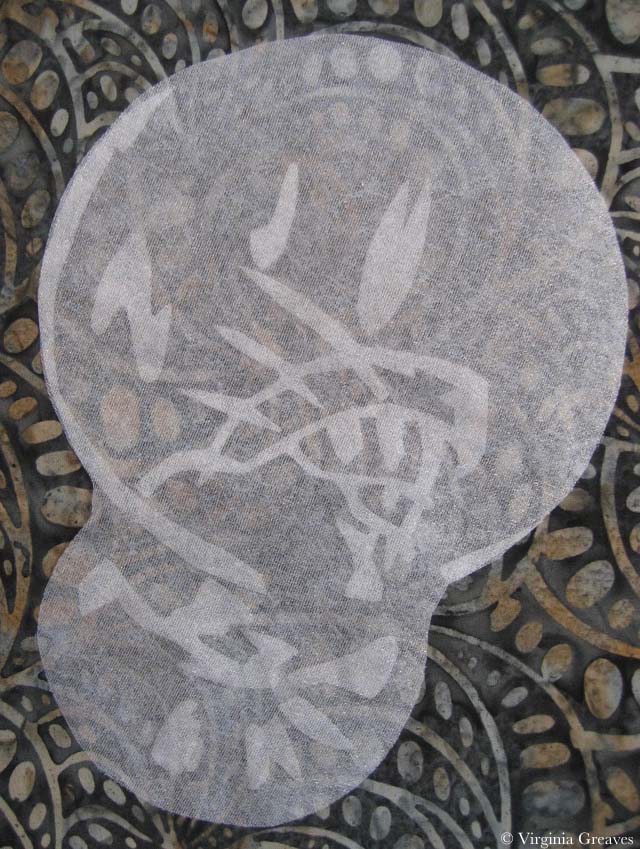
The glass was also something that I think presented a high level of difficulty. I had a nylon sparkly sheer in my stash that I thought might work. I started by experimenting with it and Wonder Under. I wasn’t sure if the heat from the iron needed to bond the Wonder Under would melt the fabric — so I kept the iron low and raised the heat as needed to make it bond. I worked in reverse order. I usually work light to dark — but since I could add depth by layering the fabric on top of itself, I put the pieces that I wanted to be darkest on my pressing sheet first.
Then I laid my largest piece of sheer on top. Not only are the raw edges of the first layer all covered (and there are a LOT of raw edges down there), but the layer on top gives the layer underneath more opacity.
I know — it’s a little hard to see on the white pressing sheet.
This is the glass on the background fabric. Not as sheer as I would have liked — but good enough. (It really looks fabulous wet — you can really see the background coming through then.)
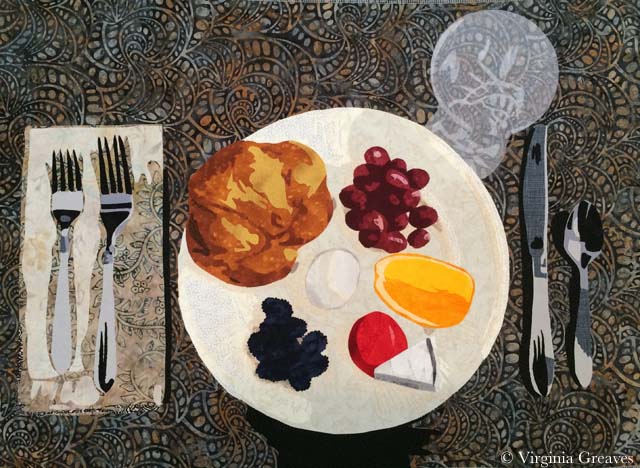
And here is the full appliqué top before quilting.
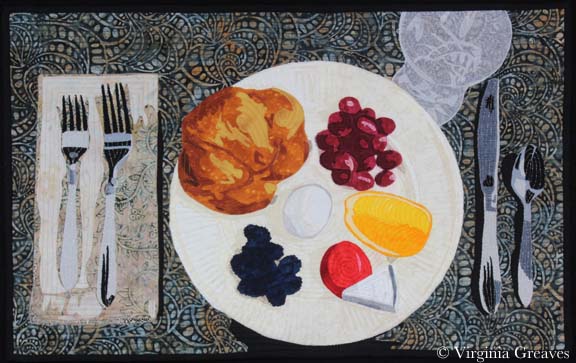
At some point after quilting, I realized that I only needed 15″ in height — which was just as well since my background fabric had shrunk closer to 17″ — but it’s sad because it meant that I would have to cut off the top of my glass. Oh well. No use spending too much time worrying about that. The glass is to scale and shrinking it to make it fit on the 15″ height would have made it look too small for the place setting.
