Posts tagged tutorial

Green Eyes
1Now that we’ve covered drafting, it’s time to move on to my favorite part — cutting the fabric.
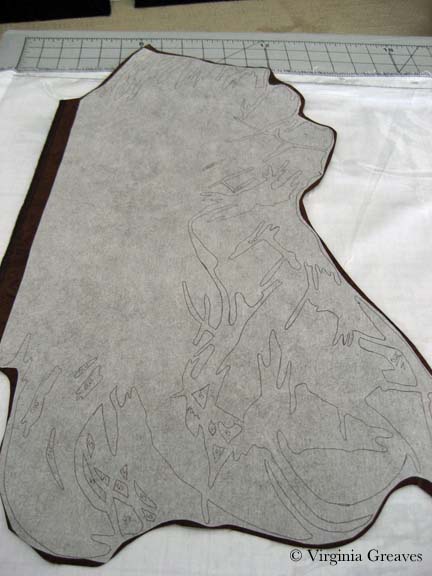
Using the back side of the pattern — the reverse — trace shapes with a Sharpie onto Wonder Under and fuse to the back of fabric. Then cut out shapes, peel off the paper, and fuse to the muslin using the vinyl overlay as a guide to where to place the shapes.
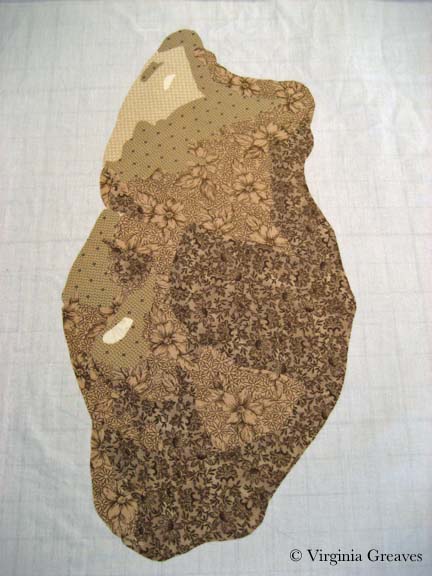
This shows the first three values in the face of my newest piece. I know — not much to look at yet.
But just adding the next layer gives us an idea of the outline of her face.
Then the fifth value shows us the rest of the face. Obviously the light sources comes from the left side — so the right hand side of her face is in shadow.
The sixth value shows us more of her personality.
Wow! And those eyes. I have added a seventh value — not much — just a little — but it adds a little more pop. I have exaggerated the outline of her eyes — it makes then read well at a distance.
At this point, I’m leaving her mouth alone. I experimented with adding some color but it detracted from the focal point of her eyes. I may just need something closer in color to her skin tone. I’ve set that aside for now.
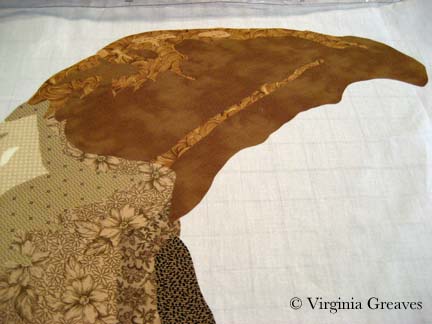
And then I started on her hair. She’s a brunette, but I’ve learned from experience to start much lighter for highlights. Using the yellow bin and the brown bin, I can get a great range of values.
This shows the first two values in her hair.
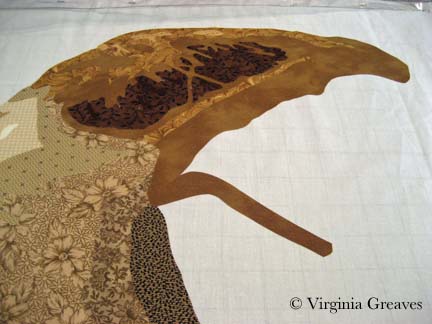
And this shows her third value. It does worry me a little at this point — whether the end result be brunette — because this looks really blonde.
I start adding in the fourth value — which goes into brown — to the left of her part.
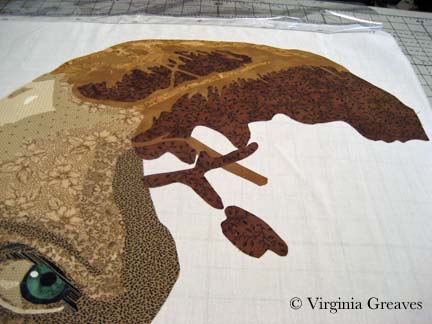
But then of course I realize I need to start working to the right of her part.
And of course I’ve forgotten her blonde values in the lower section of her hair below her chin.
I then go back and start filling in with the fourth value.
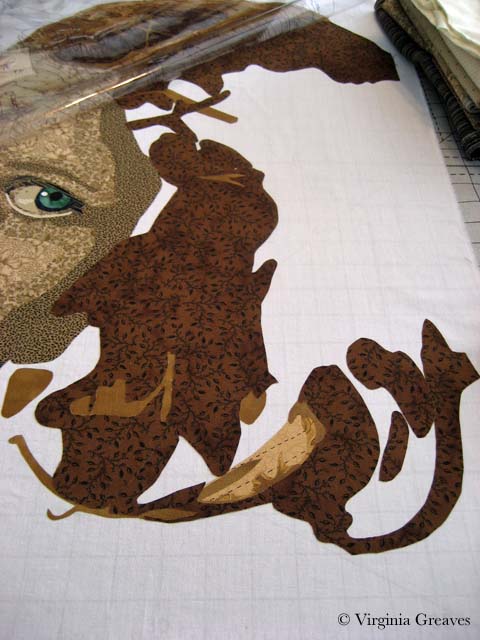
This is the Wonder-Under’ed fabric for value 5. It’s really intricate. I wonder if I’m a glutton for punishment. I have to remember — I have to cut this out — and I’ll eventually have to sew it.
But doesn’t it look good on.
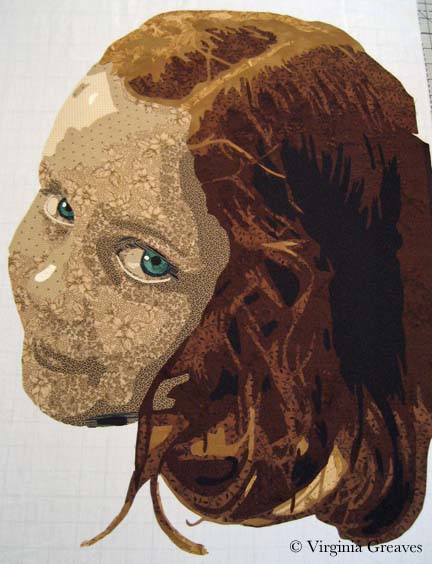
My final value is black — which is a great way to end a value range and pull one last value out of the stack.
I think she definitely reads as a brunette — and the blonde highlights give her a range that makes her face pop. And those eyes! I think they turned out well — if I do say so myself.
Primer on Coffee Cuffs
0I made coffee cuffs for teacher gifts again this year. Last year I pieced them — but this year I relied on surface design techniques.
I took PFD white cloth and painted it with fabric paints, using water to make the colors blend. I made one with all hot colors — and then added some purple blotches for depth — and another in cool colors — again with a little bit of yellow green to jazz it up. After it was dry, I added another layer of paint using some of my rubber stamps. The hot color sheet got a third layer of metallic paints.
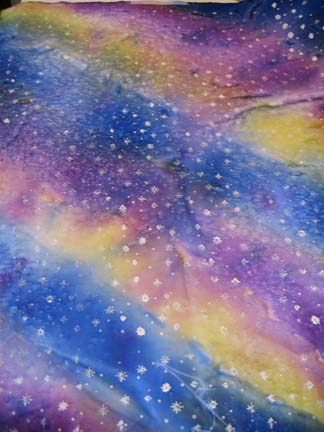
Then I layered it with cotton batting and a black sateen backing — and then quilted it simply using straight lines. Then I took my template for a coffee cuff (you can make one from a cardboard cuff) and copied it onto the fabric with a permanent marker.
At this point, I decide what color thread I’m going to use on the outer border. For the cool sheet, I wanted black, and the hot sheet called for yellow. Using the couching foot on my sewing machine, I couched crochet thread (in a color to match the border thread) over the drawn black line. I use a narrow zigzag — about 1.5 mm — but not as tight as a satin stitch — about a 1.0 mm length.
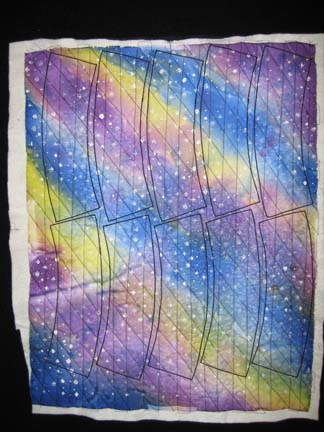
At this point, using very sharp & long scissors, I carefully cut out the cuffs as close to the crochet thread as I can get without snipping the couching thread. It is OK if a few are snipped, but too many will cause problems. If I have couched with a large needle, there are a series of holes made in the couching step that you can cut along.
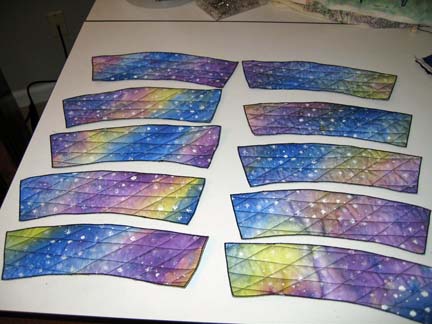
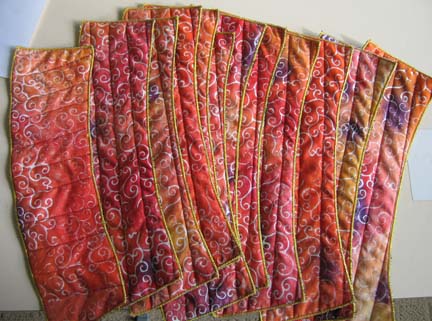
Then I stitch a zigzag around each entire piece off the edge using 1.5 width and 1.0 length. A third pass is then made only along the long top and bottom edges using 1.5 width and .5 length. When that is done, you can pin the two short ends wrong sides together and then zigzag over them off the edge using a little bit wider zigzag with a 2.0 width and .5 length. The satin stitching over the ends doesn’t create a large enough bump to cause a problem. Just slip over a cup & enjoy not looking like everyone else at Starbuck’s!
I should also mention that instead of throwing away those pretty scraps, I cut out bookmarks.
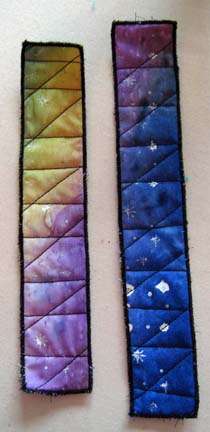
I intend to decorate the ends with yarns and beads. They are waiting for me on my work table for some time. Maybe this weekend.


