
I have finally finished the appliqué on my latest piece. This piece was tricky to put together. I made it in sections — middle with figure, right wall, left wall, stairs, top of cabin, roof, and sand and rocks at the bottom. Each piece had it’s own vinyl overlay and as I put each section on to the last, I taped the overlays together using the pattern as a guide — and then used to overlays to align the appliqué sections.
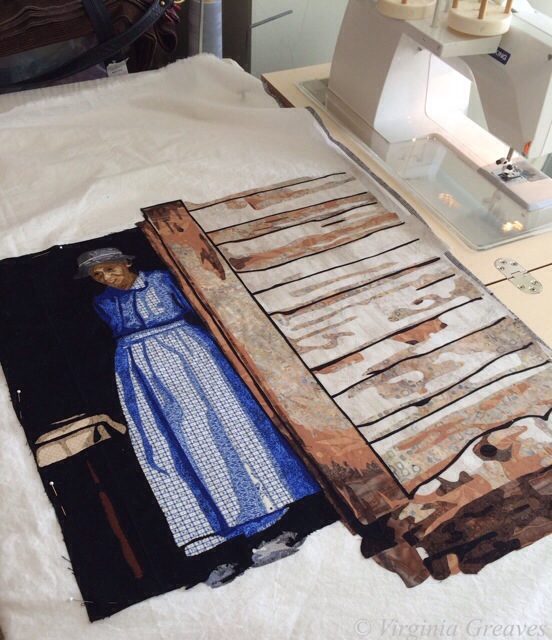
First I appliquéd the middle section to white muslin — and then added the right wall.
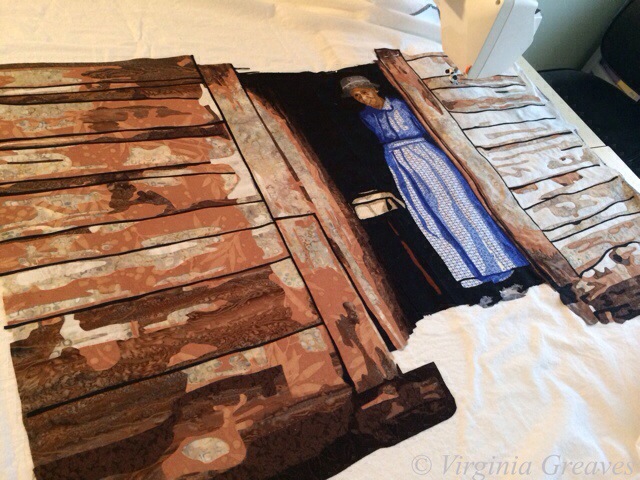
Then I added the left wall.
At this point, I had a small section of stairs — forgot to take a pic at this point. It was a difficult join because it brought together the previous three pieces — but I made it work.
Then I added the wood pieces at the top of the cabin.
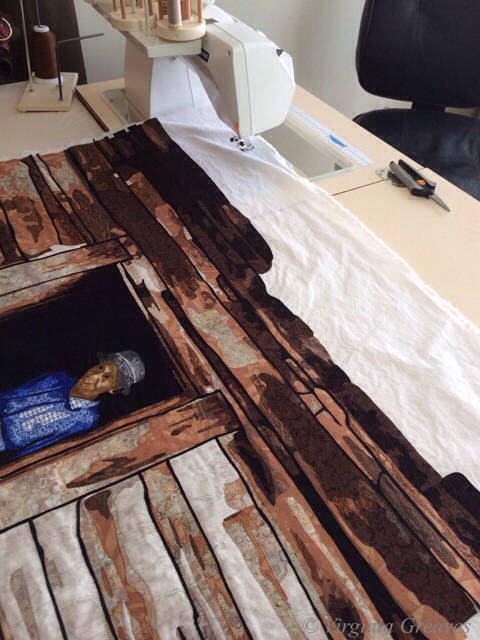
Then I added the shingles of the roof. This was an easy piece because there was almost all black between the cabin and the roof.

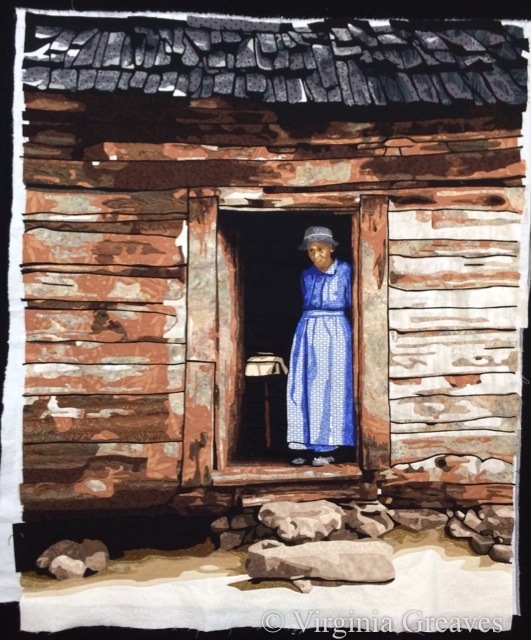
And finally I added the sand and rocks at the bottom.

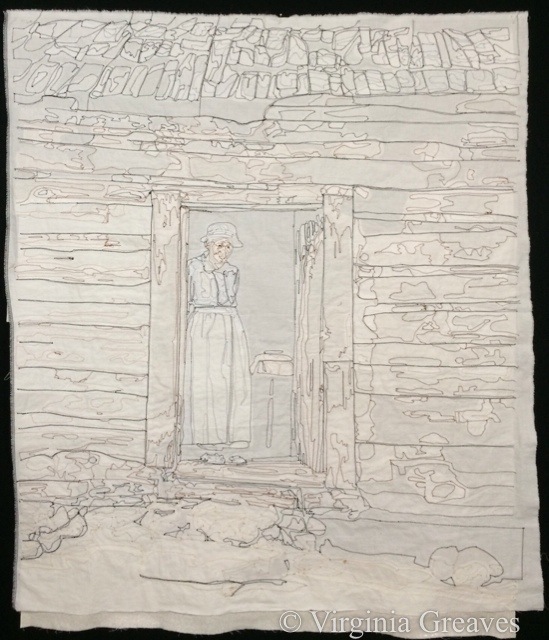
All of this appliqué took about twice as long as usual. This is how it finally turned out.
And this is the back.
It is now pinned and ready to begin quilting. My fingers are sore so I probably won’t start until tomorrow. I still haven’t printed out my value painting & started drawing quilting designs on it, but I think the cabin will be very straightforward. There’s so much detail in the appliqué, I don’t know that there’s much room to show off quilting.
There’s also the issue of machines. I got so mad at my Viking during the appliqué that I wrapped it up and stuck it in a corner — and used a borrowed Janome to finish it. I am not as sure with the Janome to do the free motion quilting though. I may go back to the Viking for that. It doesn’t jam during free motion work — just during appliqué.
Just fabulous! You are such a technician!!
This looks wonderful! the way you use value to create depth is great! It is so satisfying to see a fiber project come together in a couple of pictures. I am sure it took you much more than it took me to read this but still you made it look so easy.
Phenomenal–I love your work!
WOW, stunning, extraordinary….which is to say, you’ve gone beyond whatever adjectives I can come up with!!!