Posts tagged North Carolina

Creativity in Motion
0Today I finally took pics of Worn (and finally decided on a title). It is so much easier to take pics when you have the right equipment and use a level. I no longer rely on my design board that leans against the wall — it was creating a keystone effect that I was having to counteract in Photoshop. I now use a photography support stand so the piece hangs from a bar and there is no distortion. I have also made friends with my level. I level the bar on the photography stand — and now also on my camera. I’ve always wondered by my pics lean to one side — and now I use the level to adjust the camera tripod until it’s level. I just ordered a level for the camera shoe which should make it even easier. You would think that if you opened the stand completely in all directions and the bubble level on the stand was level that you would be fine — and that’s just not true. So having leveled my stand and my camera on my tripod, I came out with perfect pics the first time. The only thing I did in Photoshop was crop — and for the website, I adjusted the size and added watermarks (so if they migrate to Pinterest it might generate some traffic back to my site).
 I also drew up a new Page for Worn. There are a few recent changes in WordPress 3.9 that are making the pics act strange but I just worked around it. Overall I think the page looks fine.
I was worried when I finished this piece that I wouldn’t know what to do next — what my next piece should be. I spent a day this week looking at exhibits to enter this year and trying to decide how I wanted that to influence me. In the end, I decided that I wanted to think with my hands. I started working on a small piece for a very specific themed juried exhibit — but it isn’t large and will give me time to think about my next large project.
Tonight have the opening reception for the Georgia Artists show at the Abernathy Arts Center in Sandy Springs, GA. If you’re in the ATL, it’s 6:30-8:30pm. I will take pics and share them soon.

Making Progress
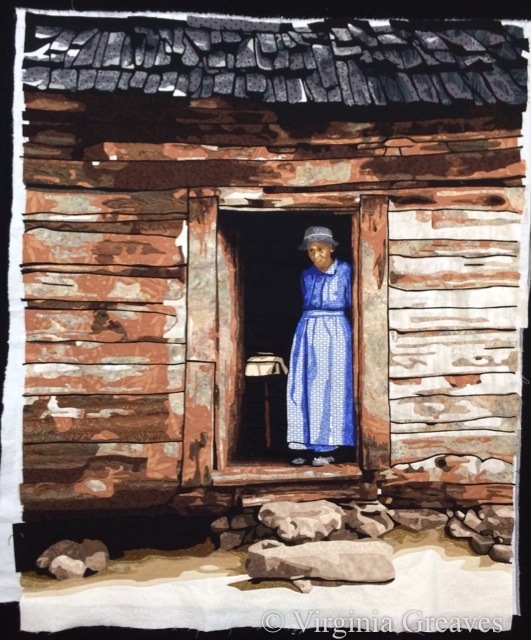
4I have finally finished the appliqué on my latest piece. This piece was tricky to put together. I made it in sections — middle with figure, right wall, left wall, stairs, top of cabin, roof, and sand and rocks at the bottom. Each piece had it’s own vinyl overlay and as I put each section on to the last, I taped the overlays together using the pattern as a guide — and then used to overlays to align the appliqué sections.
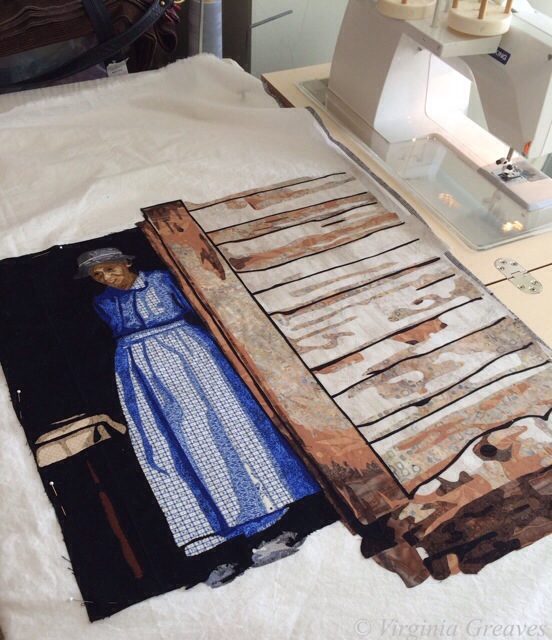
First I appliquéd the middle section to white muslin — and then added the right wall.
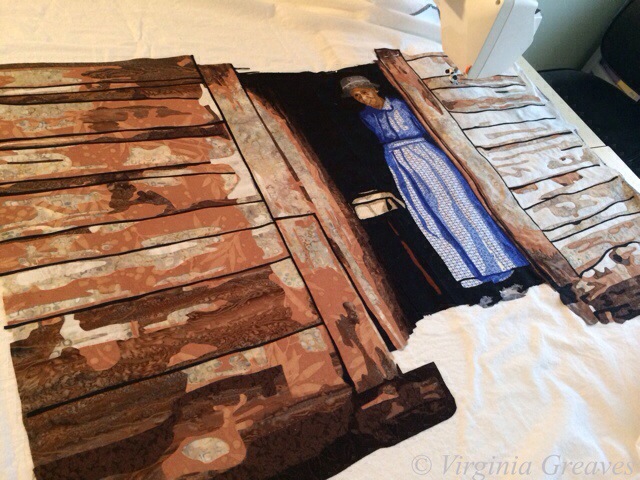
Then I added the left wall.
At this point, I had a small section of stairs — forgot to take a pic at this point. It was a difficult join because it brought together the previous three pieces — but I made it work.
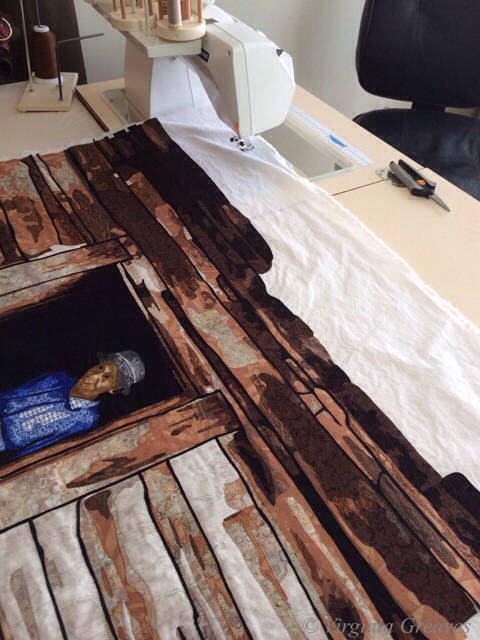
Then I added the wood pieces at the top of the cabin.
Then I added the shingles of the roof. This was an easy piece because there was almost all black between the cabin and the roof.
And finally I added the sand and rocks at the bottom.
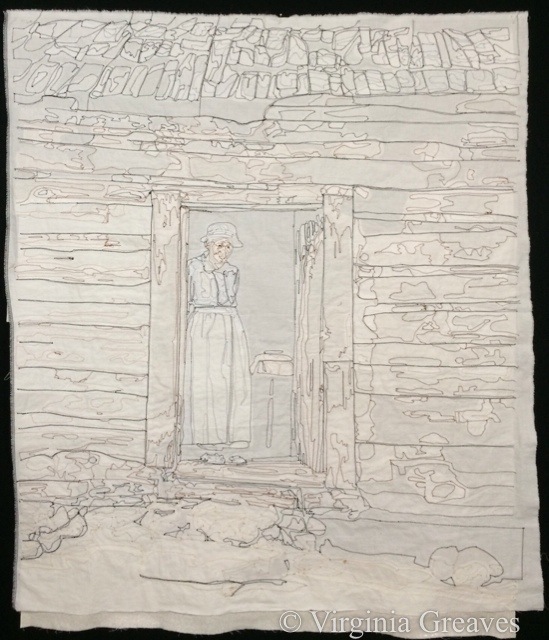
All of this appliqué took about twice as long as usual. This is how it finally turned out.
And this is the back.
It is now pinned and ready to begin quilting. My fingers are sore so I probably won’t start until tomorrow. I still haven’t printed out my value painting & started drawing quilting designs on it, but I think the cabin will be very straightforward. There’s so much detail in the appliqué, I don’t know that there’s much room to show off quilting.
There’s also the issue of machines. I got so mad at my Viking during the appliqué that I wrapped it up and stuck it in a corner — and used a borrowed Janome to finish it. I am not as sure with the Janome to do the free motion quilting though. I may go back to the Viking for that. It doesn’t jam during free motion work — just during appliqué.

North Carolina Insanity
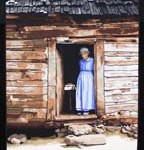
1For my current piece, I was inspired by another picture by Dorothea Lange. This one was taken in North Carolina — 1936 I believe — and shows a woman, probably a sharecropper, standing in an old wooden shack. It appealed to me.
And as I started to work on the first wall of the cabin — I wondered what I was doing. I do portraits. This piece will have a figure in it, but she is not the main focus of the piece.
At one point, I did come to the realization that she is the house. I saw something online by Alice Walker in which she opined the situation of a slave that didn’t have the opportunity to express herself creatively — and I knew that this was the woman in the picture. She is bereft of herself and as worn down and tattered as the house in which she stands.
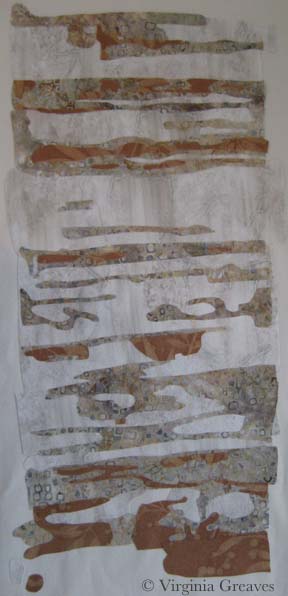
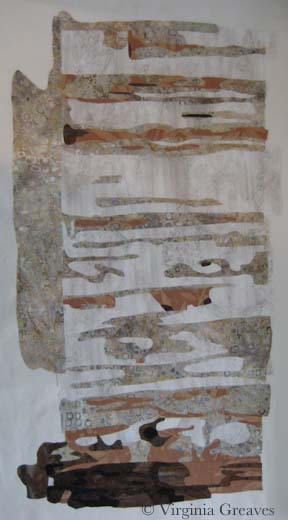
This is the first value for the right wall of the cabin. It’s a stand-in for plaster. The light in the pic isn’t great — I was working on this at night and didn’t think to turn on my natural light lamp.
This is the second value. It looks stark against the first value. It’s a batik that I bought to work as the background of my last piece, Worry, but it was too light so it ended up in my stash and works nicely here. Really — it does. Just keep going.
My third value is a rusty brown. I had to search some to find this. I had some rusts in my stash but they were too dark.
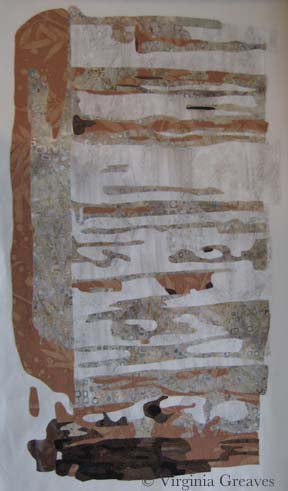
It’s a wall — I promise — although I’ll admit that I was getting disheartened. Sometimes you just have to keep going. This wall on the right of the piece is lighter than the rest of the cabin.
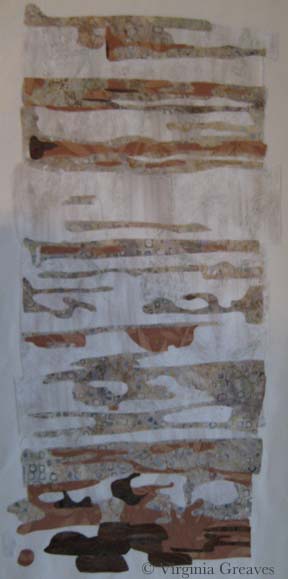
The next value is the first true brown — but there isn’t a lot of it here.
And then there is the darkest brown. Still doesn’t look right.
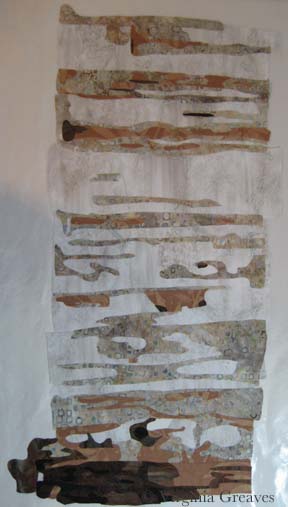
I did realize at this point that I needed to add the door facing — so I went back to the 2nd value.
And the 3rd value.
And the 4th value. Done. OK — it doesn’t look right to me either. The only thing missing is the black. There are many tiny lines of black separating the boards — and I had intended to do this in thread at the end — but at this point, I was disheartened and wondering if I had wasted my time — so I added the black.
Why does that make so much more sense? It just does. Without it, the eye just sees a jumble of shapes.
And then I did her face. I had painted myself into a corner. I couldn’t use the same brown tones I had used in the cabin for her face, so I decided to try the more yellow browns.
Her face is tiny — maybe an inch and a half — and when I first did this, I took this pic and then threw it in the trash. But, looking at it again in my camera with a little more perspective, I thought it might work — so I fished it out and started making her clothes.
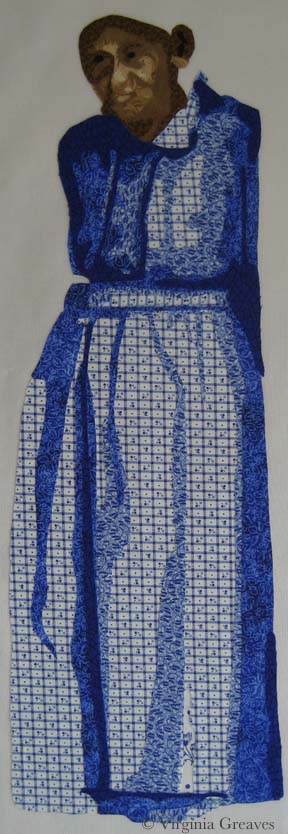
I needed a color that would make her stand out but not look expensive. In the end, the blue would look best against her skin. This shows the first (very small) and second values.
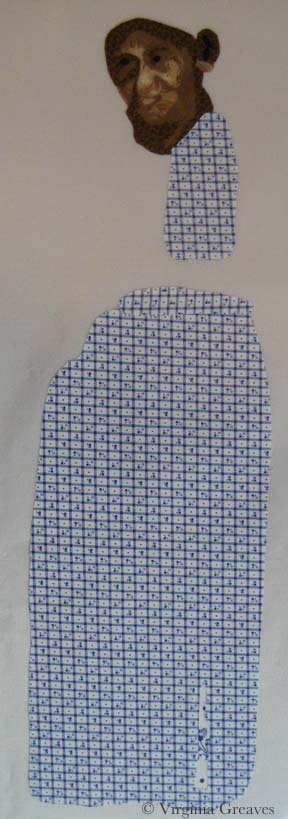
The third value shows more of the outline of her dress.
The fourth value brings it even more to life.
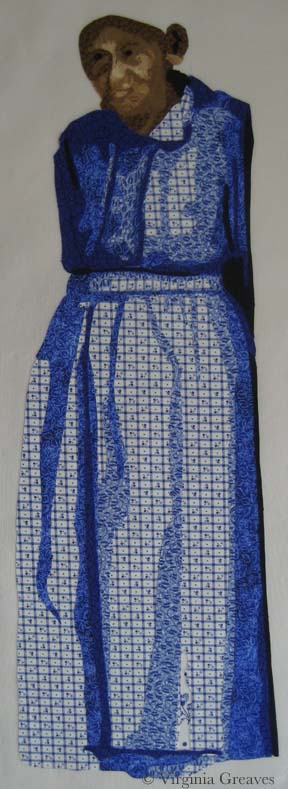
This is the fifth value — and at this point, I’m happy with her face.
And then there is a little bit of black to add in there. (Don’t worry about her ear — it won’t be that large once I add her hat.)
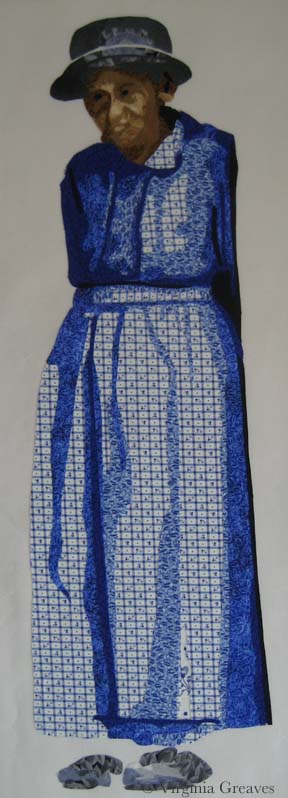
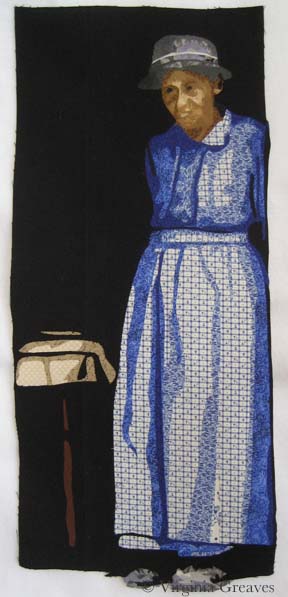
Here she is in her hat and shoes. I chose gray which will be similar to the tiles in the roof. The background will be black and will fill in the space between her dress and shoes.
And here she is complete. The tablecloth and table leg are suggested objects. The rest of it falls into shadow.
As of today, I’ve done both the right and left walls of the cabin, the steps, and I’m almost done with the boards above the door and across the entire top.
I have to admit that I must be insane. This is a very complex piece. The applique is taking a very long time to do. And it is a true departure from the kind of work I normally do.
And yet I keep going. When I’m done with the cabin top — there are still a couple of rows of shingles at the top — and then rocks at the bottom. Hopefully all of this will make sense in the end.
