What is crocking? It’s when you wash something and the dye particles that haven’t bonded completely with the fabric (usually cotton) float free and bond to something else. It is commonly seen when someone washes a new article of red clothing that then turns all of their other clothes pink after a trip through the washing machine.
How can you avoid this happening in a quilt? The easiest way is to prewash your fabrics. After you bring them home, wash them in synthrapol (a squirt of blue Dawn dishwashing detergent — as long as you have an older washer that can handle high sudsing detergents — works just as well) and a dye catcher sheet. This will hopefully take out all excess dye particles that were not rinsed before the fabric was sold.
That’s usually more than enough — but not always. I had a green commercial hand dye I bought once in Florida that would never stop running dye. I finally threw it away.
Reds are notorious for this. I have this problem with even commercially printed cottons. It’s especially heartbreaking when it happens in a finished piece. You don’t want to throw all of your hours of hard work into the garbage.
Fear not. It’s not worth the tears. If you can’t fix it with hot water, Shout, or any other stain remover (short of bleach of course) — they make something that works just as well. It’s called fabric paint.
Admittedly, this works better on some prints than others. There are some textures that cannot be replicated — but then you just need to reframe your expectations and accept it as it is. This is art and I can use fabric paint if I want to.
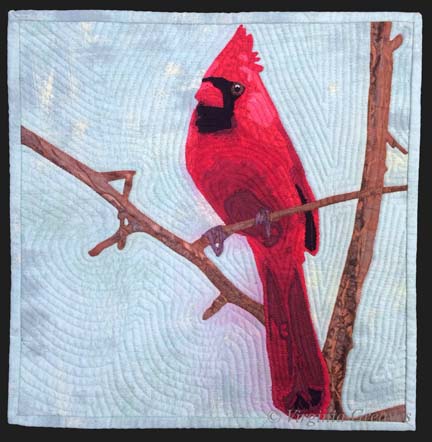
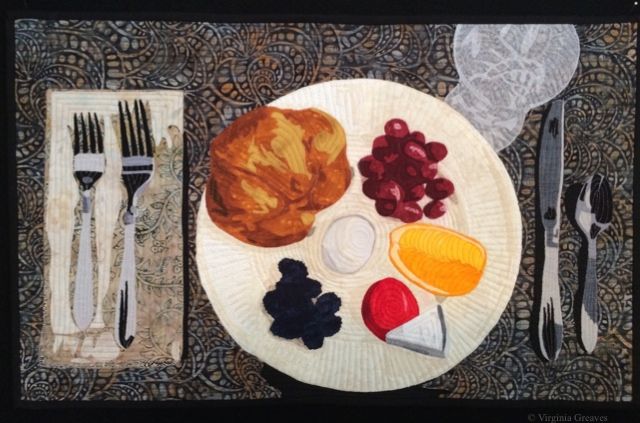
This is my latest piece.
I sighed when I pulled it out of the washer. (I typically run my pieces in water when they’re done to take out the water soluble glue I use to help me in the binding process — and to prepare the piece for blocking.) I sprayed it with Shout, turned the water to hot, and threw it back in.
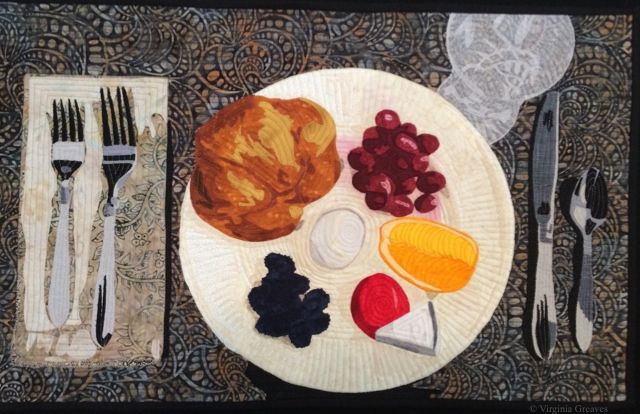
No luck. There was still red all around the grapes on the plate. So I spun out the water and pinned it up to dry.
Once it was blocked and dry — I waited a few days. You have to be patient. You don’t want to have any anxiety when you do this.
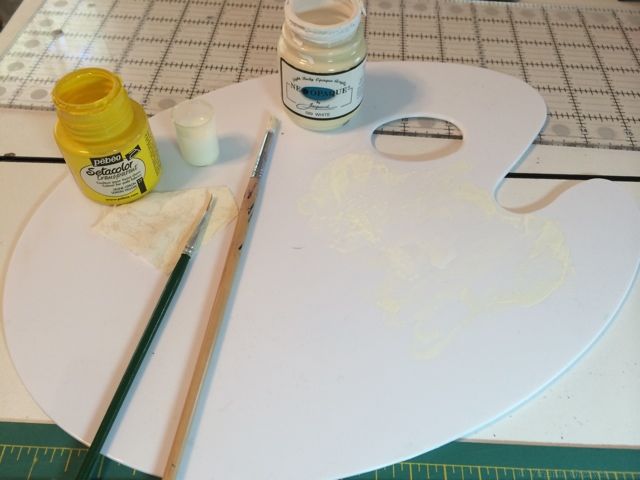
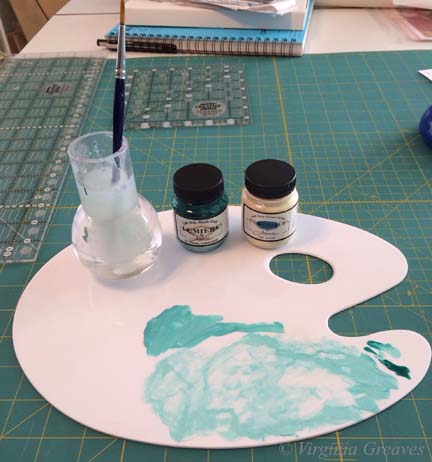
I pulled out my palette and put a pinch of yellow on it — and by a pinch, I mean a very small amount. Then I added a large amount of white and mixed it together on my palette. I tried it out on a piece of my cream fabric — the same that I will paint on the quilt — and it was too white — so I added another very small amount of yellow and mixed it in. This was a closer match on my swatch. So I grabbed a paintbrush and painted it onto the affected areas of the quilt. I used a light hand — and added water to thin it out so it wouldn’t look gloppy — went to another section — went back after it had dried a little and added a little more paint. I ended up pulling out a smaller brush to get that very small section between grapes.
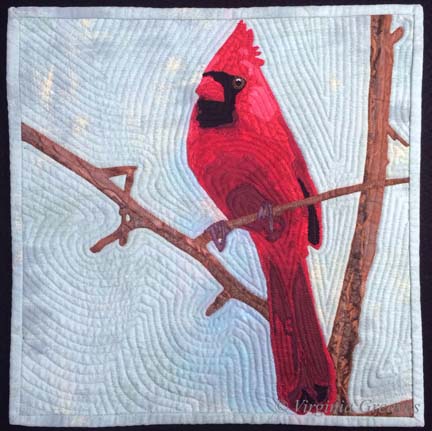
And voila’! Much better. I believe it now qualifies as show worthy. I’ll give it shot anyway.